> ## Documentation Index
> Fetch the complete documentation index at: https://docs.incident.io/llms.txt
> Use this file to discover all available pages before exploring further.
# Using Zapier
> Trigger incidents automatically from any app you connect through Zapier.
Connect your Zapier account with incident.io to declare incidents when something happens in another system.
1. First, install the incident.io Zapier app, by clicking **Accept Invite & Build a Zap** on this [invite page](https://zapier.com/developer/public-invite/162447/c60b514649e6aeb2a3d29594e7943a9d/).
2. Click **Create Zap** and choose a trigger from one of your other systems. For this example we're using the **incoming email** trigger:
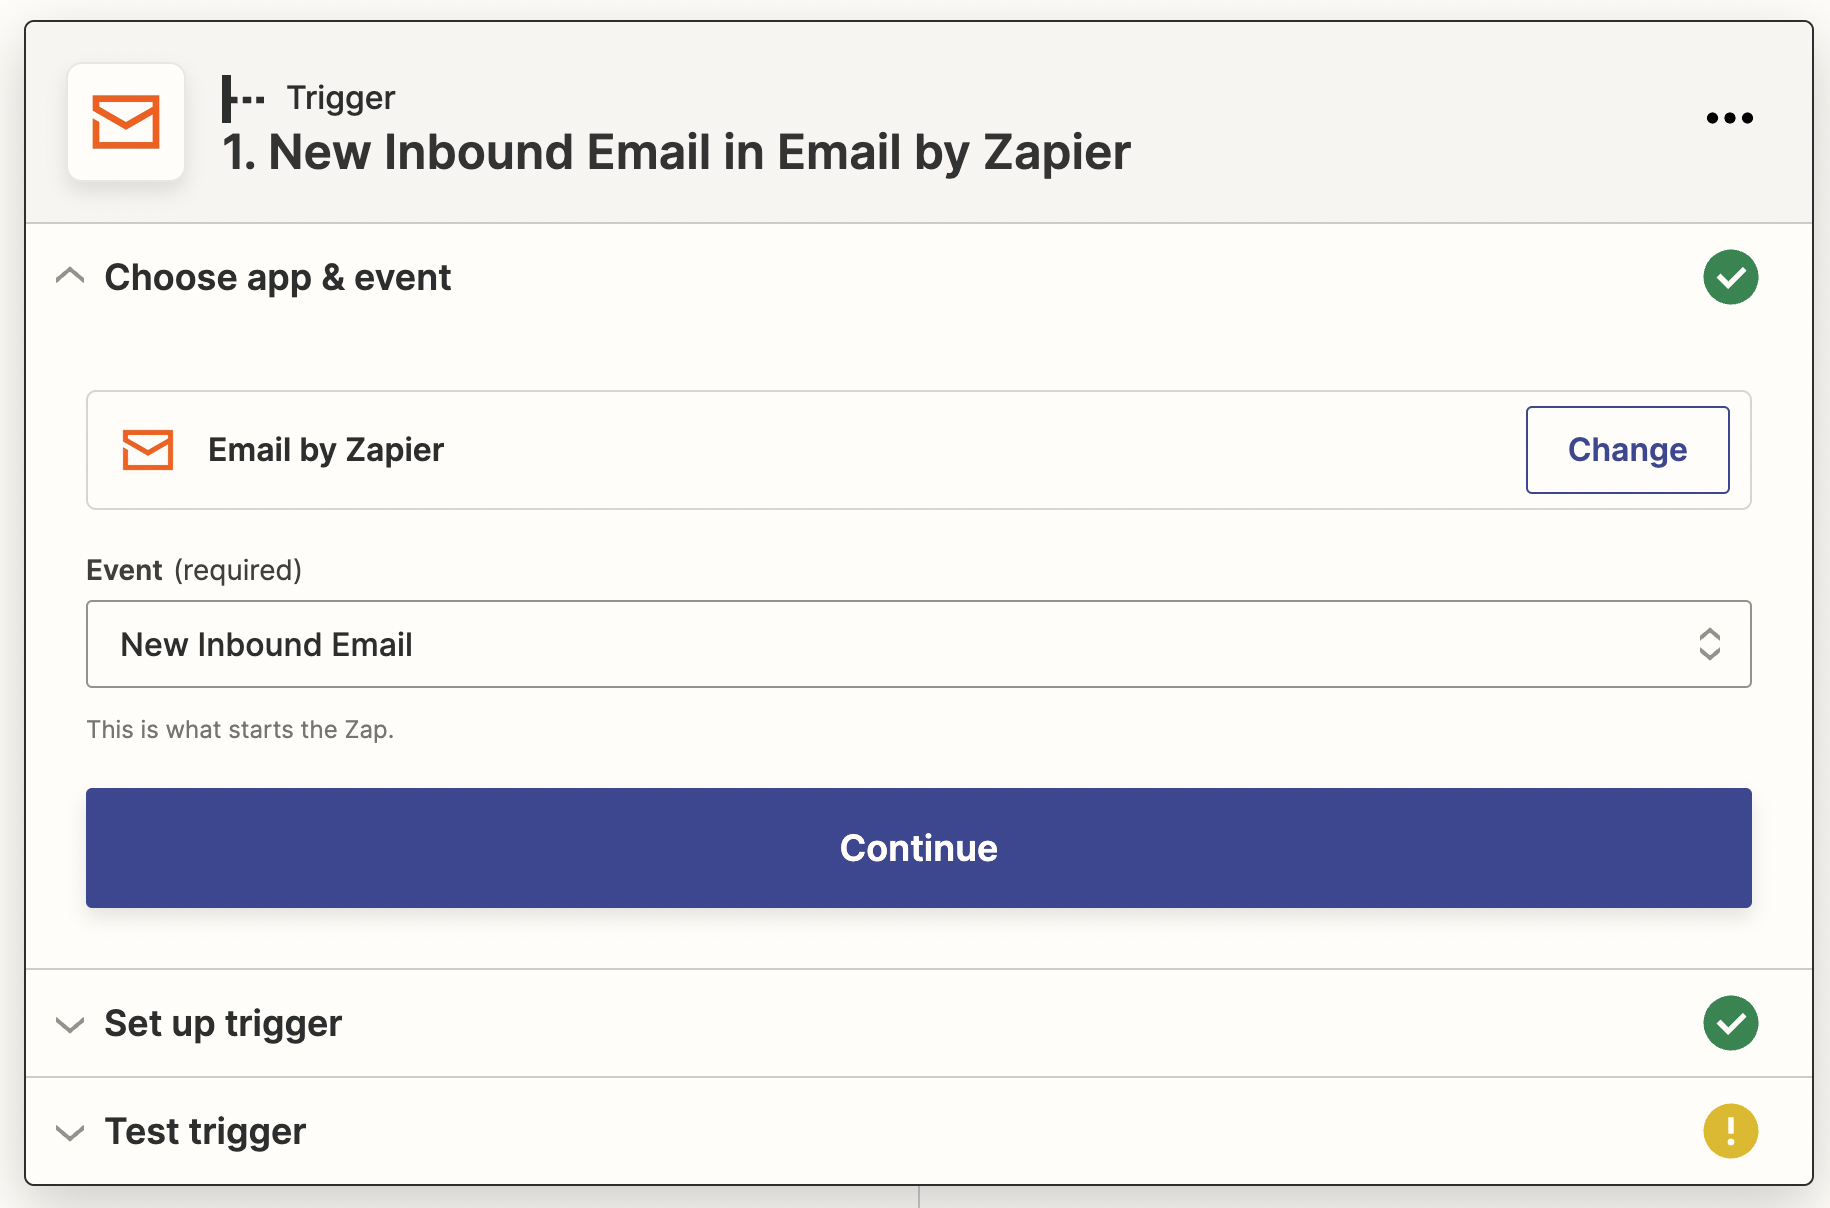 3. In the **Action** section, search for "incident.io":
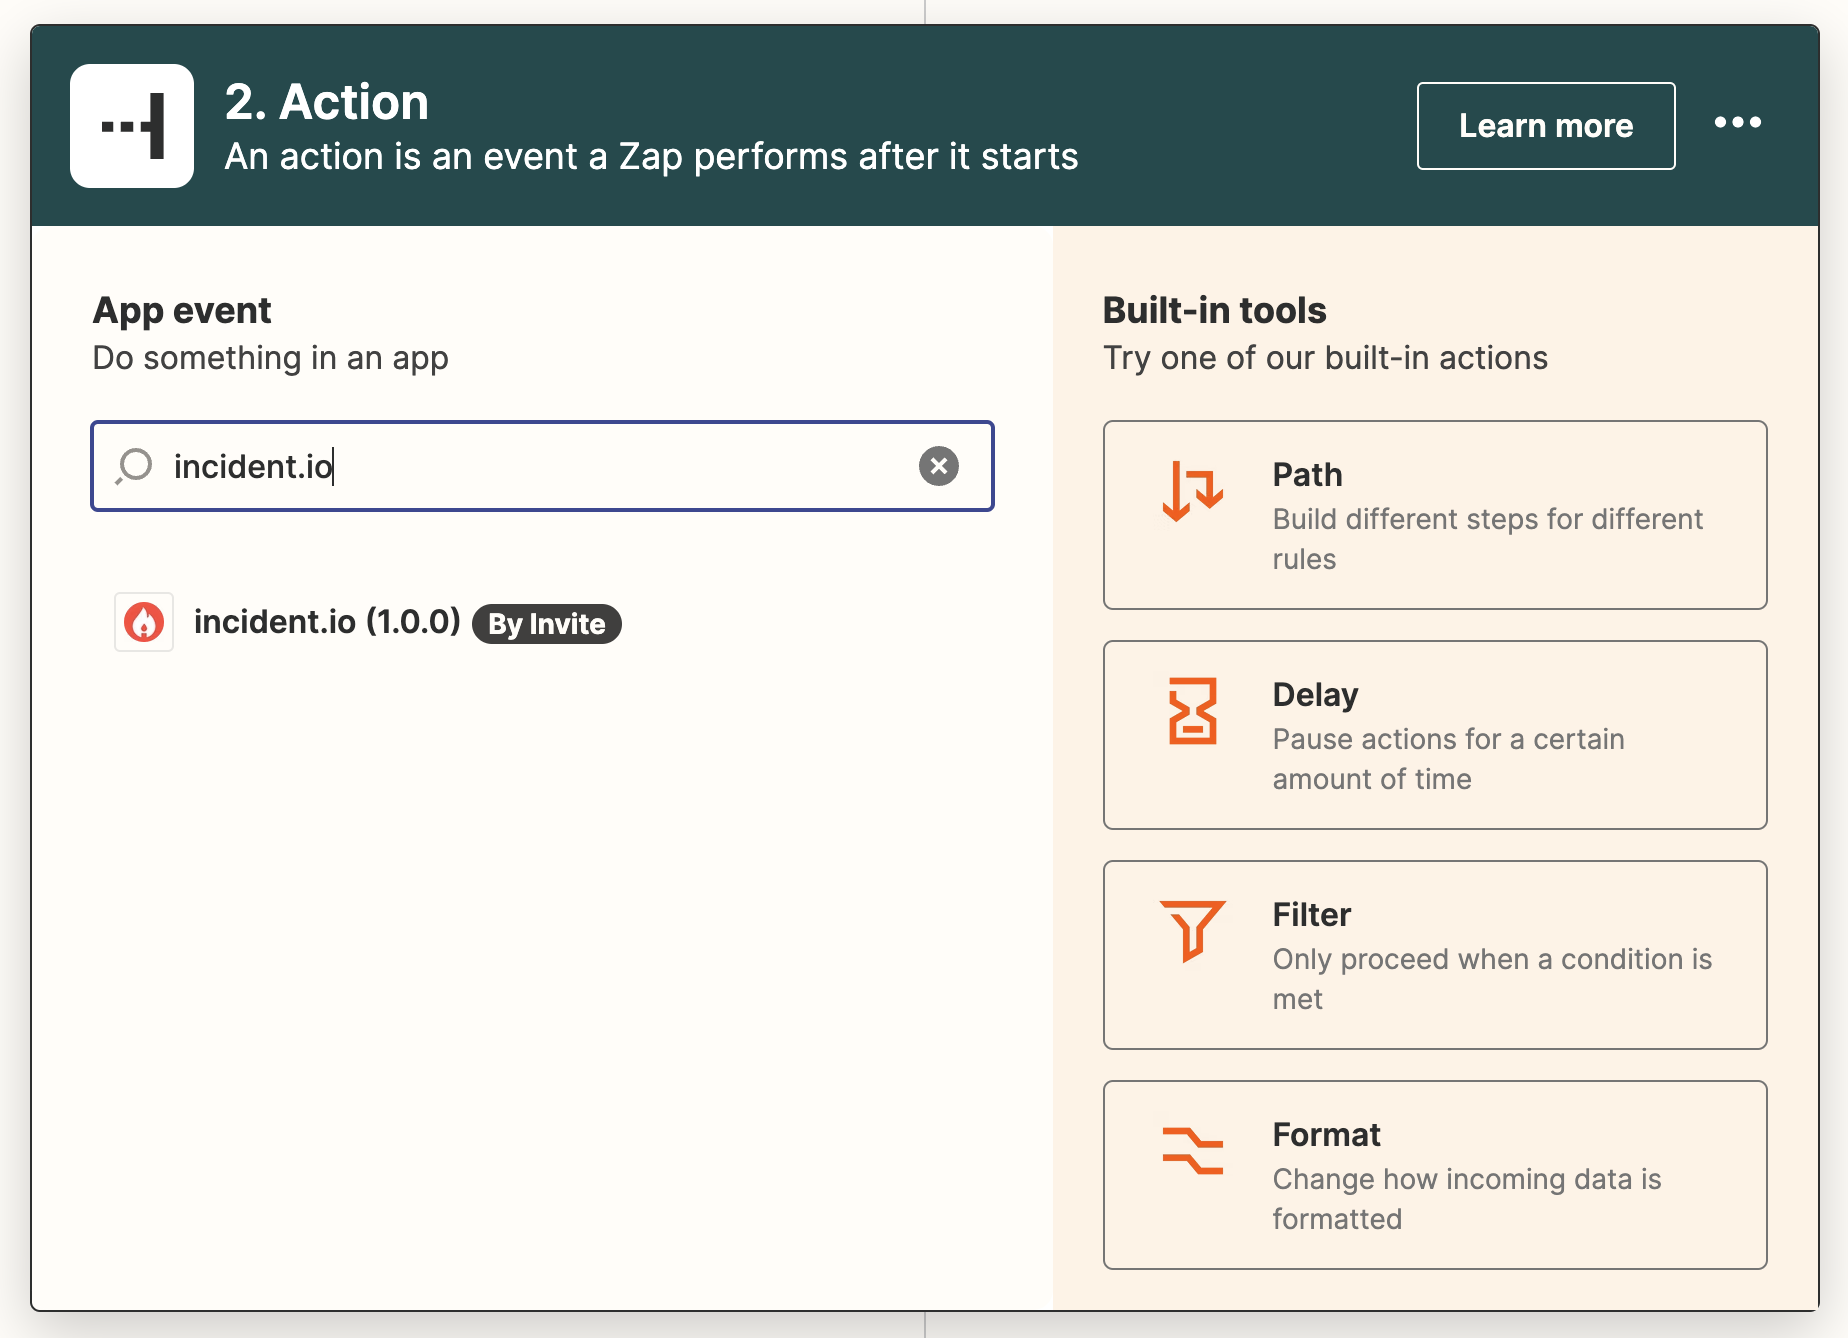 4. Select the **Create Incident** action:
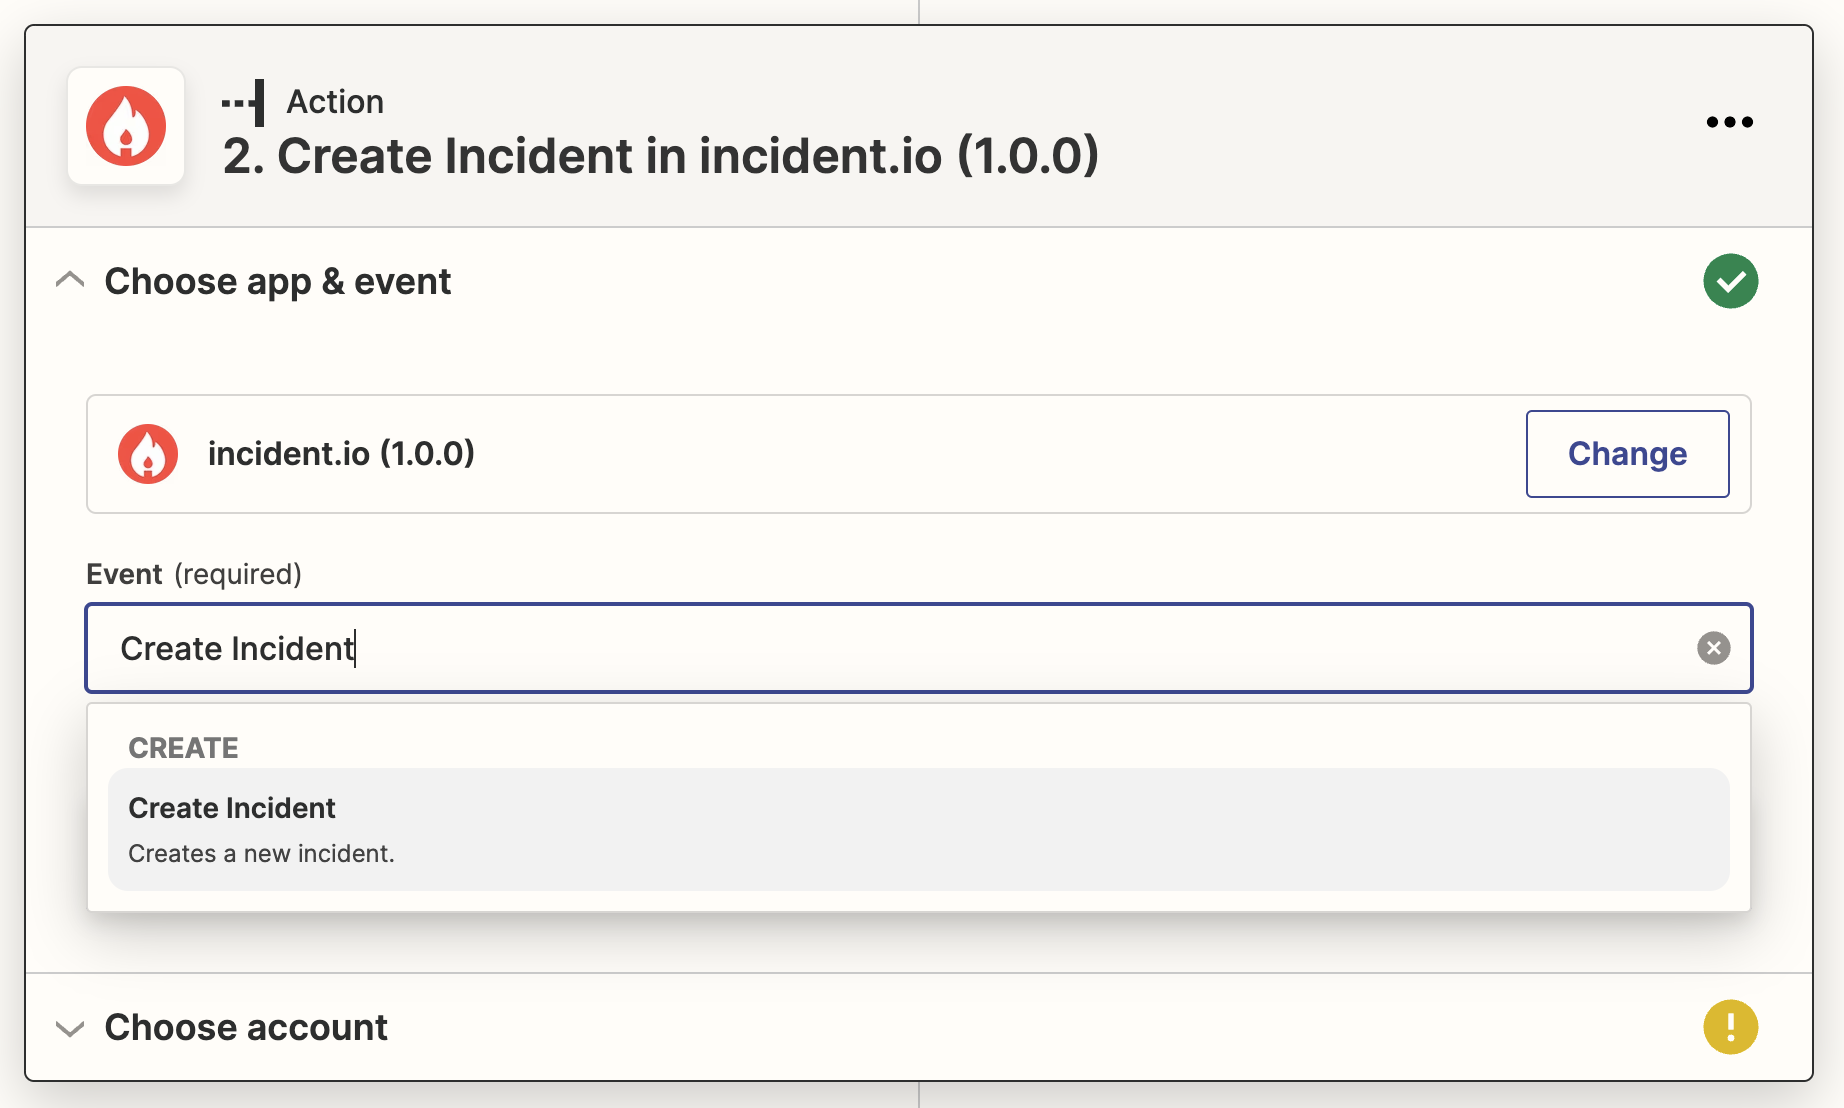 5. Click **sign in** to add an API key:
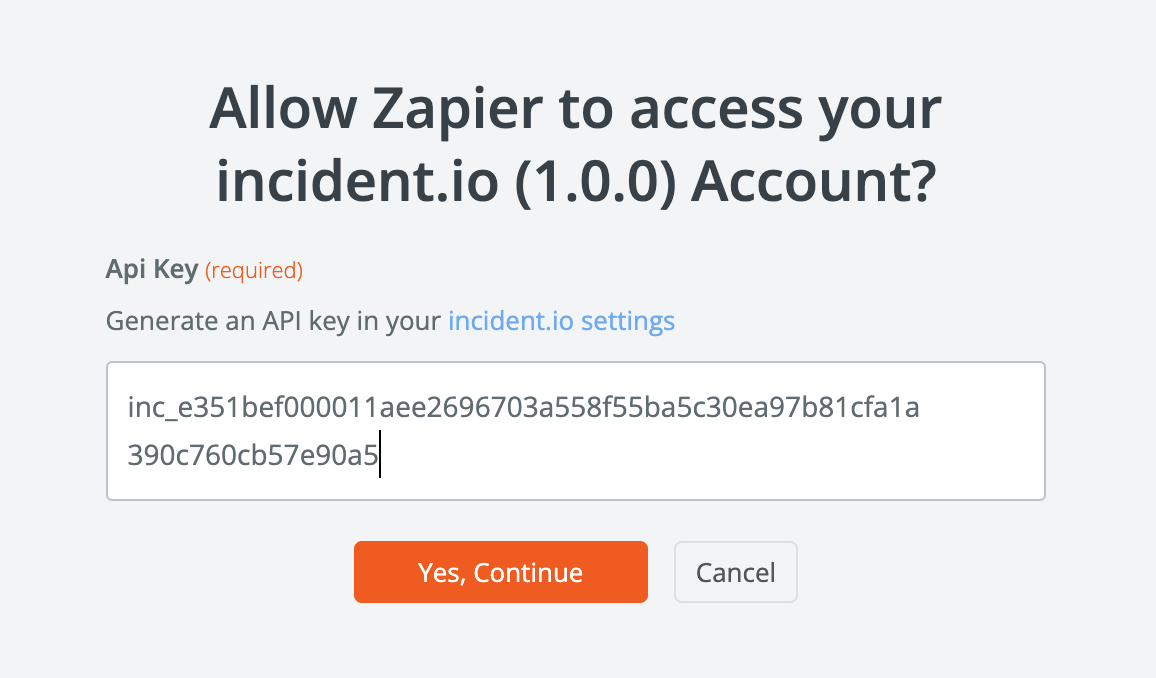
 This will open a new window where you can paste in an API Key. Generate one from the [**API Keys** section of our dashboard](https://app.incident.io/~/settings/api-keys). You'll need to give it permission to create incidents, view data (like public incidents and organization settings), and view catalog types and entries.
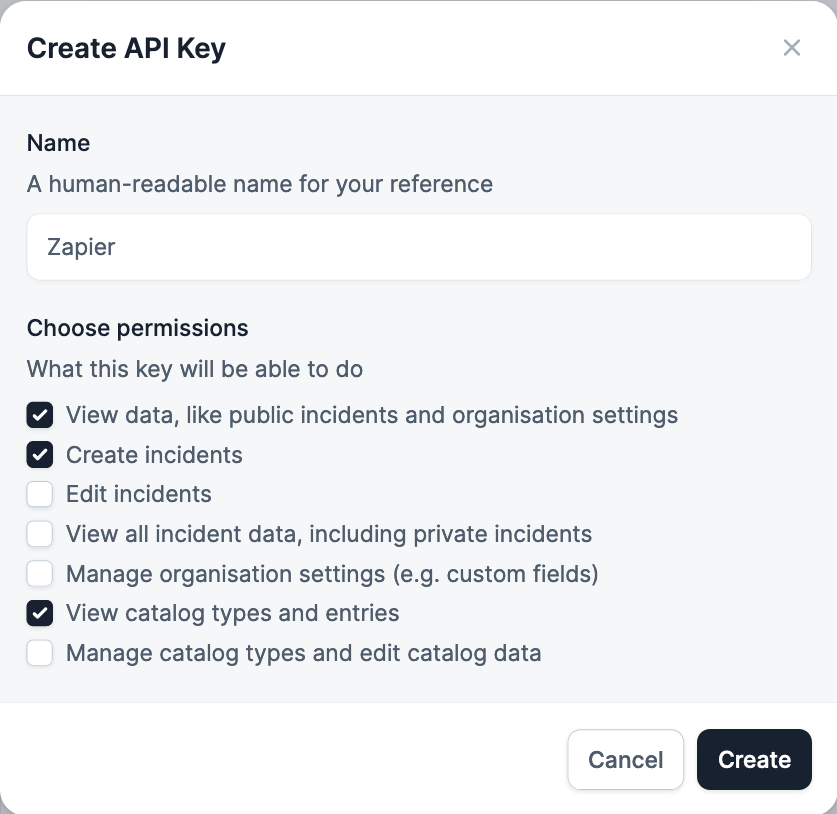 6. Paste the key into Zapier, and click **Yes, Continue**
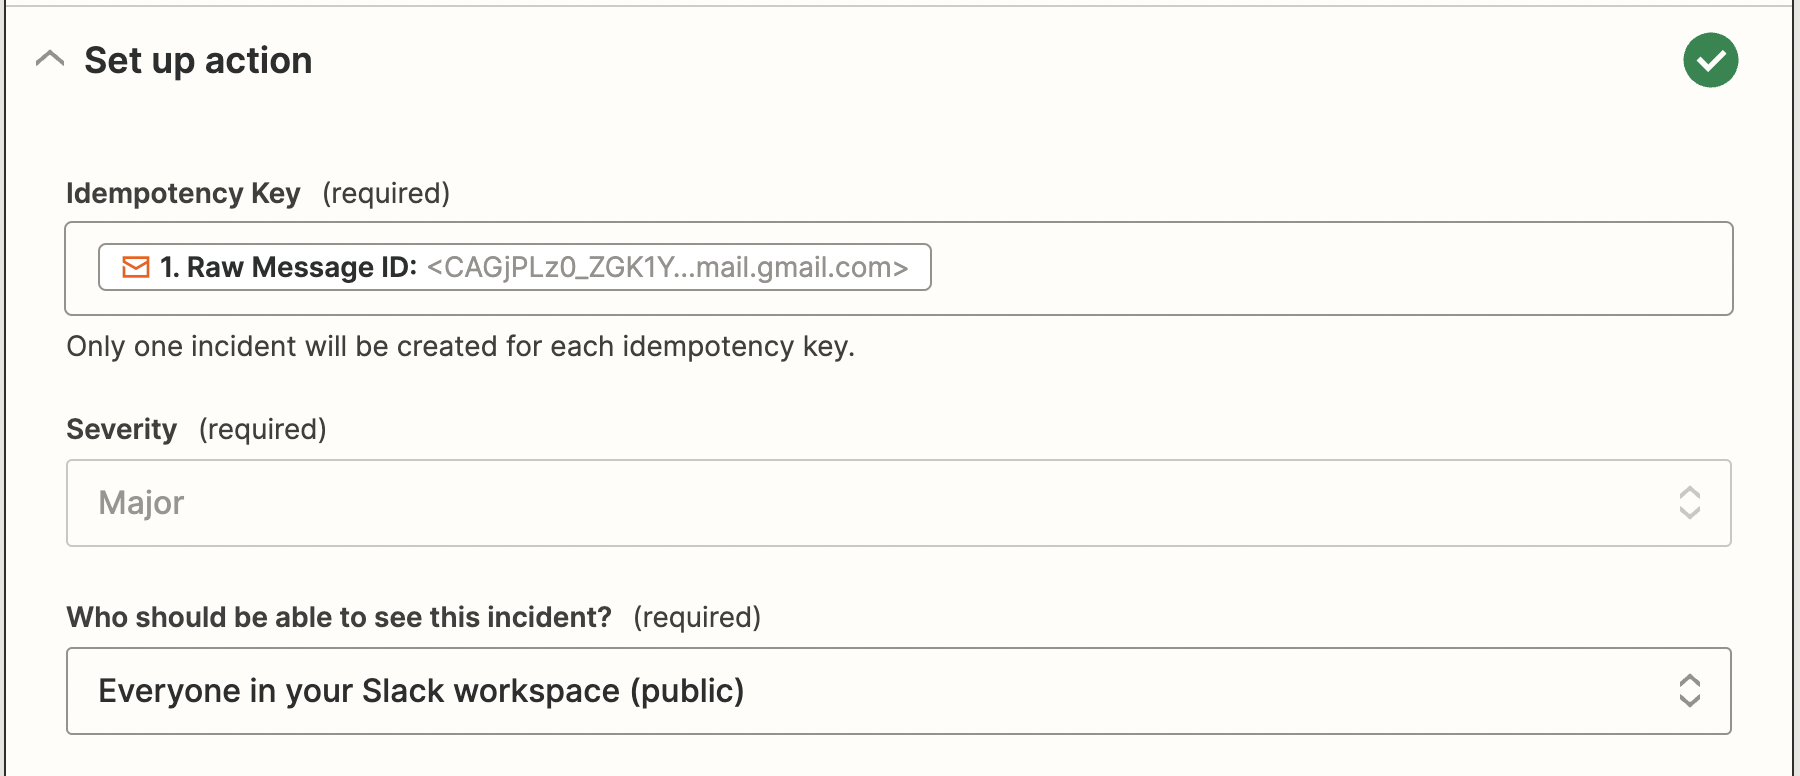
 7. Now configure the incident information: the minimum required fields are:
* **idempotency key**: we'll only ever create one incident for each unique value here, so this should be something that uniquely identifies the trigger. In this example, each email is assigned a **Message ID**, so using that as the idempotency key means we'll only open one incident for each email.
* Severity: select this from the dropdown
* Visibility: whether this incident should be public or private
7. Now configure the incident information: the minimum required fields are:
* **idempotency key**: we'll only ever create one incident for each unique value here, so this should be something that uniquely identifies the trigger. In this example, each email is assigned a **Message ID**, so using that as the idempotency key means we'll only open one incident for each email.
* Severity: select this from the dropdown
* Visibility: whether this incident should be public or private
 You can also pre-fill custom fields, and assign roles by either email address or Slack user ID.