Quick start
If you’re short on time, watch this 3-minute video on how to build a workflow in incident.io:Introducing workflows
Workflows allow you to automate certain actions and behaviors based on specific triggers. For example, incident.io can automatically invite users or user groups to a particular Slack channel when a specific custom field is set on an incident.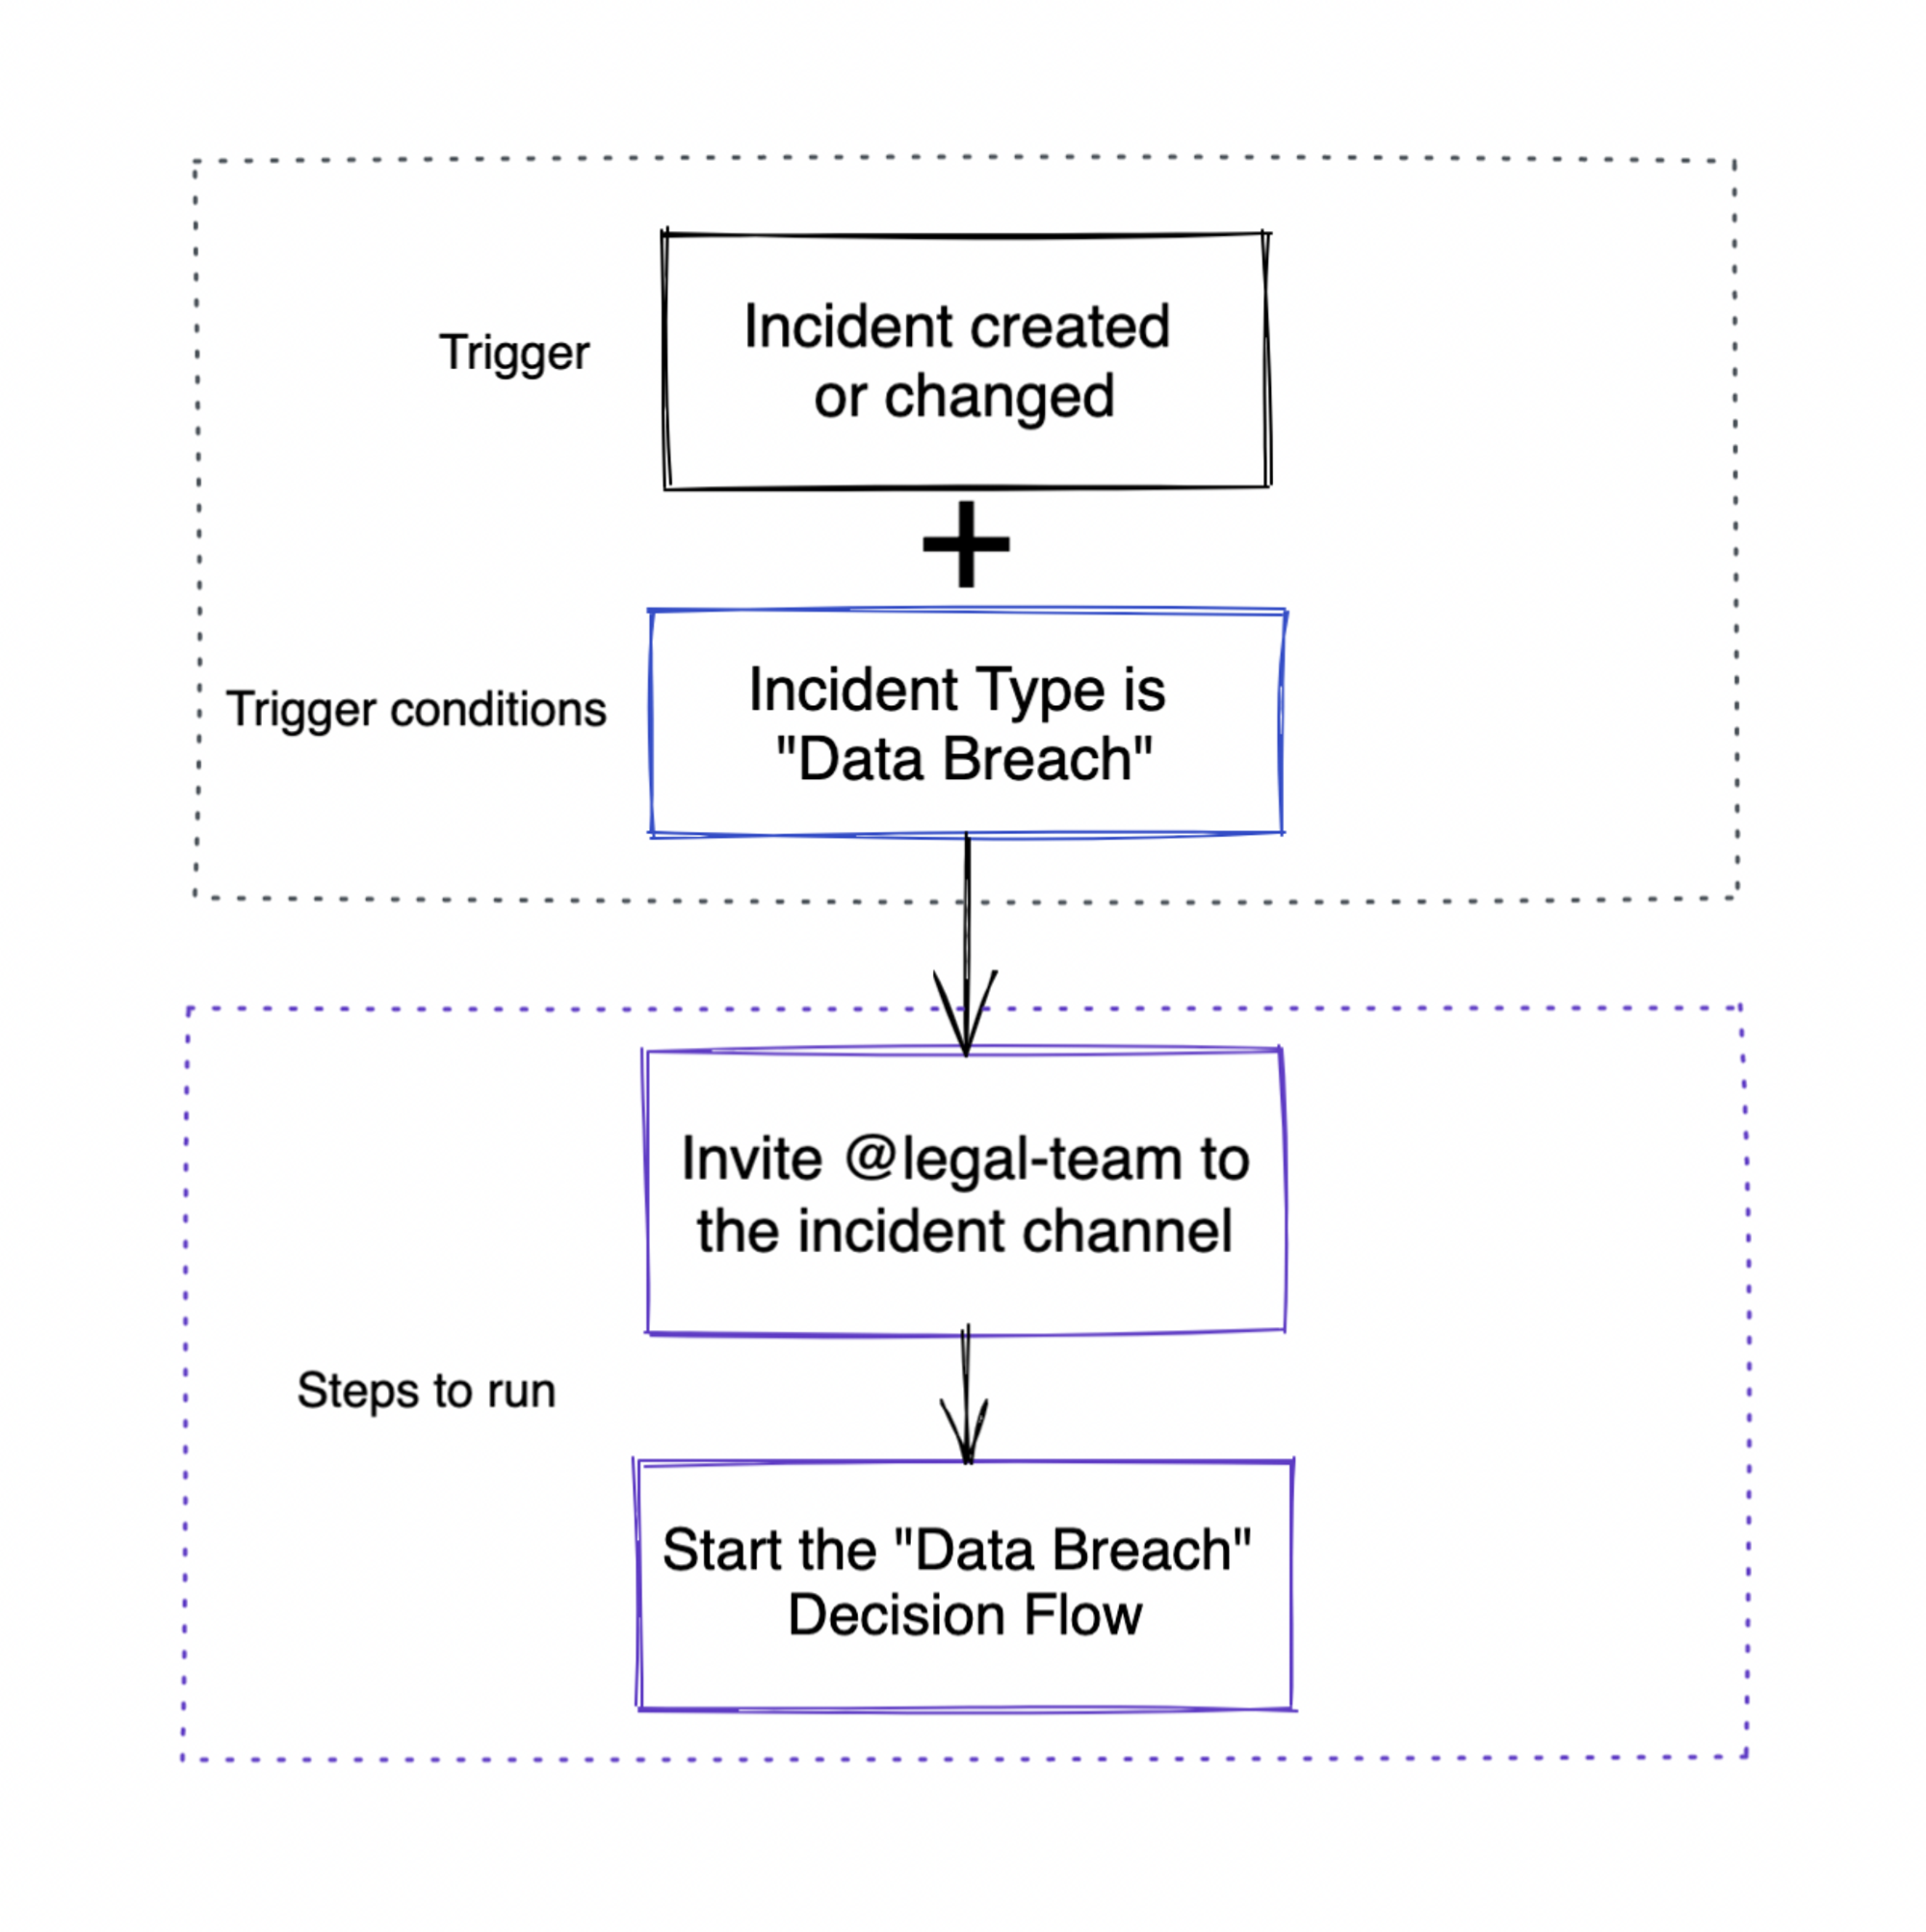
Parts of a Workflow
Triggers: what should cause the workflow to run
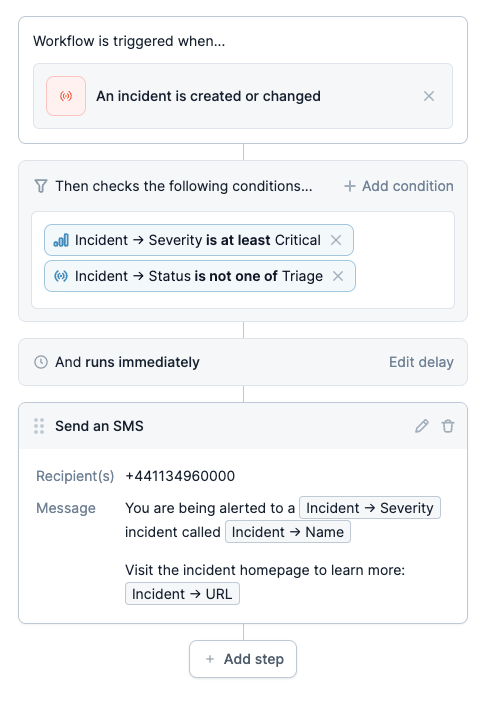
Think of a trigger as something that happens to set off a chain of events. You can choose from the following pre-defined triggers:- An incident is created or changed
- Someone joins an incident channel
- Someone posts a message in an incident channel
Conditions: which incidents or users this workflow should run for
Conditions are a set of criteria that control when the workflow should run. If you don’t set any conditions, the workflow will apply to all incidents/users. For example, if you choose the “someone posts a message in an incident channel” trigger, and don’t add any conditions, the workflow will run for every new message posted in the incident channel. Depending on the workflow trigger, you can choose from a number of fields such as:- Incident severity
- Incident role
- Incident status
- User (where applicable)
- Content of a Slack message (where applicable)
- Any custom fields you’ve defined
Steps: what should happen when the workflow runs
These are the actions or behaviors which happen when the trigger fires and the criteria for the workflow are met. A workflow can have one or more steps, which will be executed in order. Just a few examples are:- Send a message to a Slack channel
- Send a direct message to one or more users
- Post an incident announcement in a Slack channel
- Create incident actions
- Create incident follow-ups
- Prompt a Decision Flow
- Invite a user or user group to the incident channel
Viewing your workflows
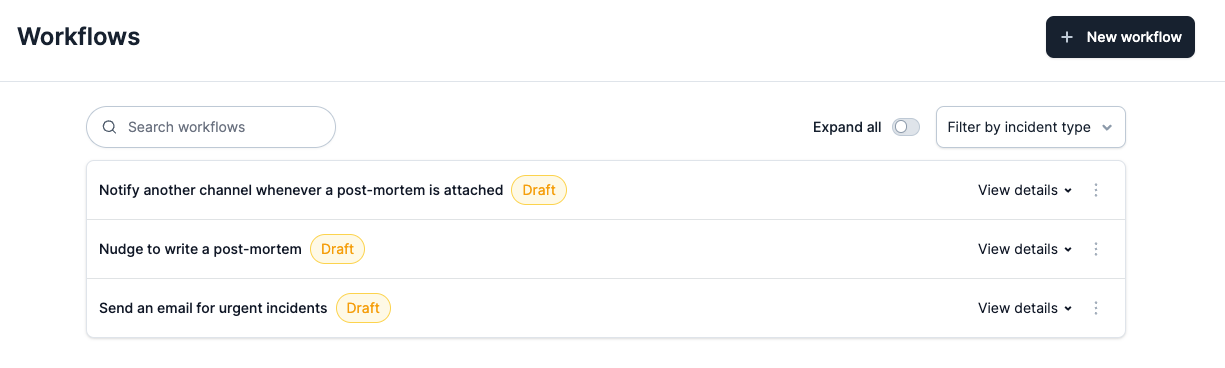
The “Workflows” link on the top menu bar of the Web UI takes you to Workflows Home. This is where you can see - and make changes to - your organization’s workflows. If you don’t have any workflows yet, you’ll see a list of templates that you can use to get started.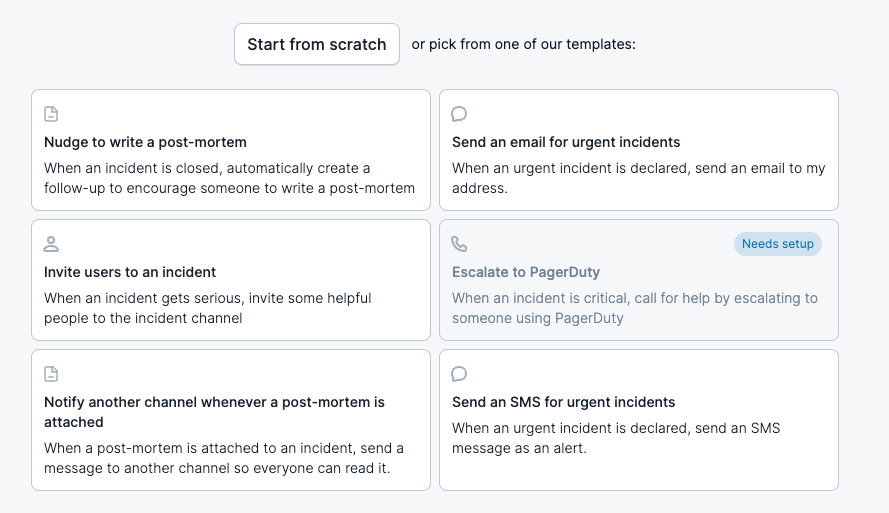
Creating a workflow
Getting started
From a template
From the Workflows Home page, find the top section with the heading “Templates”. In the template you want to set up, click “Start from this template”.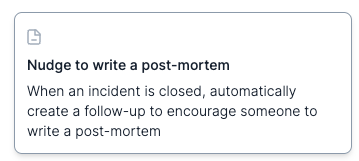
From scratch
Create your own workflow from scratch by clicking “New workflow” in the top right-hand corner of Workflows Home.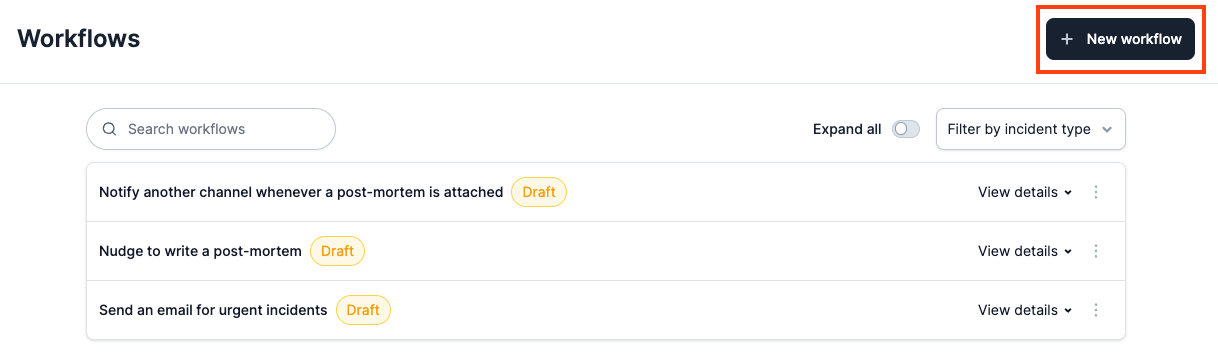
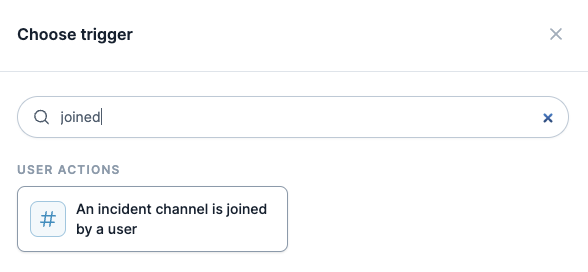
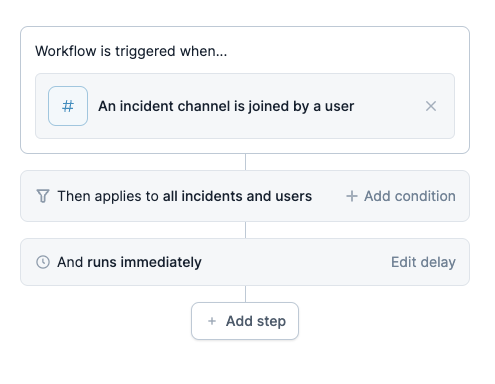
Configuring your workflow
Name
Give your workflow a name that describes what it does. We’ll use this name in the list of workflows you see when you open Workflows Home, and we’ll link back to it when your workflow posts in Slack. If you don’t pick a name, we’ll create one for you!
Conditions
Here, you can choose the specific criteria that will control whether or not the workflow runs when the trigger fires. For example, you might want to only run the workflow for incidents with particular severity, or incidents where you’re the incident lead. If you don’t add any conditions, the workflow will run for all incidents (and if your trigger involves users, e.g. “when someone joins an incident”, it will run for all users). Click the “Add condition” button to add a new condition. In the dialog that appears, click the entity you want to filter for this condition. The options you get will depend on the entity you’ve selected but might includeis set / is not set, contains, or is one of / is not one of.
Not all operators support values - for example, is set or is not set is a simple true or false value, so you won’t be able to choose a value for that.
is one of and is not one of operators will give you a list of values to choose from: you can choose as many as you like.
Steps
Steps are the tasks that the workflow will execute when the conditions are matched. For example, they might include posting a message or inviting a Slack user to a particular Slack channel. You can add multiple steps to a workflow (maximum 20). You need to add at least one step before you can save your workflow. Click the “Add a step” button to add a new step to your workflow. In the dialog that appears, choose the step you want to add.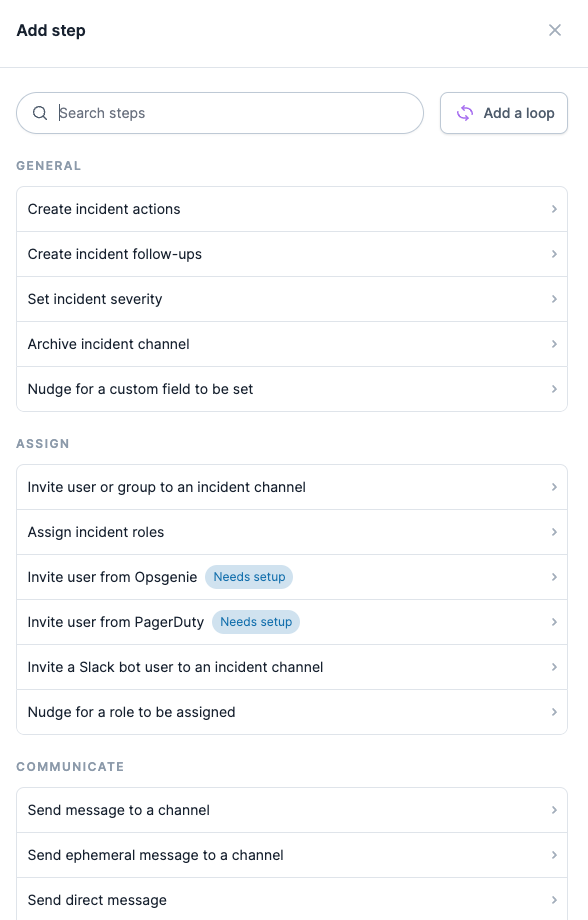
Trigger options
If an option has a “Use variable” button next to it, it’s a special dynamic value that depends on the incident - for example, “Incident Slack channel” will be the Slack channel that incident.io creates for a given incident, and will be unique for each incident.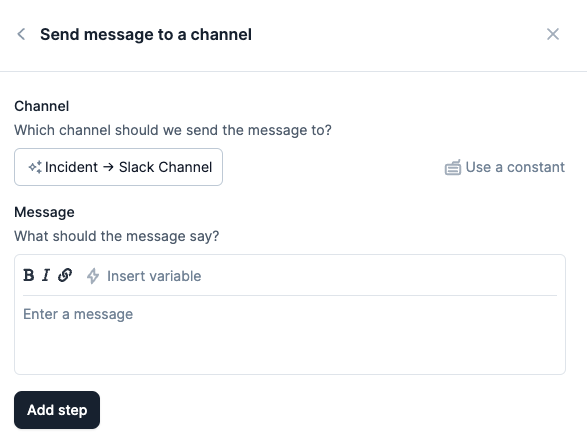
Saving your new workflow
Once you’ve finished adding steps, click the “Save as draft” button at the bottom of the page. If you’re ready to set this live, then hit the “Save and set live” button. Once you’ve set this live, you’ll just see a “Save” button.Viewing workflow details
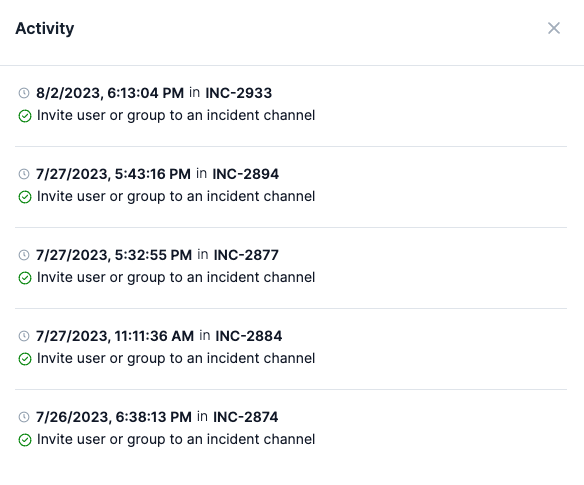
When editing a workflow, you can hit the Activity button to view the run history.
Testing a workflow
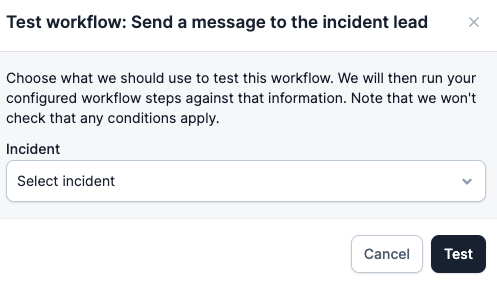
Testing a workflow will check that your steps work as you expect them to. Due to technical limitations, you can’t currently test any workflow conditions. Click the “Test” button at the top of the workflow.
Test workflow dialog will send your workflow’s message to that user once you click “Test”. For this reason, we advise that you choose your own name!
Team ownership
You can set one or more teams as Owner of a workflow. Ownership decides which team the workflow appears under in their team views. If your organization uses team roles, it also decides who’s allowed to manage the workflow. Set the owner using the Owned by control at the top of the workflow editor, or from the Advanced settings panel.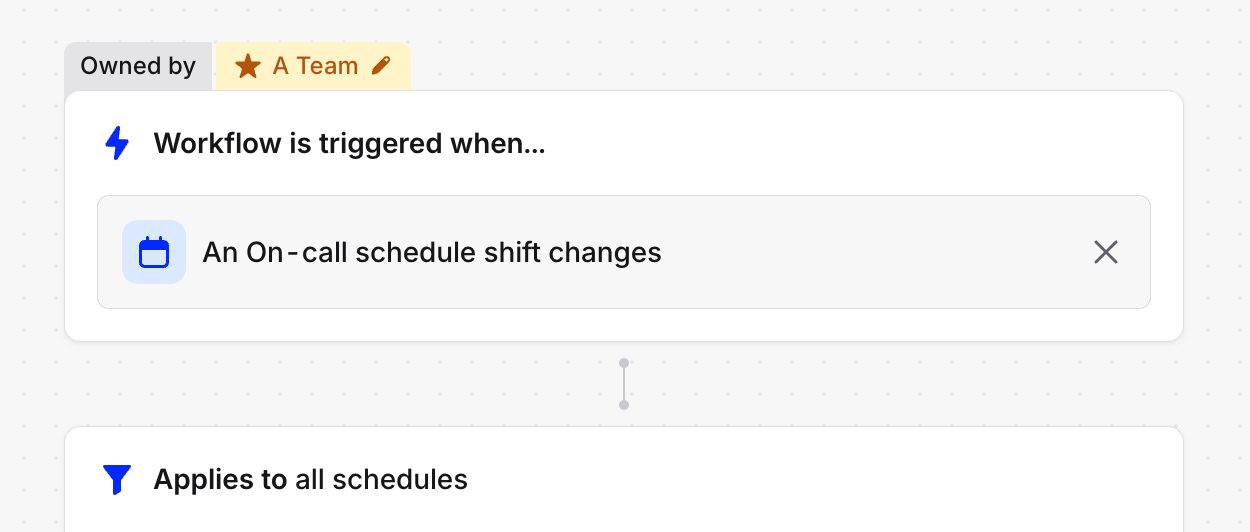
Setting the owning team on a workflow
Make changes to an existing workflow
Click the name of the workflow you want to edit. Here, you can make changes to the name, conditions, and steps.