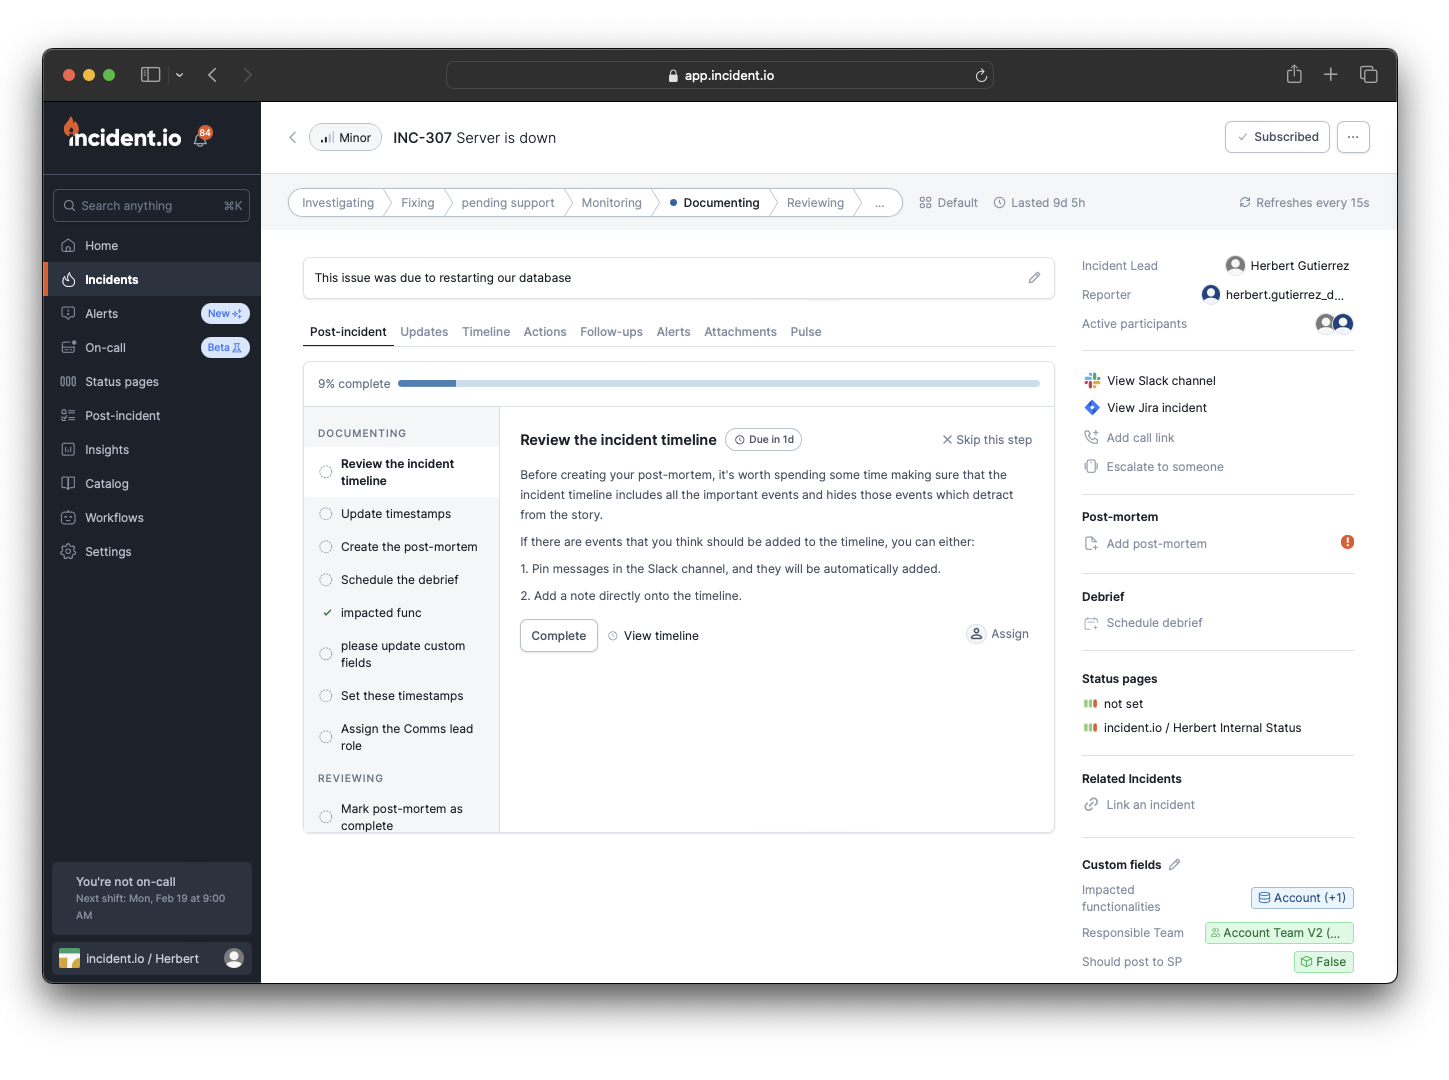
After an incident is resolved, there are usually steps you can take to learn from it and improve for the future. By doing so, you may be able to prevent the incident from happening again or improve your response to similar incidents. The Post-Incident Flow provides a way to define a set of tasks that should be completed after an incident is resolved, but before it is closed. You can also choose which types of incidents should go through this process. For example, you may only want to use this flow for major incidents.

Configuring the Post-Incident Flow

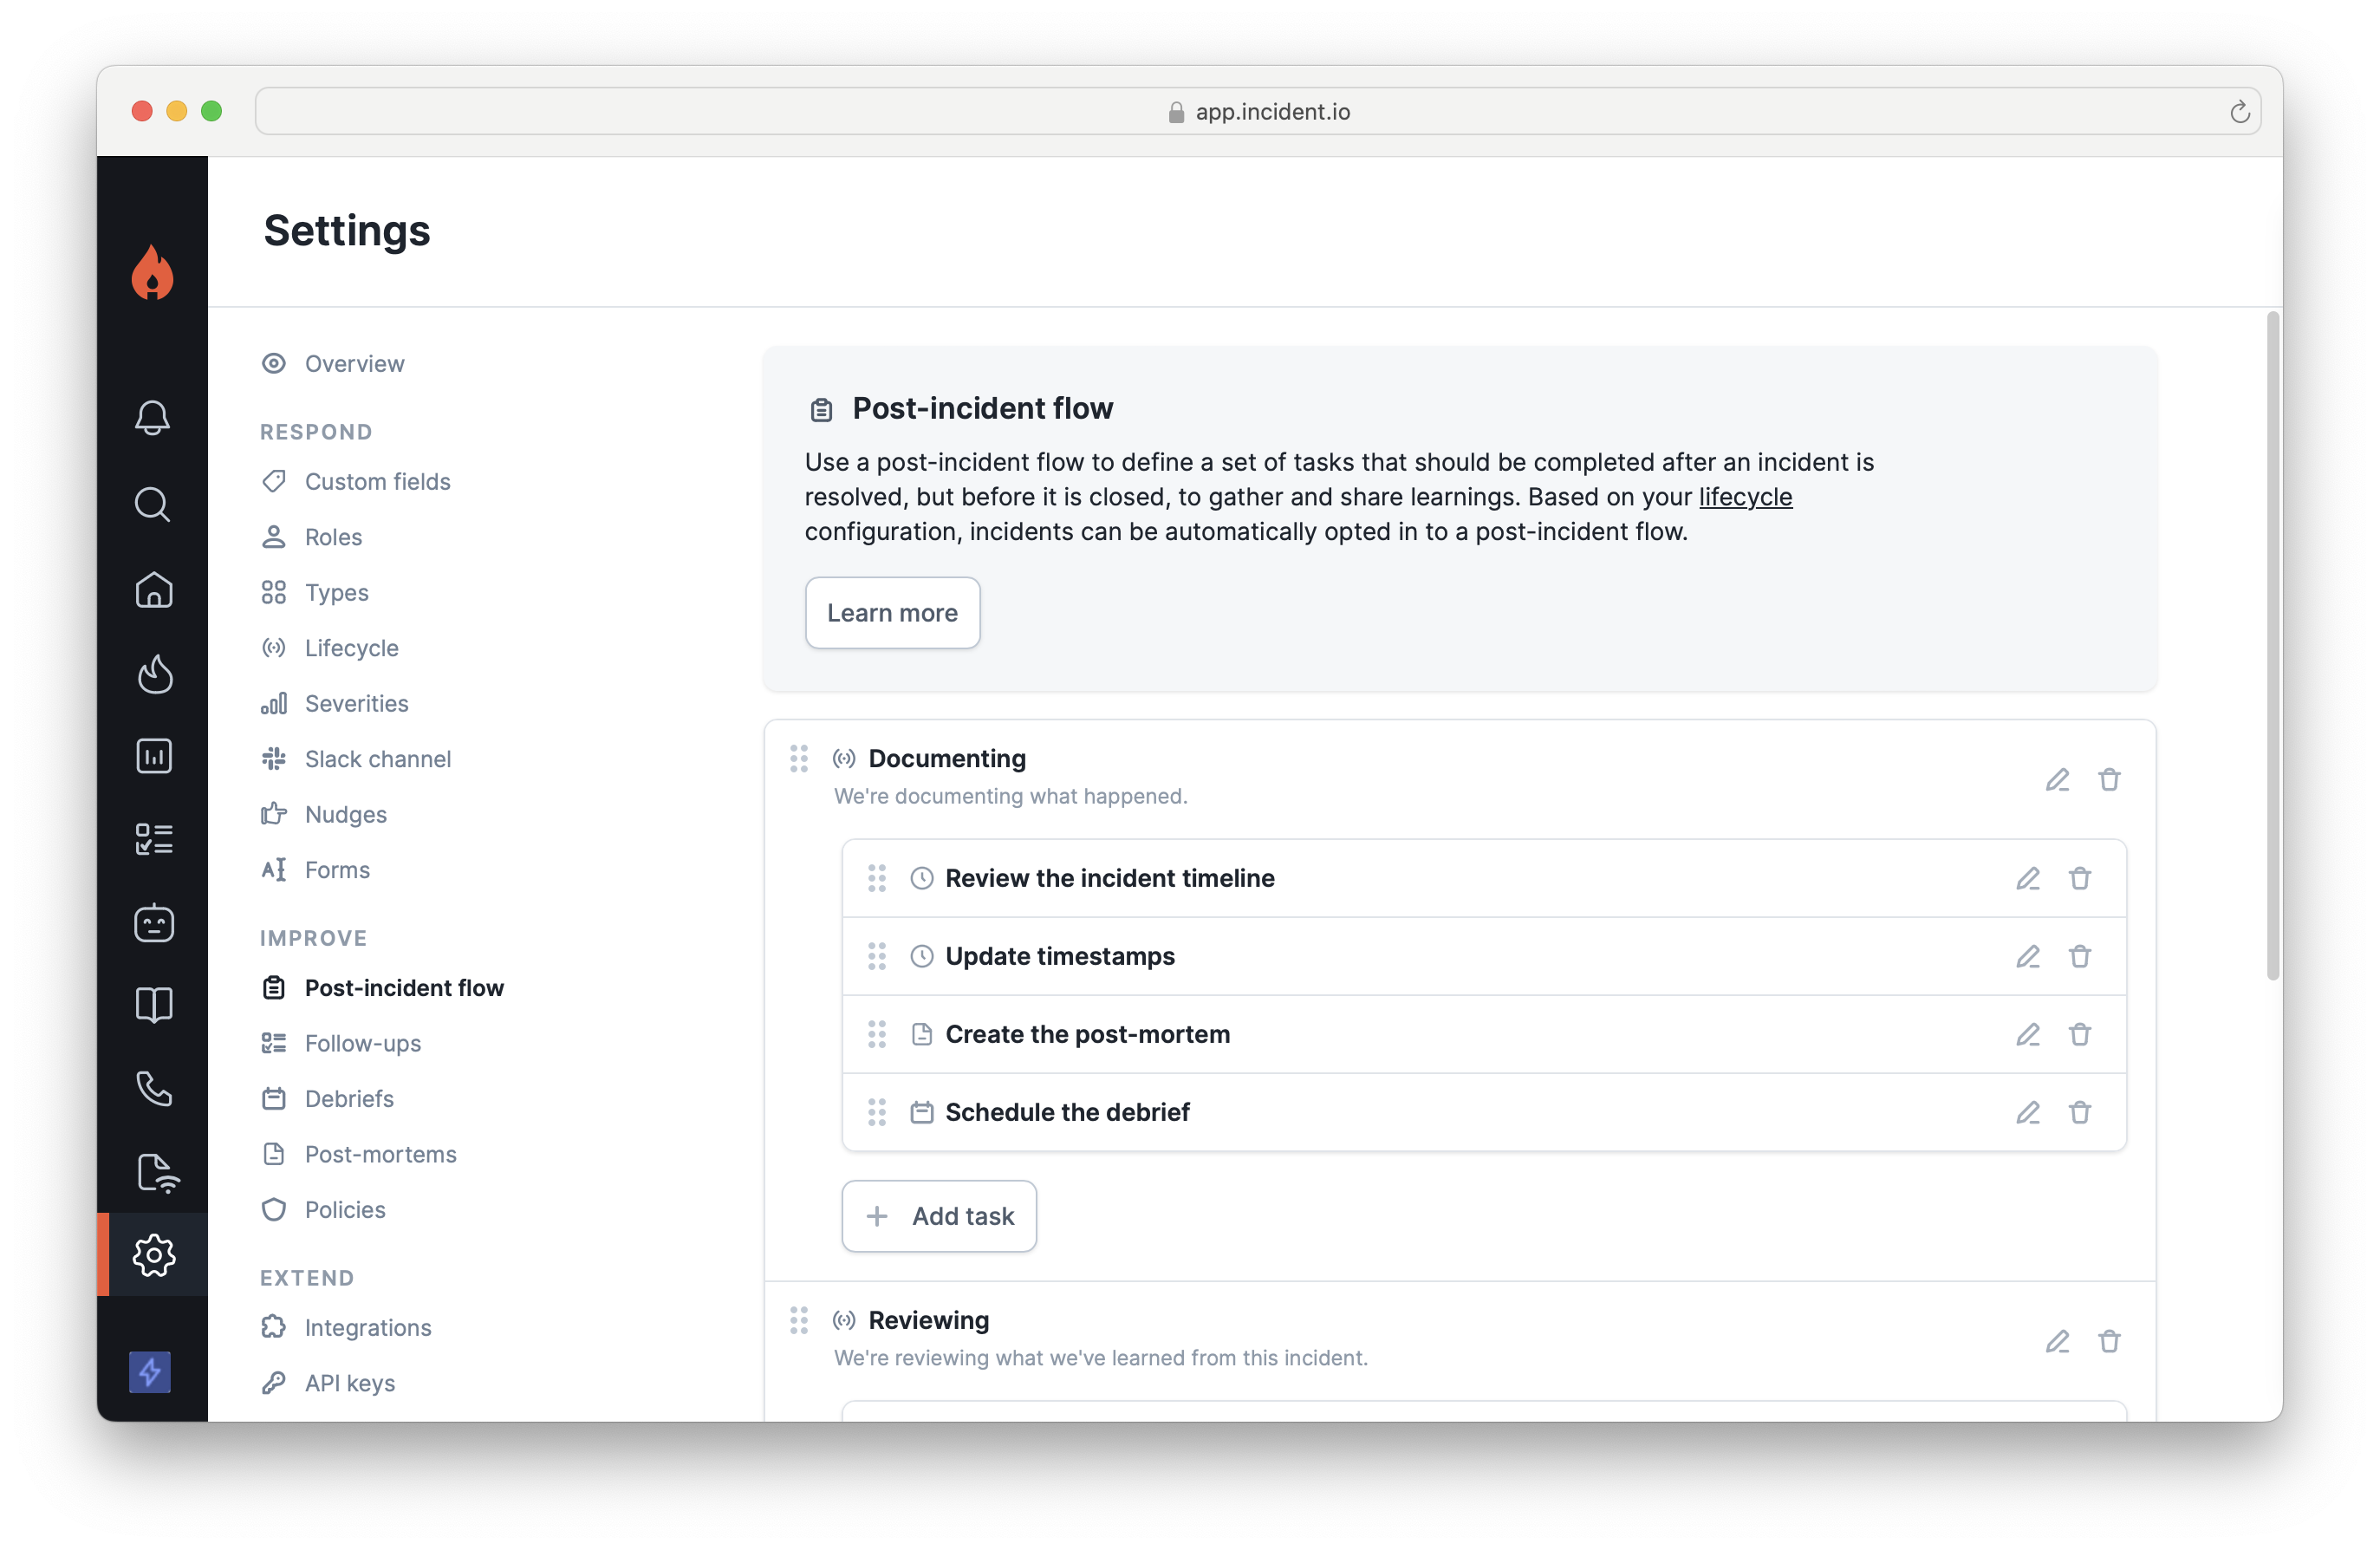
To define the steps that you’d like to take to learn from your incidents, head into your Settings → Improve → Post-incident flow. By default, we create a flow with two parts: Documenting and Reviewing.
Statuses in the post-incident section are unlike other statuses. They have the following key differences: 1. Post-incident statuses have tasks associated with them. These are things like “Create a post-mortem”, or “Schedule a debrief”. 2. Users don’t manually move through post-incident statuses using /inc update. Instead, incidents are automatically moved through the statuses as their tasks are completed or skipped.
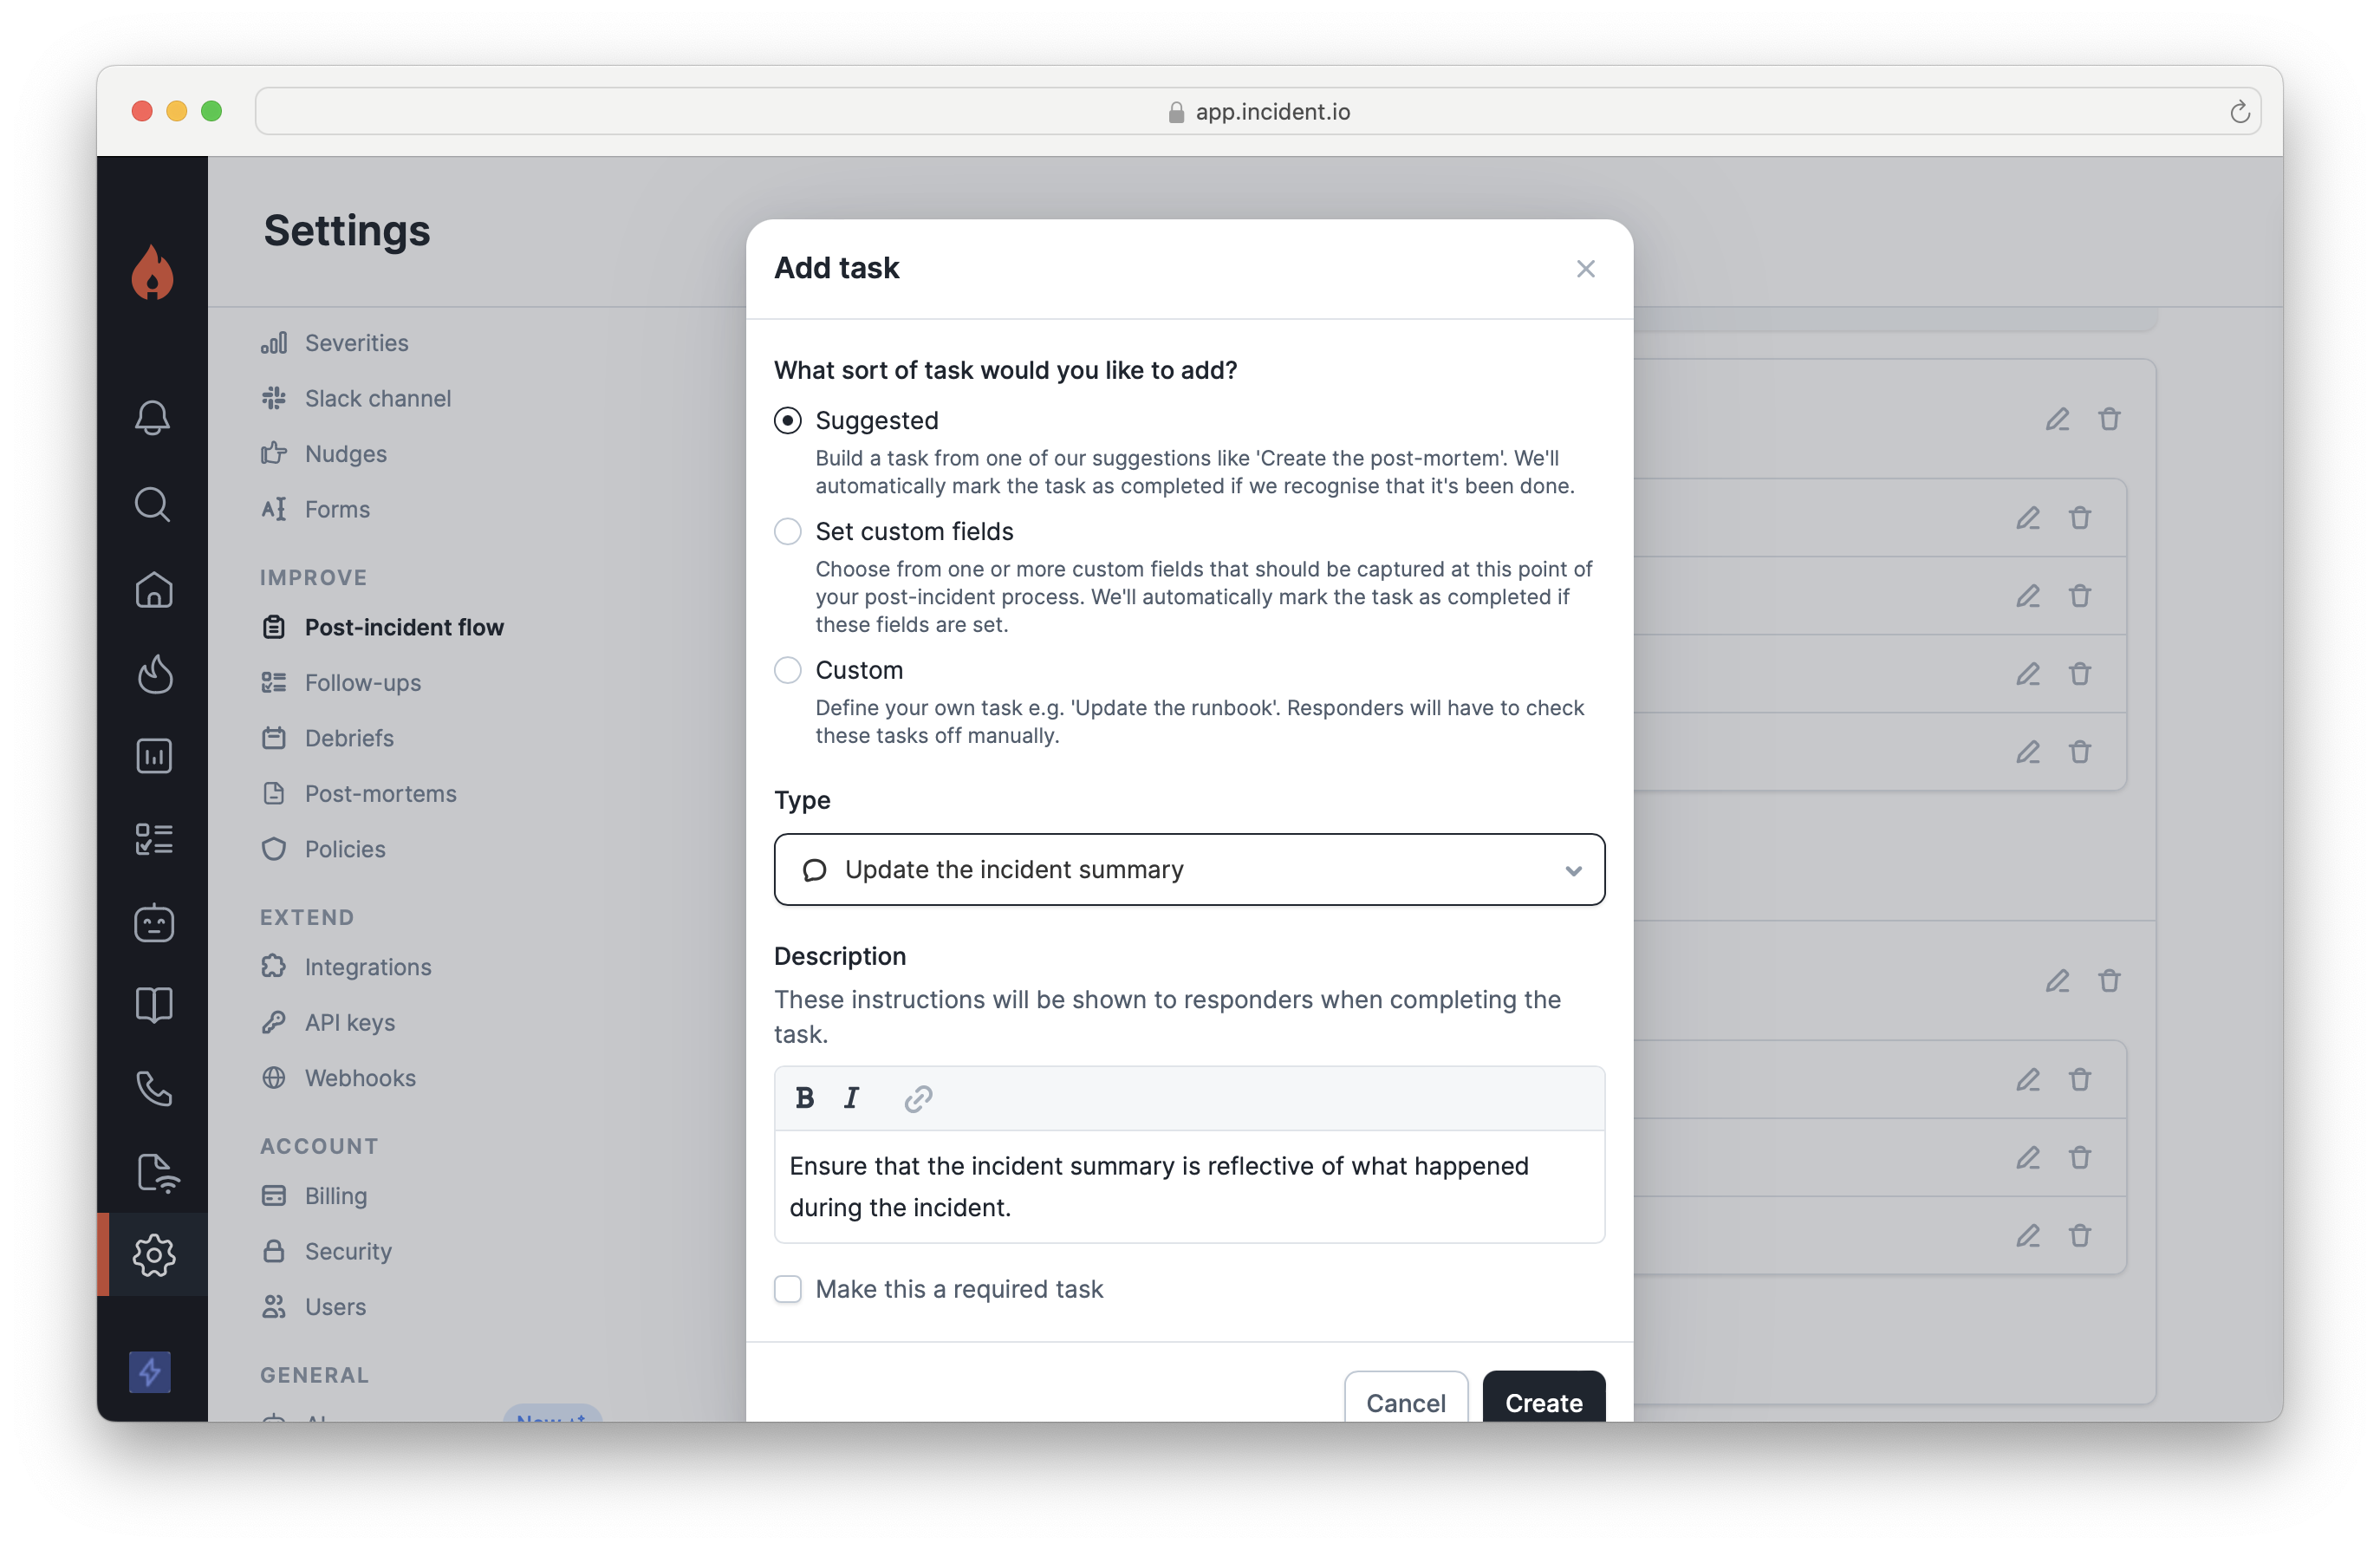
To configure the tasks for the post-incident flow, you can either add or edit an existing task. Each task has a customizable description that you can use to give instructions to your responders.
Customers on our Pro and Enterprise plans can also create fully-custom tasks, with their own title and description. On Enterprise, you can additionally configure different post-incident flows for different incident types.
By default, there are several suggested tasks. Several of these are automatically resolved in response to actions in incident.io, such as ‘Marking a post-mortem document as complete’. Currently, the suggested tasks we support are:
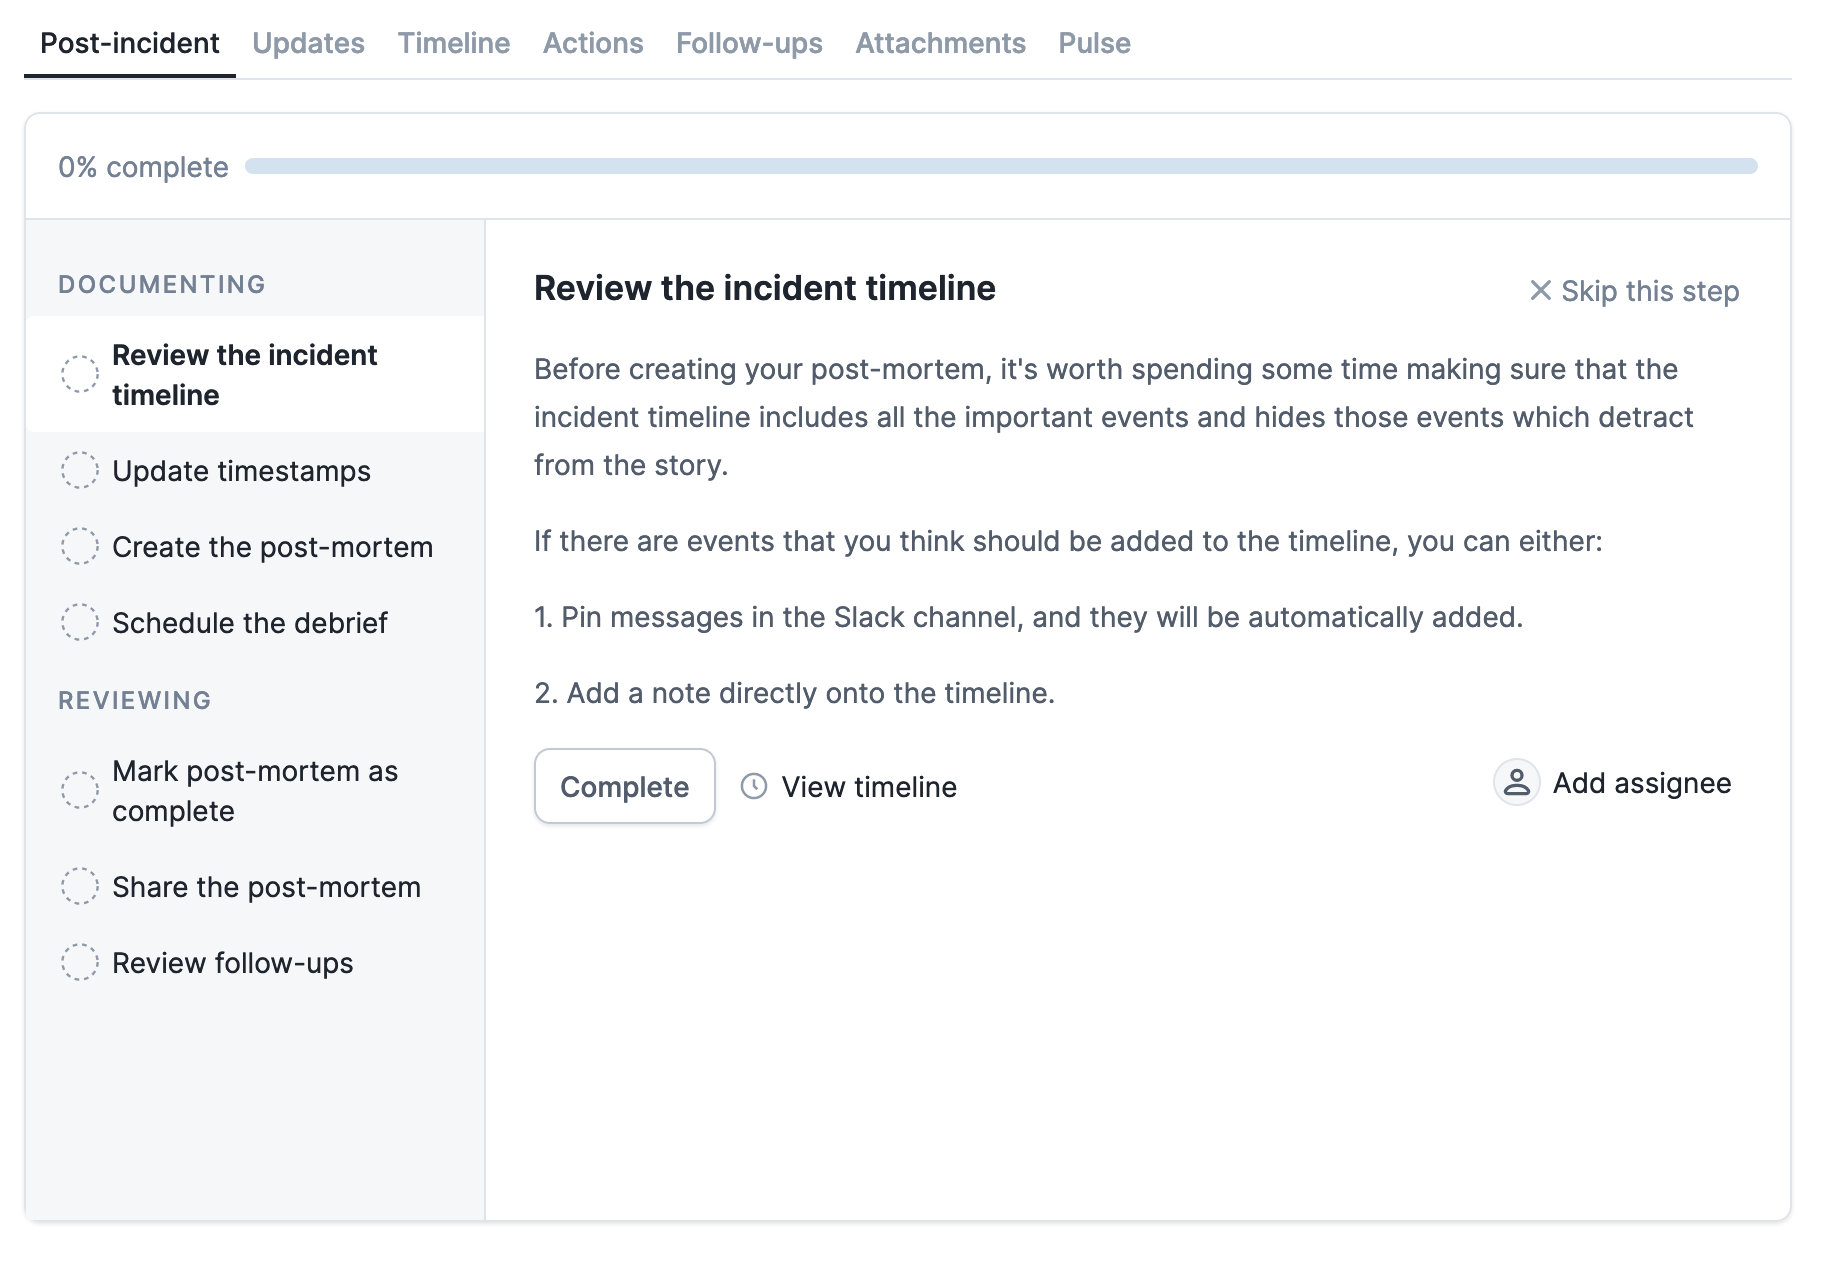
  • Reviewing the incident timeline - which contains a link to jump to the incident timeline.
  • Creating a post-mortem document - which will be automatically completed when a post-mortem document is attached to the incident.
  • Schedule the debrief - which contains a button to create a Google calendar event with all the users involved in the incident.
  • Mark the post-mortem document as complete - which will be automatically completed when the post-mortem document is marked as complete
  • Share the debrief document - which is automatically completed when you share the post-mortem to a Slack channel
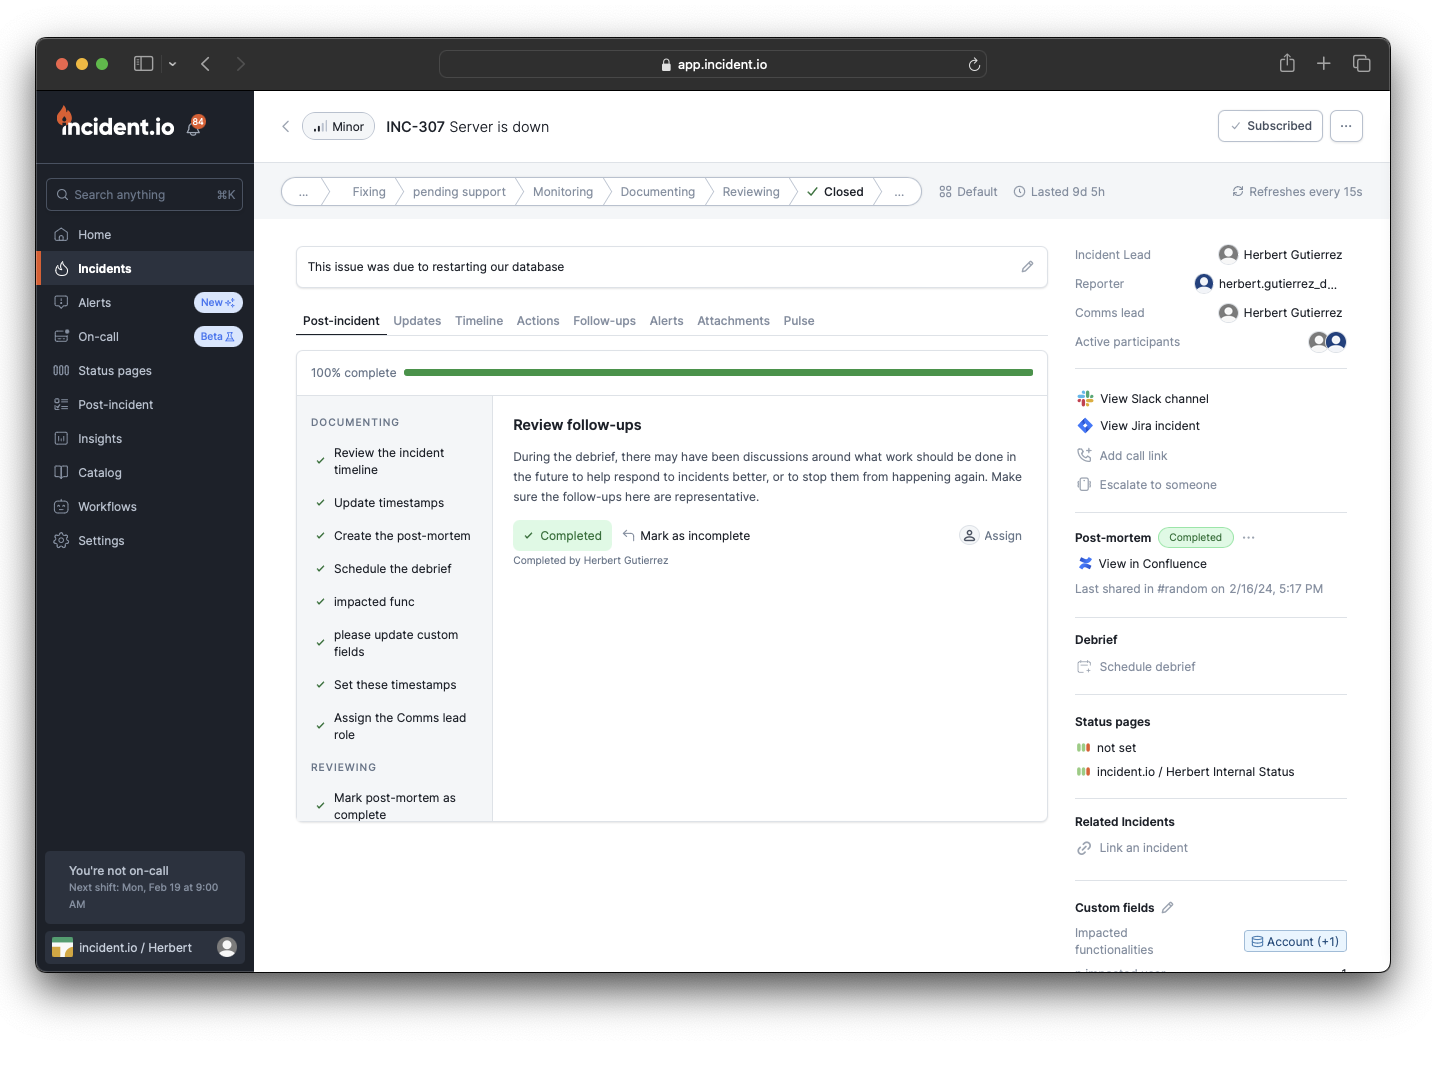
  • Review follow-ups - which contains a link to open the incident’s follow-ups
  • Assign the {insert role} role - which allows you to choose an incident role that must be assigned
Please note that if you add new tasks, these will only apply to future incidents going into the post-incident flow. Existing incidents will only contain tasks that were defined when that incident entered the post-incident flow. If an incident’s post-incident tasks are deleted, it’ll no longer automatically move to the next status. In these cases, you can manually move the incident to the next status via the dashboard.

Requiring incidents to go through the post-incident flow

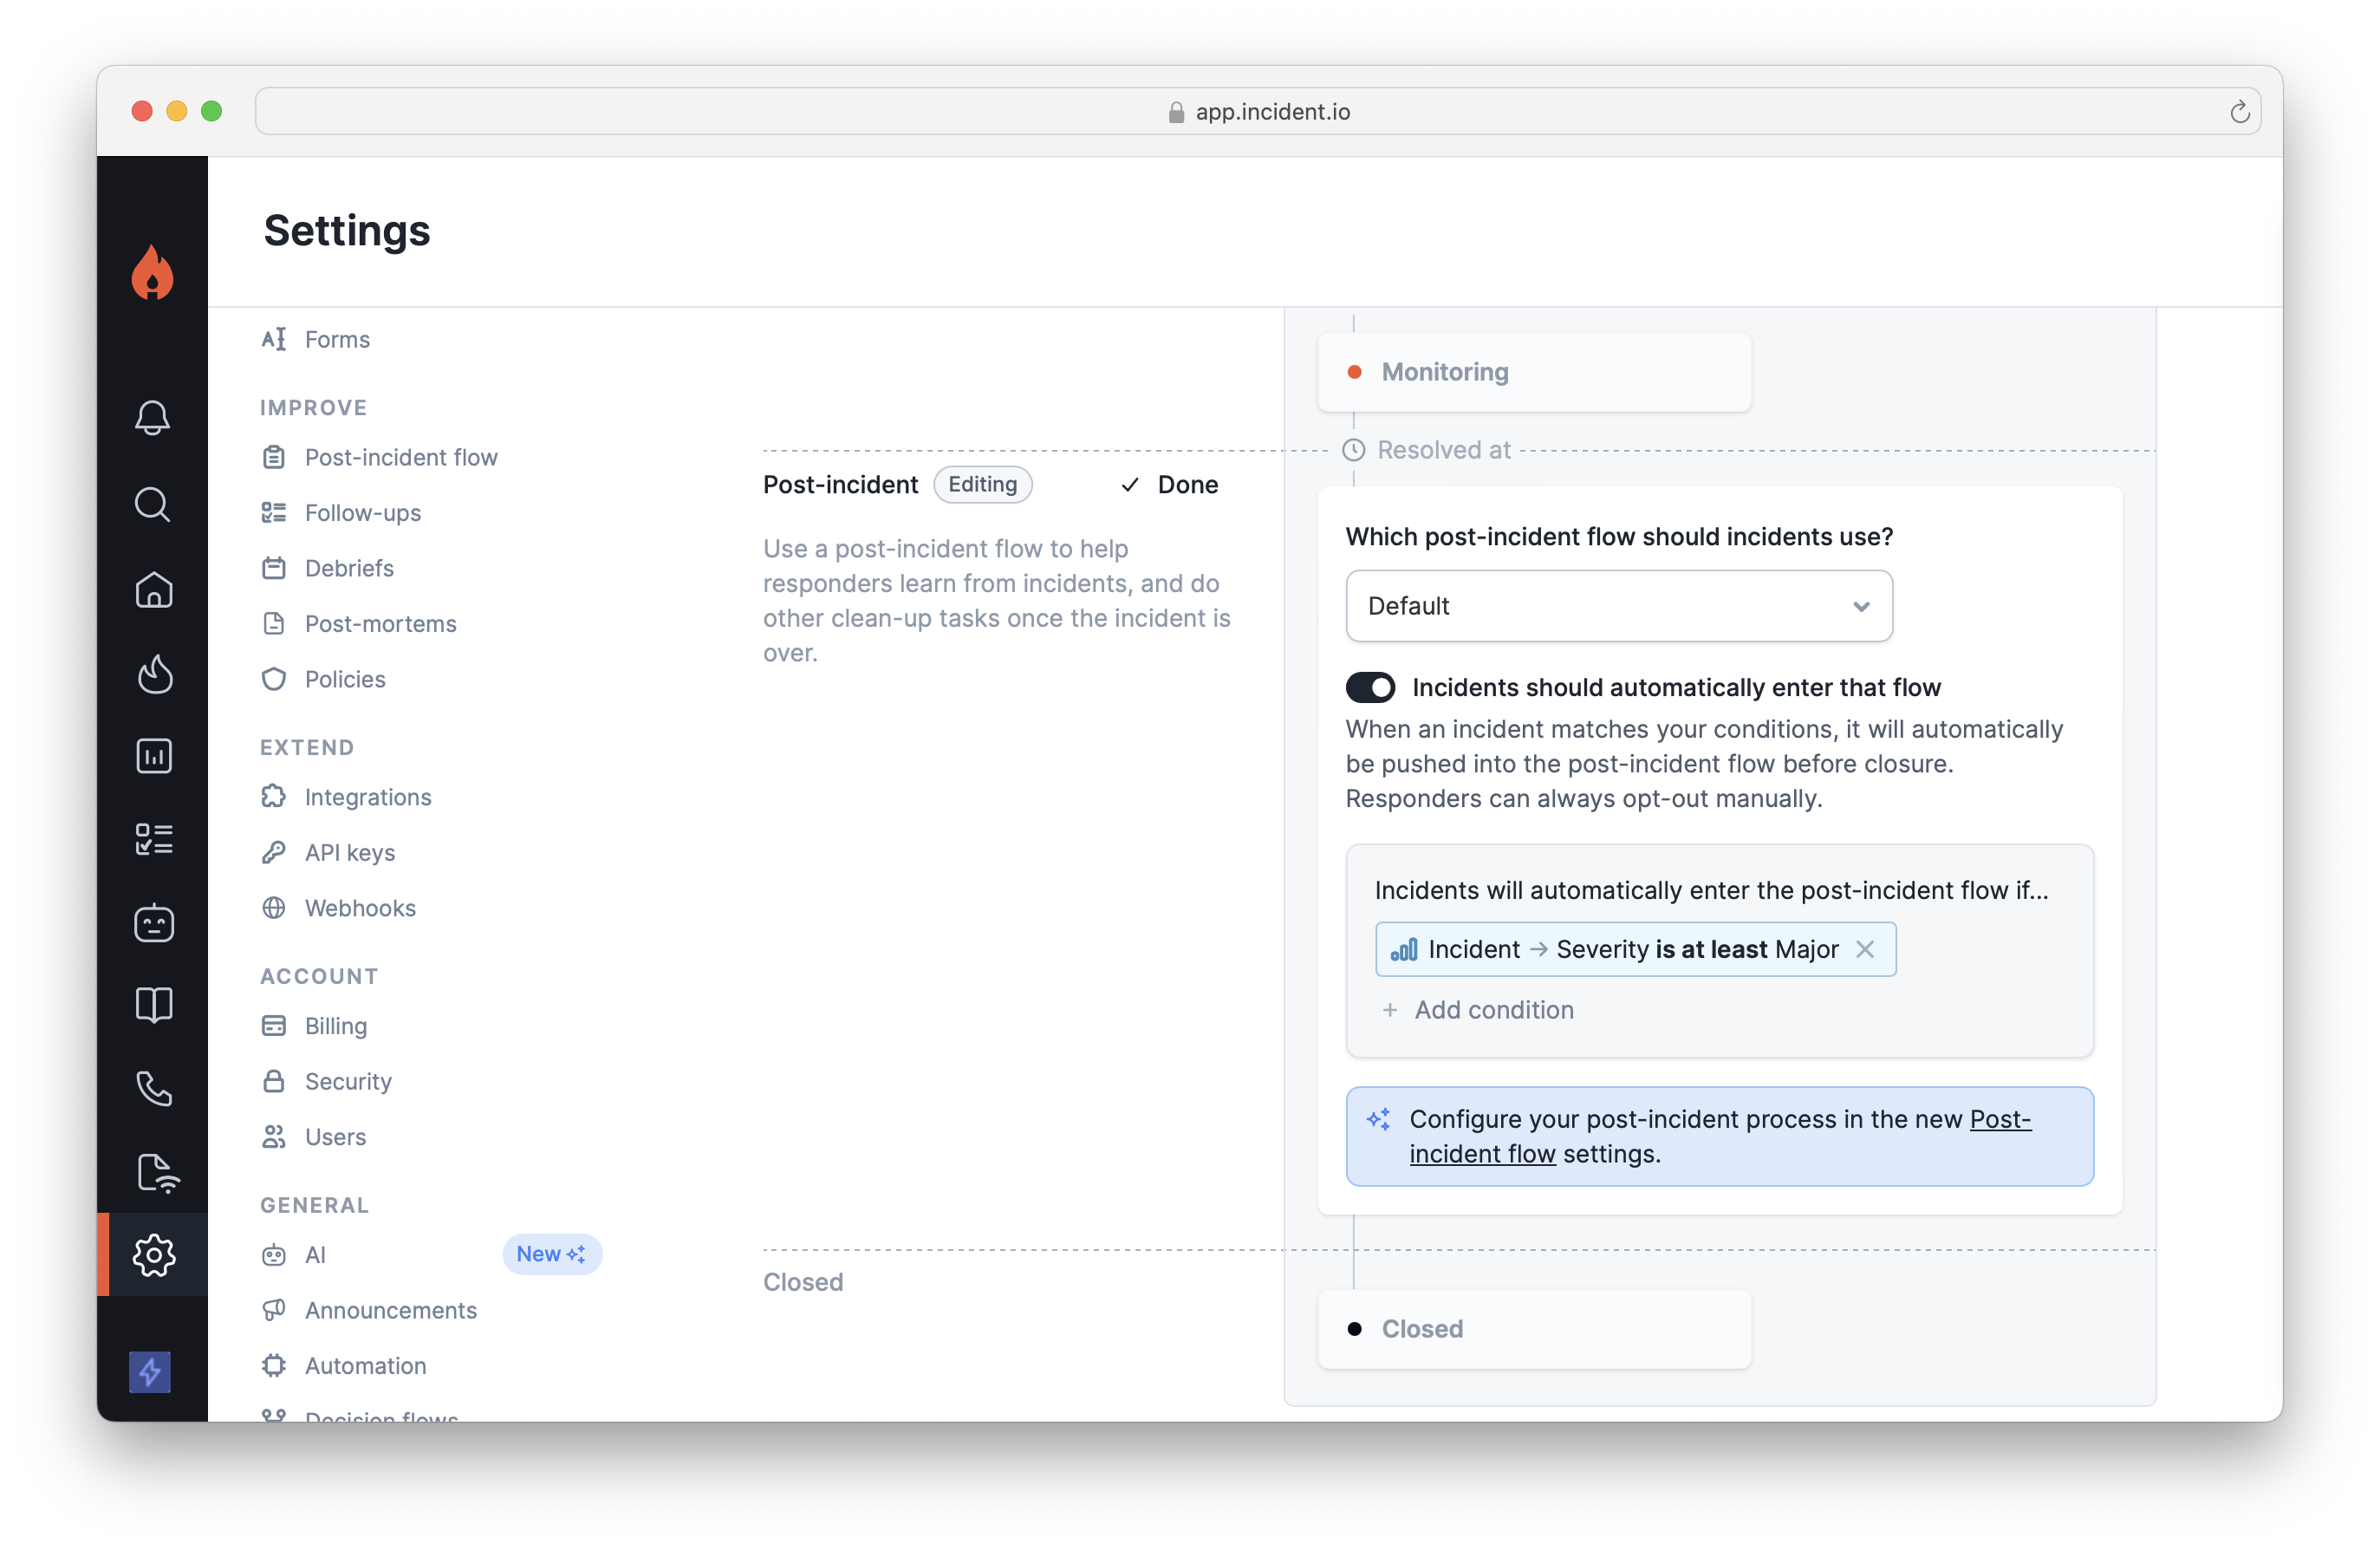
When closing an incident, users will get the option to opt-in to the post-incident flow. However, you can choose to automatically enter certain types of incidents into the post-incident flow. In Settings → Response → Lifecycle, open the lifecycle you want to change. Turn on Enable post-incident flow for incidents in this lifecycle to automatically put all of that lifecycle’s incidents through the post-incident flow, then add rules if you’d like this to only apply to certain kinds of incidents. For customers on our Enterprise plan, this is where you configure which post-incident flow is used for each lifecycle.
Using the post-incident flow

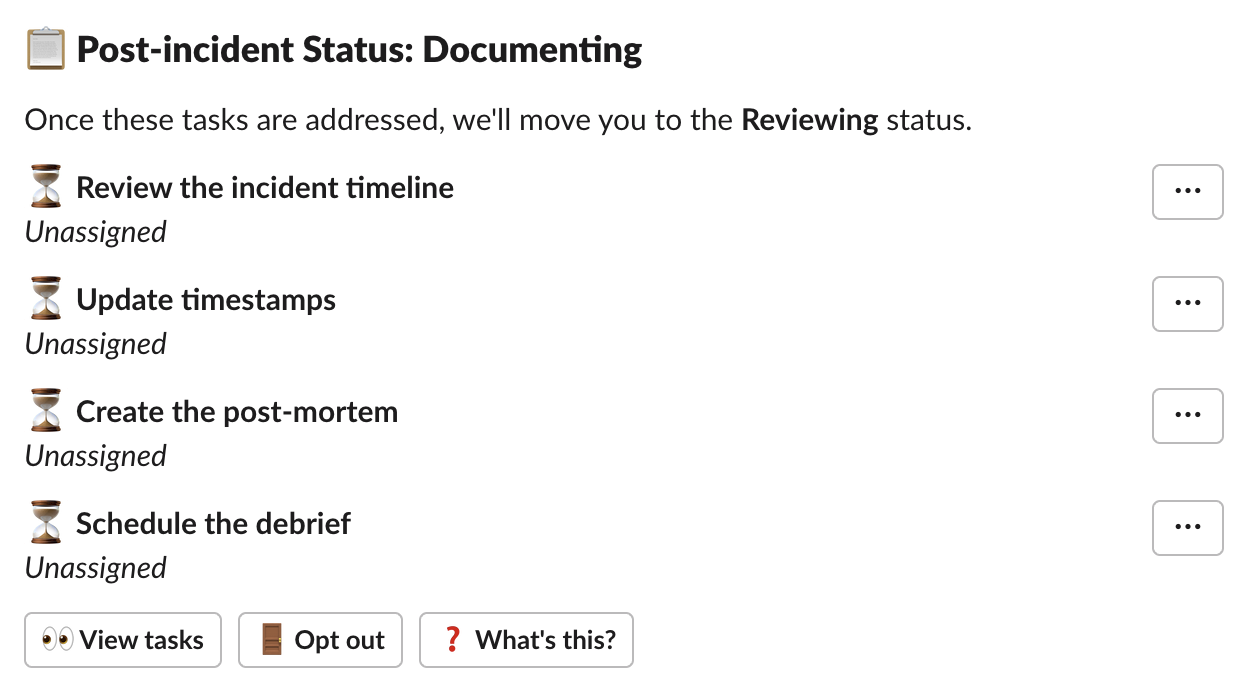
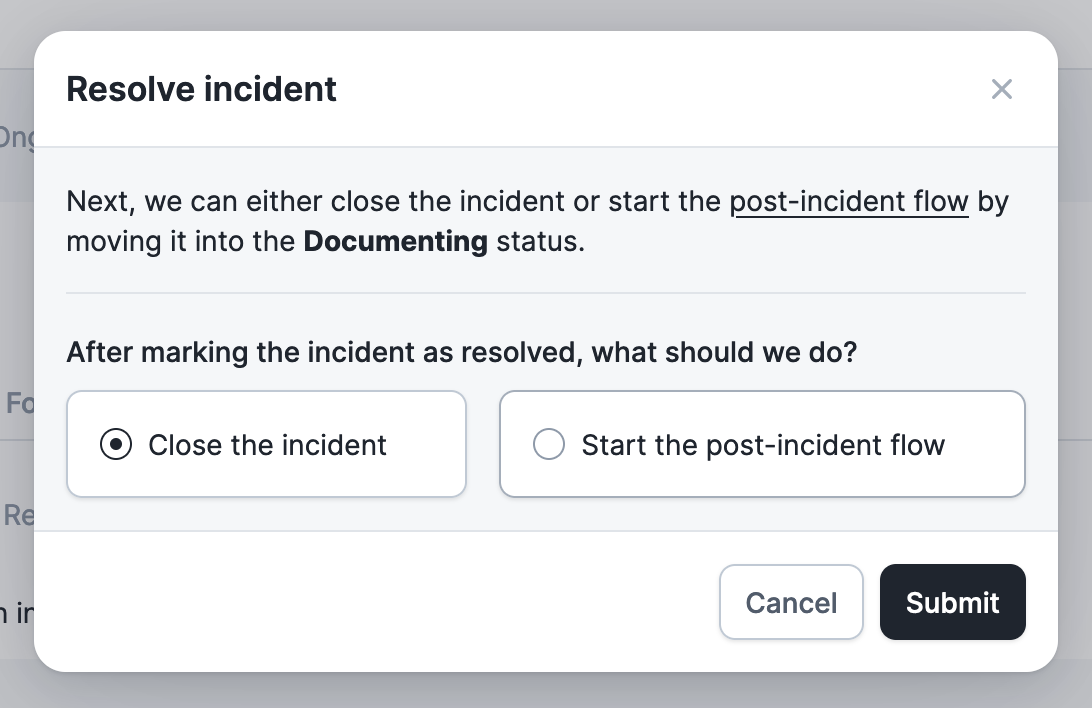
When closing an incident, responders will be prompted as to whether or not they’d like to go through the post-incident flow for this incident. If you’ve enabled the option to automatically enter the post-incident flow, and the incident matches your conditions, you’ll instead be entering the post-incident flow. After confirming that, you’ll enter your first status in your post-incident phase. We’ll notify the incident Slack channel about this. Similarly, if you open the incident in the dashboard, you’ll see the details of each of these tasks. From here, you can mark tasks as completed, skip them, or assign them to a user. When a user is assigned a task, we’ll send them a notification to let them know. Once you’ve completed all the tasks in a post-incident status, we’ll automatically move the incident to the next post-incident status. If it’s your final post-incident status, then we’ll mark the incident as closed.
Setting deadlines, owners, and reminders

Each task can carry a deadline, an owner, and a rule about whether it can be skipped. Set these per task in Settings → Improve → Post-incident flow by opening a flow and editing the task. The Task reminders toggle on that same page switches reminders on for every task at once. The post-incident task edit form, showing the Task is required toggle, the Due date field, and the Default assignee field
Set how long a task should take, in hours, counted from when the incident enters that task’s status. Tasks in your second status don’t start their clock until the incident reaches it. The maximum is 30 days (720 hours), and anything longer is set to 30 days instead.Use a fixed number of hours, or an expression so that a Critical incident gets a tighter deadline than a minor one. We show a visual indicator on the task once it’s overdue. See task due dates and reminders.
Mark a task as required and the Skip option disappears for responders, including in bulk actions. The incident can’t move to the next status until somebody completes it.
Assign a task automatically to a user, an incident role (the lead, or a Debrief scheduler role), or an expression that picks a different person depending on the incident. We re-evaluate the assignee whenever the incident changes. As soon as somebody sets an assignee by hand, we stop assigning that task automatically. See task assignees.
Turn this on and we’ll direct message the assignee, on Slack or Microsoft Teams, at the point their task becomes due. You can also chase somebody yourself with Send reminder on the task.Reminders go to the assignee, so a task with nobody assigned won’t produce one. We send one automatic reminder per task, grouped per person, so somebody with three overdue tasks gets a single message rather than three.
Due dates cover work inside the flow. To hold a deadline that outlives the incident, such as chasing a post-mortem or a follow-up after the incident closes, use policies.

How a status advances

When every task in a status is completed or skipped, the incident moves to the next post-incident status. Once the last one is done, the incident closes. The flow can move backwards: if a task in an earlier status becomes outstanding again, the incident returns to that status. An incident also won’t close while it still has an open stream, so it closes when you close the last one.

Opting an incident out of the post-incident flow

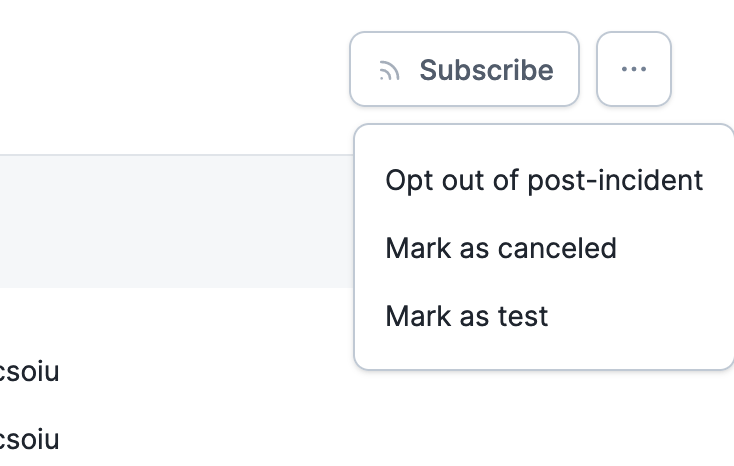
If an incident enters the post-incident flow, but you’ve decided that it’s not worthwhile for this incident, you can opt-out. You can do this by typing in /inc close into your incident channel, or by selecting Opt out of post-incident in the overflow menu at the top right of the incident in the dashboard. An incident never closes itself while tasks are outstanding. We tell you how many you’re about to skip, and ask for a reason. That reason goes into the incident channel alongside the closure and onto the incident timeline as Opted out of post-incident flow. Insights tracks how often incidents leave the flow early, and you can filter your incident list on it. Bulk closes and API closes record the exit but not a reason. Admins can remove opting out altogether with the Opt out of post-incident flow permission in Settings → Roles, which leaves finishing the flow as the only route to closed. Automations that close incidents aren’t subject to it.
Opting out is recorded per incident, not permanently. Moving an incident back into a post-incident status clears the recorded opt-out and its reason.
If an incident is closed and the post-incident flow is skipped, it can still be started later. To do this, open the incident in the dashboard and change its status back to a post-incident status. There’s no separate restart button—the flow begins again when the status changes. When restarted this way, the post-incident flow is created fresh, including any tasks and due dates. This can also be done through the API or with a workflow step for automated setups.

Plan requirements

Statuses, tasks, due dates, and required tasks work on every plan. Automating who picks a task up, and chasing them when they’re late, needs a higher plan.

Hiding the post-incident flow

If you don’t want to use the post-incident flow you can remove all your post-incident statuses and you won’t be prompted about it when closing incidents.