Control which fields appear on declare, accept, update, resolve, and escalate forms
As a responder progresses through an incident, they will encounter several forms designed to collect information about the incident.These forms exist to make sure that responders share the right information at the right time, so that:
Automations can run correctly (e.g. workflows that invite the right people depending on what service is affected, or rule-based suggestions tailored to certain situations)
The wider team is aligned on the core facts of the incident (what product is impacted, how widespread is it, who’s leading), and is kept up to date (e.g. via subscriptions)
You can analyze patterns in incidents via insights
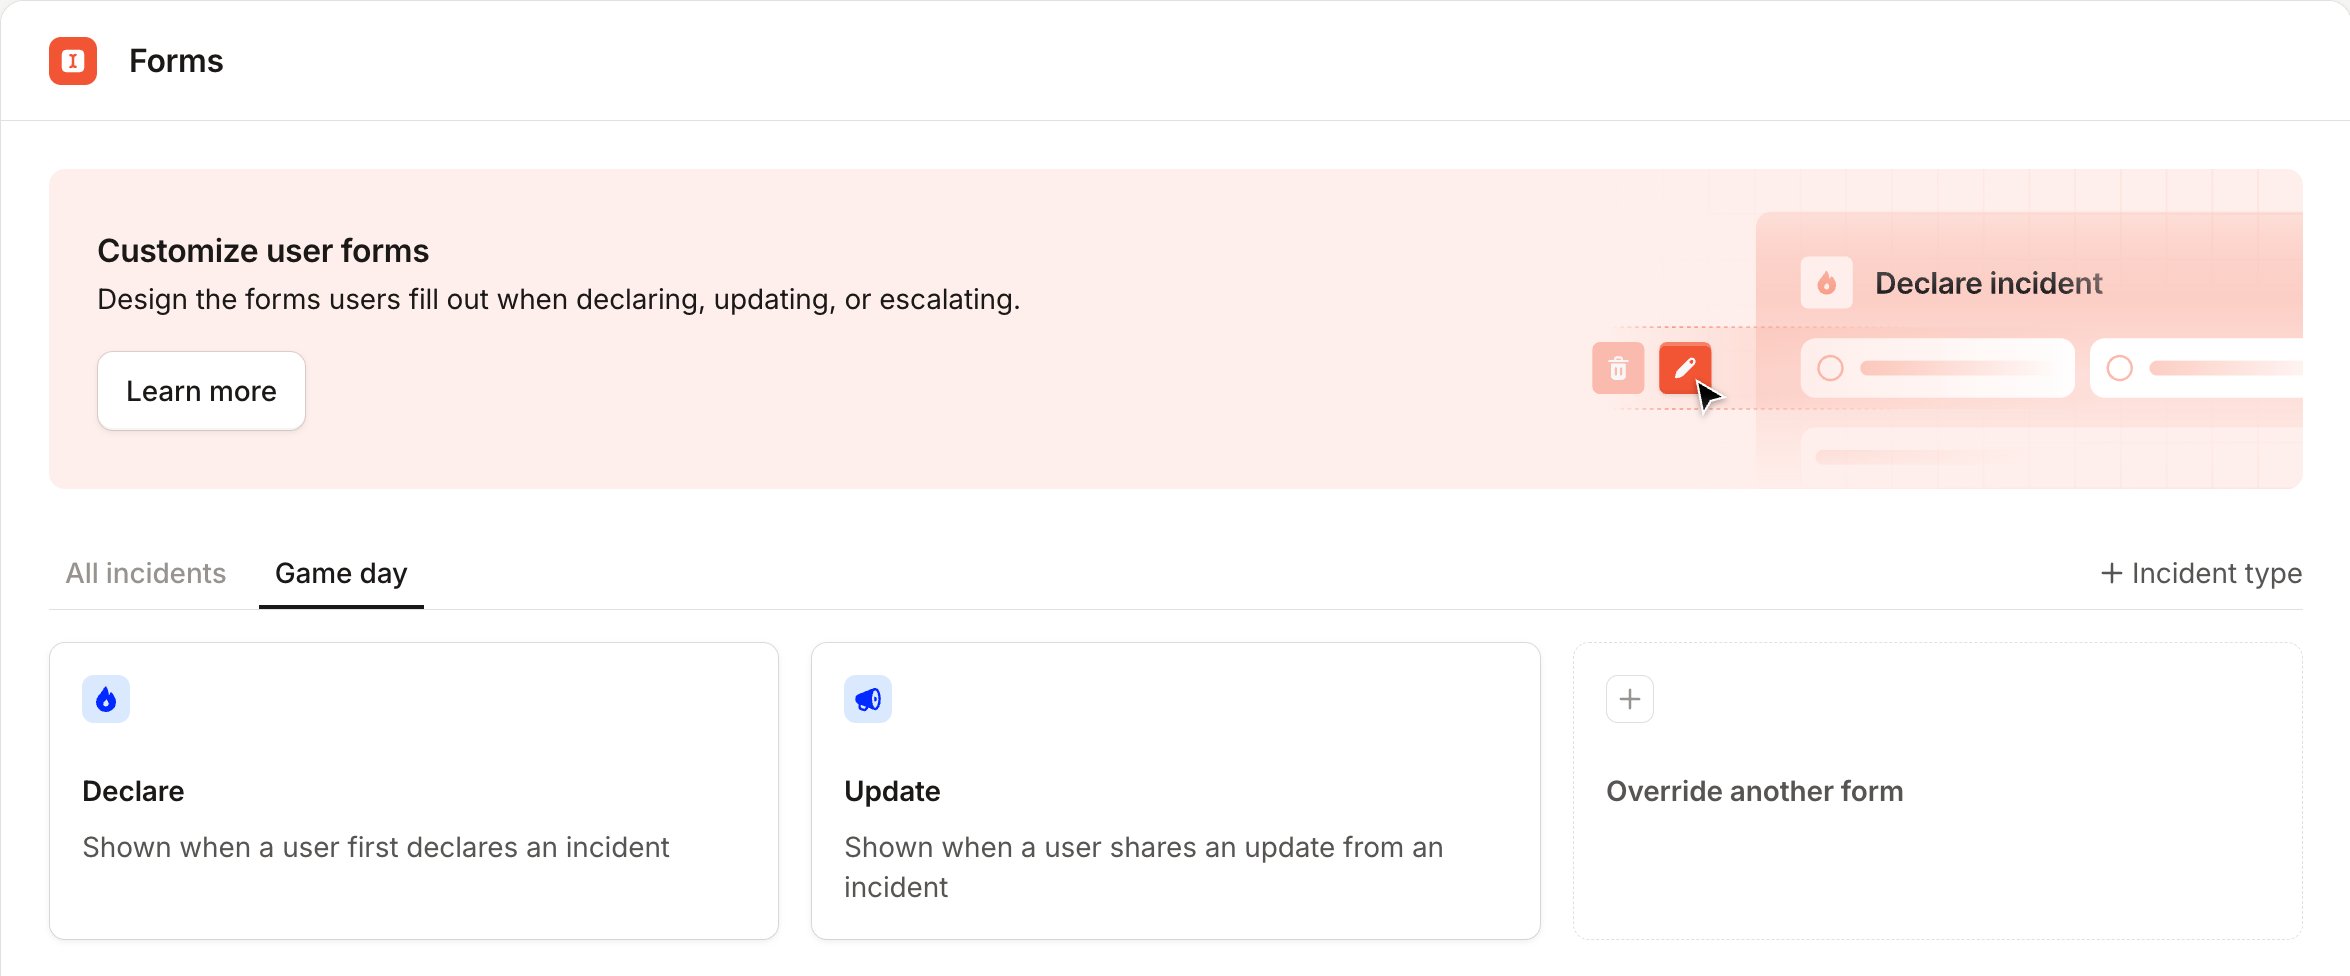
There’s always a balance to find here: ask for too much information too soon and responders will be wasting time filling in forms when they should be fixing the issue. Ask for too little, and you can’t build targeted automations or keep your teams up-to-date.We allow you to configure your incident forms to help get this right, giving you the ability to only ask for the information that you need.You can access these settings via Settings → Forms.Here, you can configure:
The Declare form, shown when declaring a new incident
The Accept form, shown when accepting a triage incident
The Update form, shown when sharing an update for an incident
The Resolve form, shown when you resolve an incident
The Escalate form, shown when you manually escalate from an incident
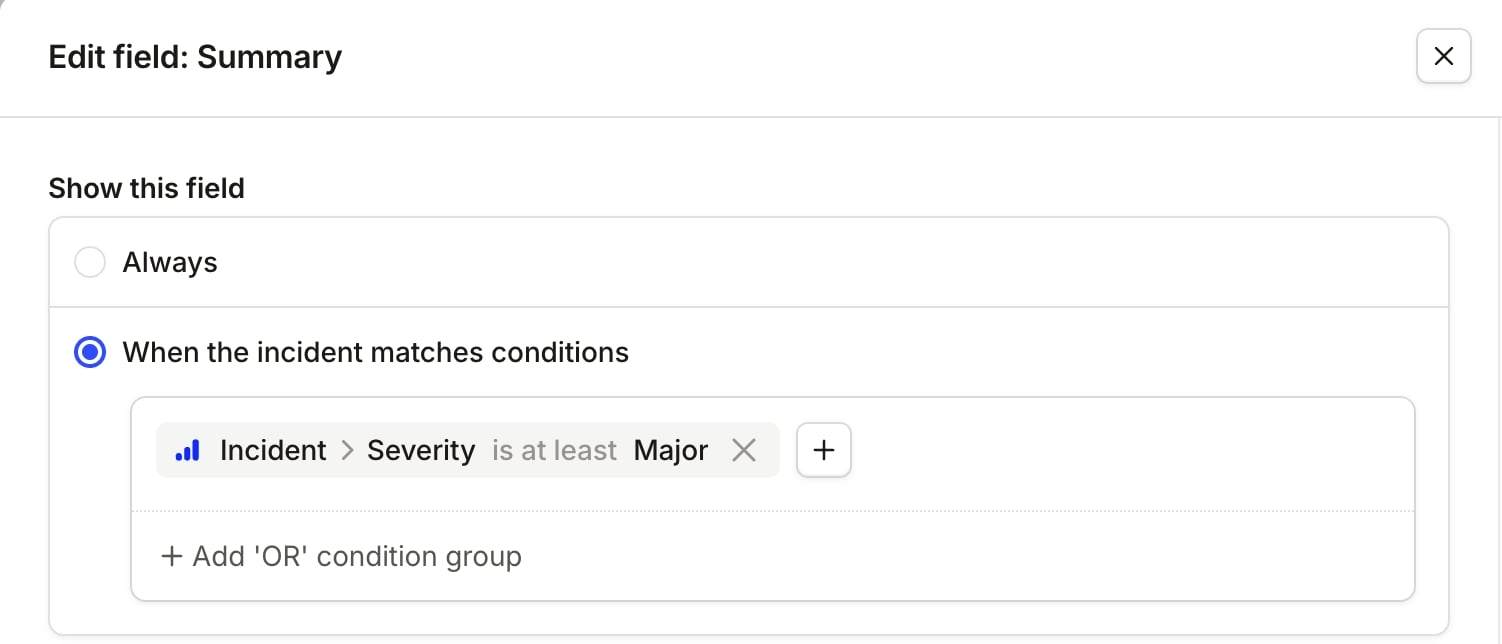
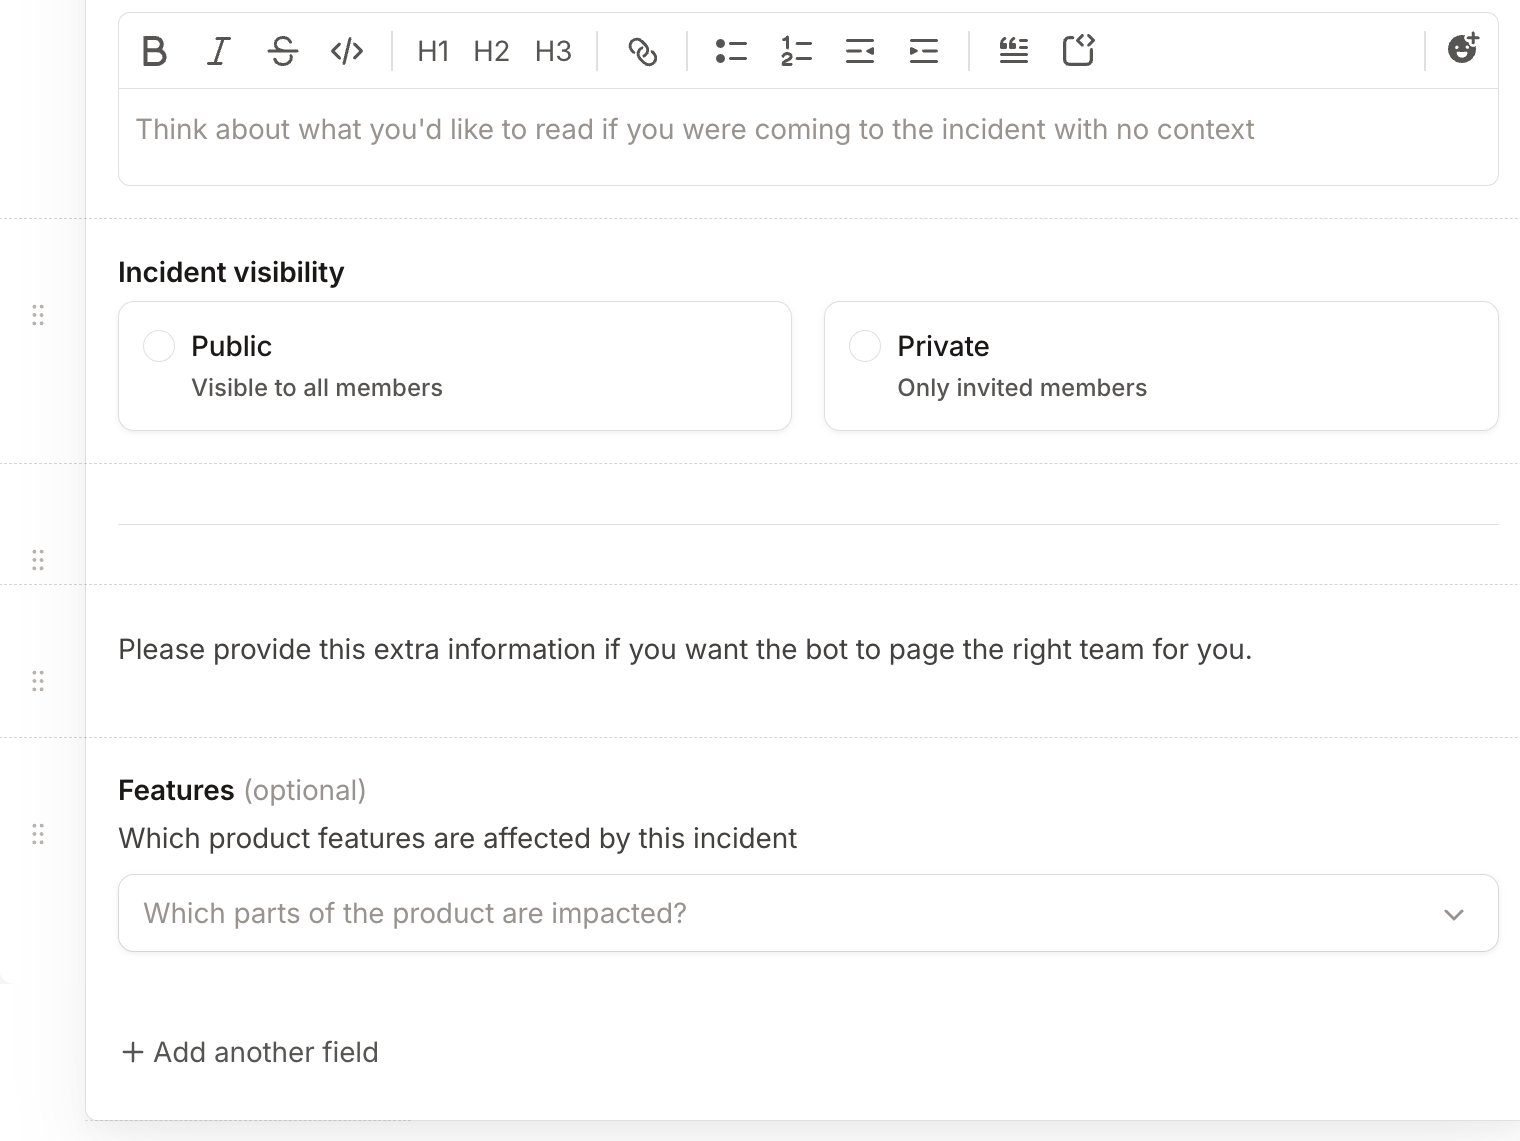
You can now control exactly which fields will show on each form, and see the impact of those changes in real time. For example, you can hide the summary field when declaring an incident unless it’s at least a Major severity.These work ‘in real time’ too, so when you change the severity from Minor to Major, the summary field will appear in your form.
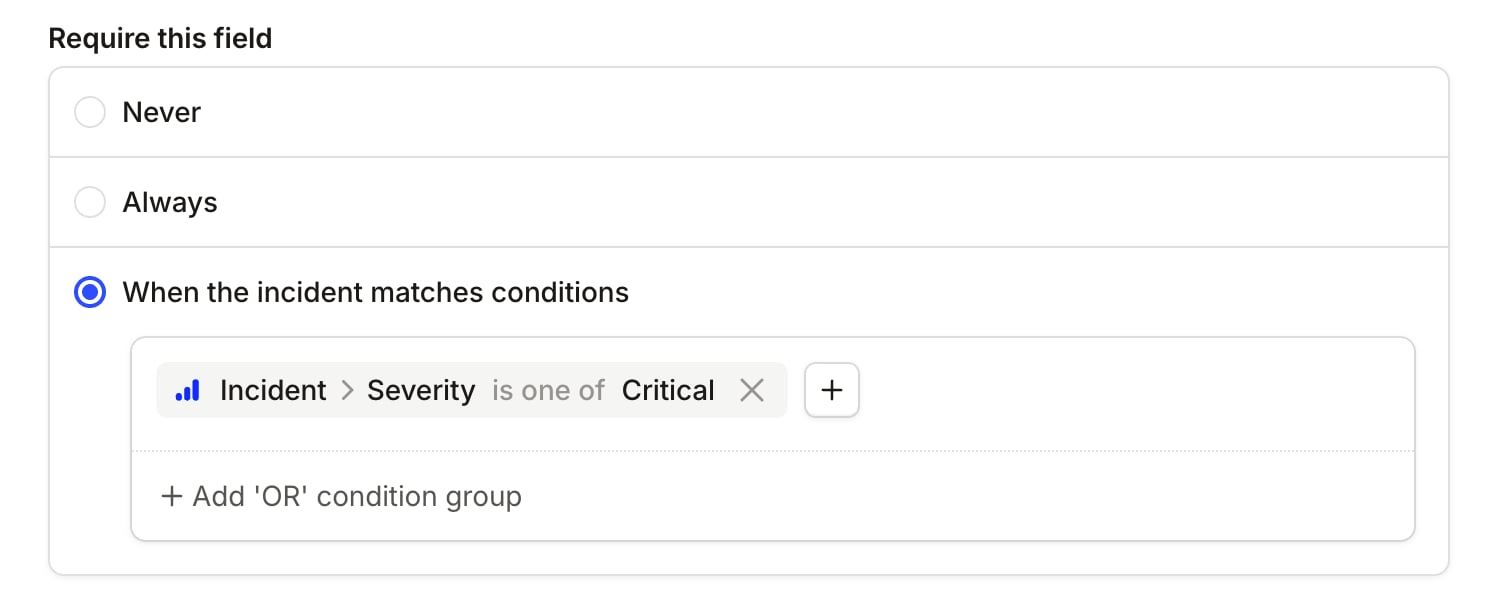
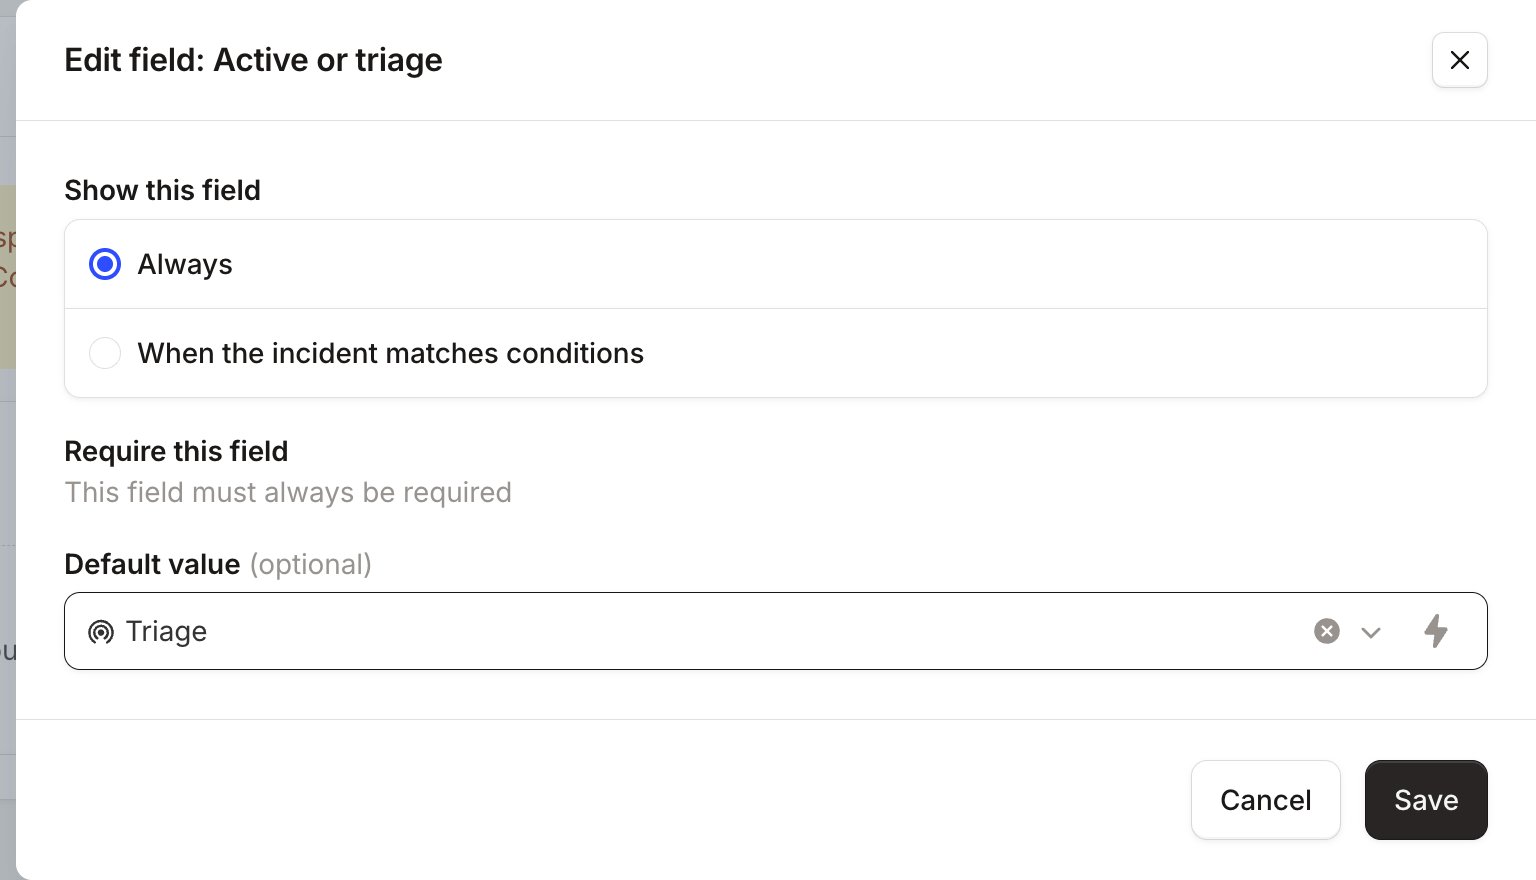
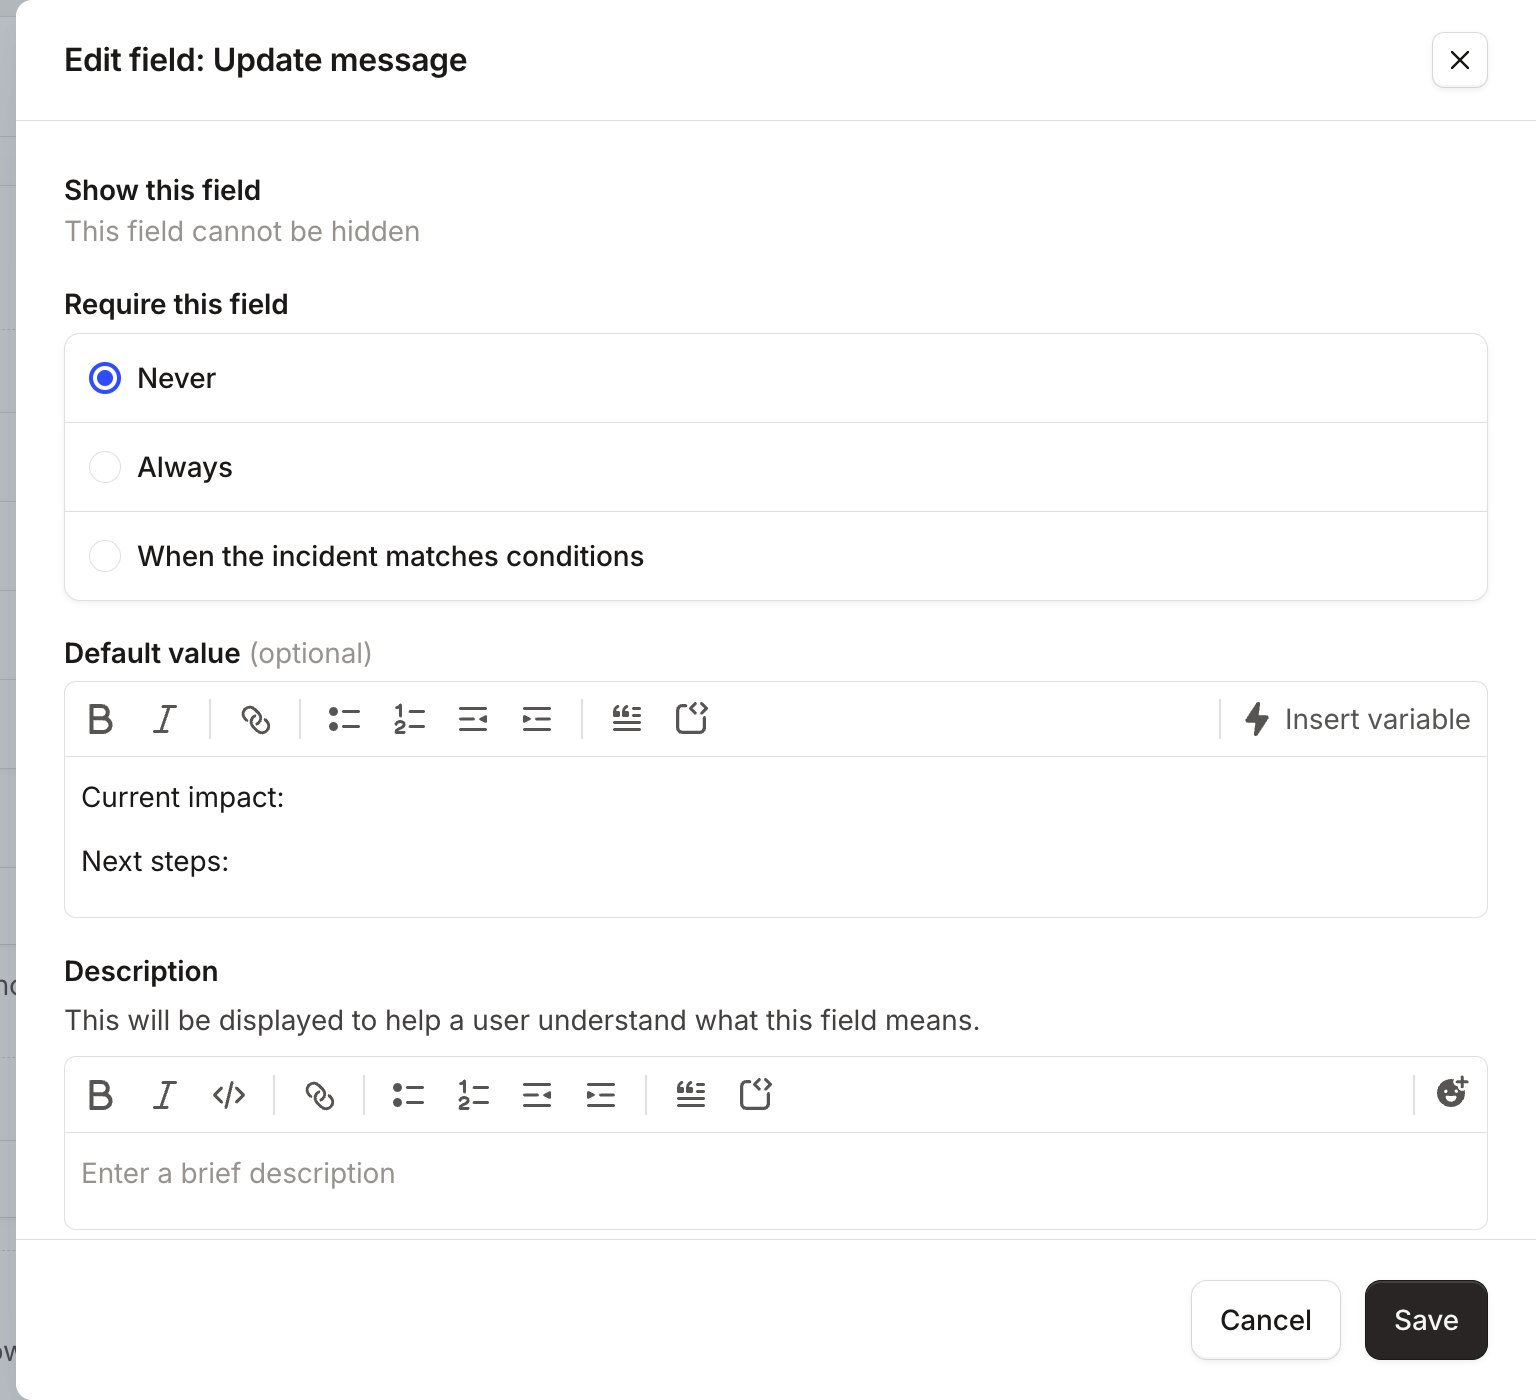
Required fields are a blessing and a curse: it’s useful to ensure that a responder fills in a field and doesn’t forget, but having lots of required fields can be very frustrating when you’re trying to fix a problem.You can now choose when you want a field to be required: for example, you might have a role as Comms Lead which is required if the severity is Critical, but not for lower severity incidents.As a bonus, if you have a dropdown custom field, you can choose to include a ‘no value’ item in the dropdown. Use this to ensure that a user makes an active choice to input ‘no value’ instead of just forgetting to fill out the field.
You can configure a bespoke form that’ll only apply to incidents of that particular type. For the Declare form, as soon as the user chooses that particular type, the rest of the form will change to match that specific type’s form configuration.If an incident type is owned by a team, overriding or editing its forms is restricted to that team (or anyone with the Manage incident types permission granted globally). Org-wide forms that aren’t tied to a specific type still require the permission granted globally.
You can now help your responders by setting placeholder text, as well as adding dividers and help text blocks. Field descriptions are set on the custom field itself, under Settings → Custom fields, so they read the same on every form.
Only require what you absolutely must, and prefer requiring at incident close than at incident start. If you require 5 fields when opening an incident, responders will be forced to provide 5 values before they begin responding.
Was this page helpful?
Assistant
Responses are generated using AI and may contain mistakes.