

Setting up
We connect to Confluence as a specific user. That means that actions taken by incident.io in Confluence will show up as by the connecting user. We therefore recommend you create a Confluence user called something like “incident.io”, and sign in to Confluence with that account before you begin (you can remain signed in to incident.io as your usual account!)- Head to Settings → Integrations → Confluence
- Click Connect: you’ll be redirected in to Confluence to approve our access
We also support Confluence on Atlassian GovCloud. The setup process is the same as for standard Confluence Cloud
instances.
Getting started
1. Add Confluence as your document destination for post-mortems
Within the Post-Mortem setting tab, add Confluence as your document destination by clicking Add destination.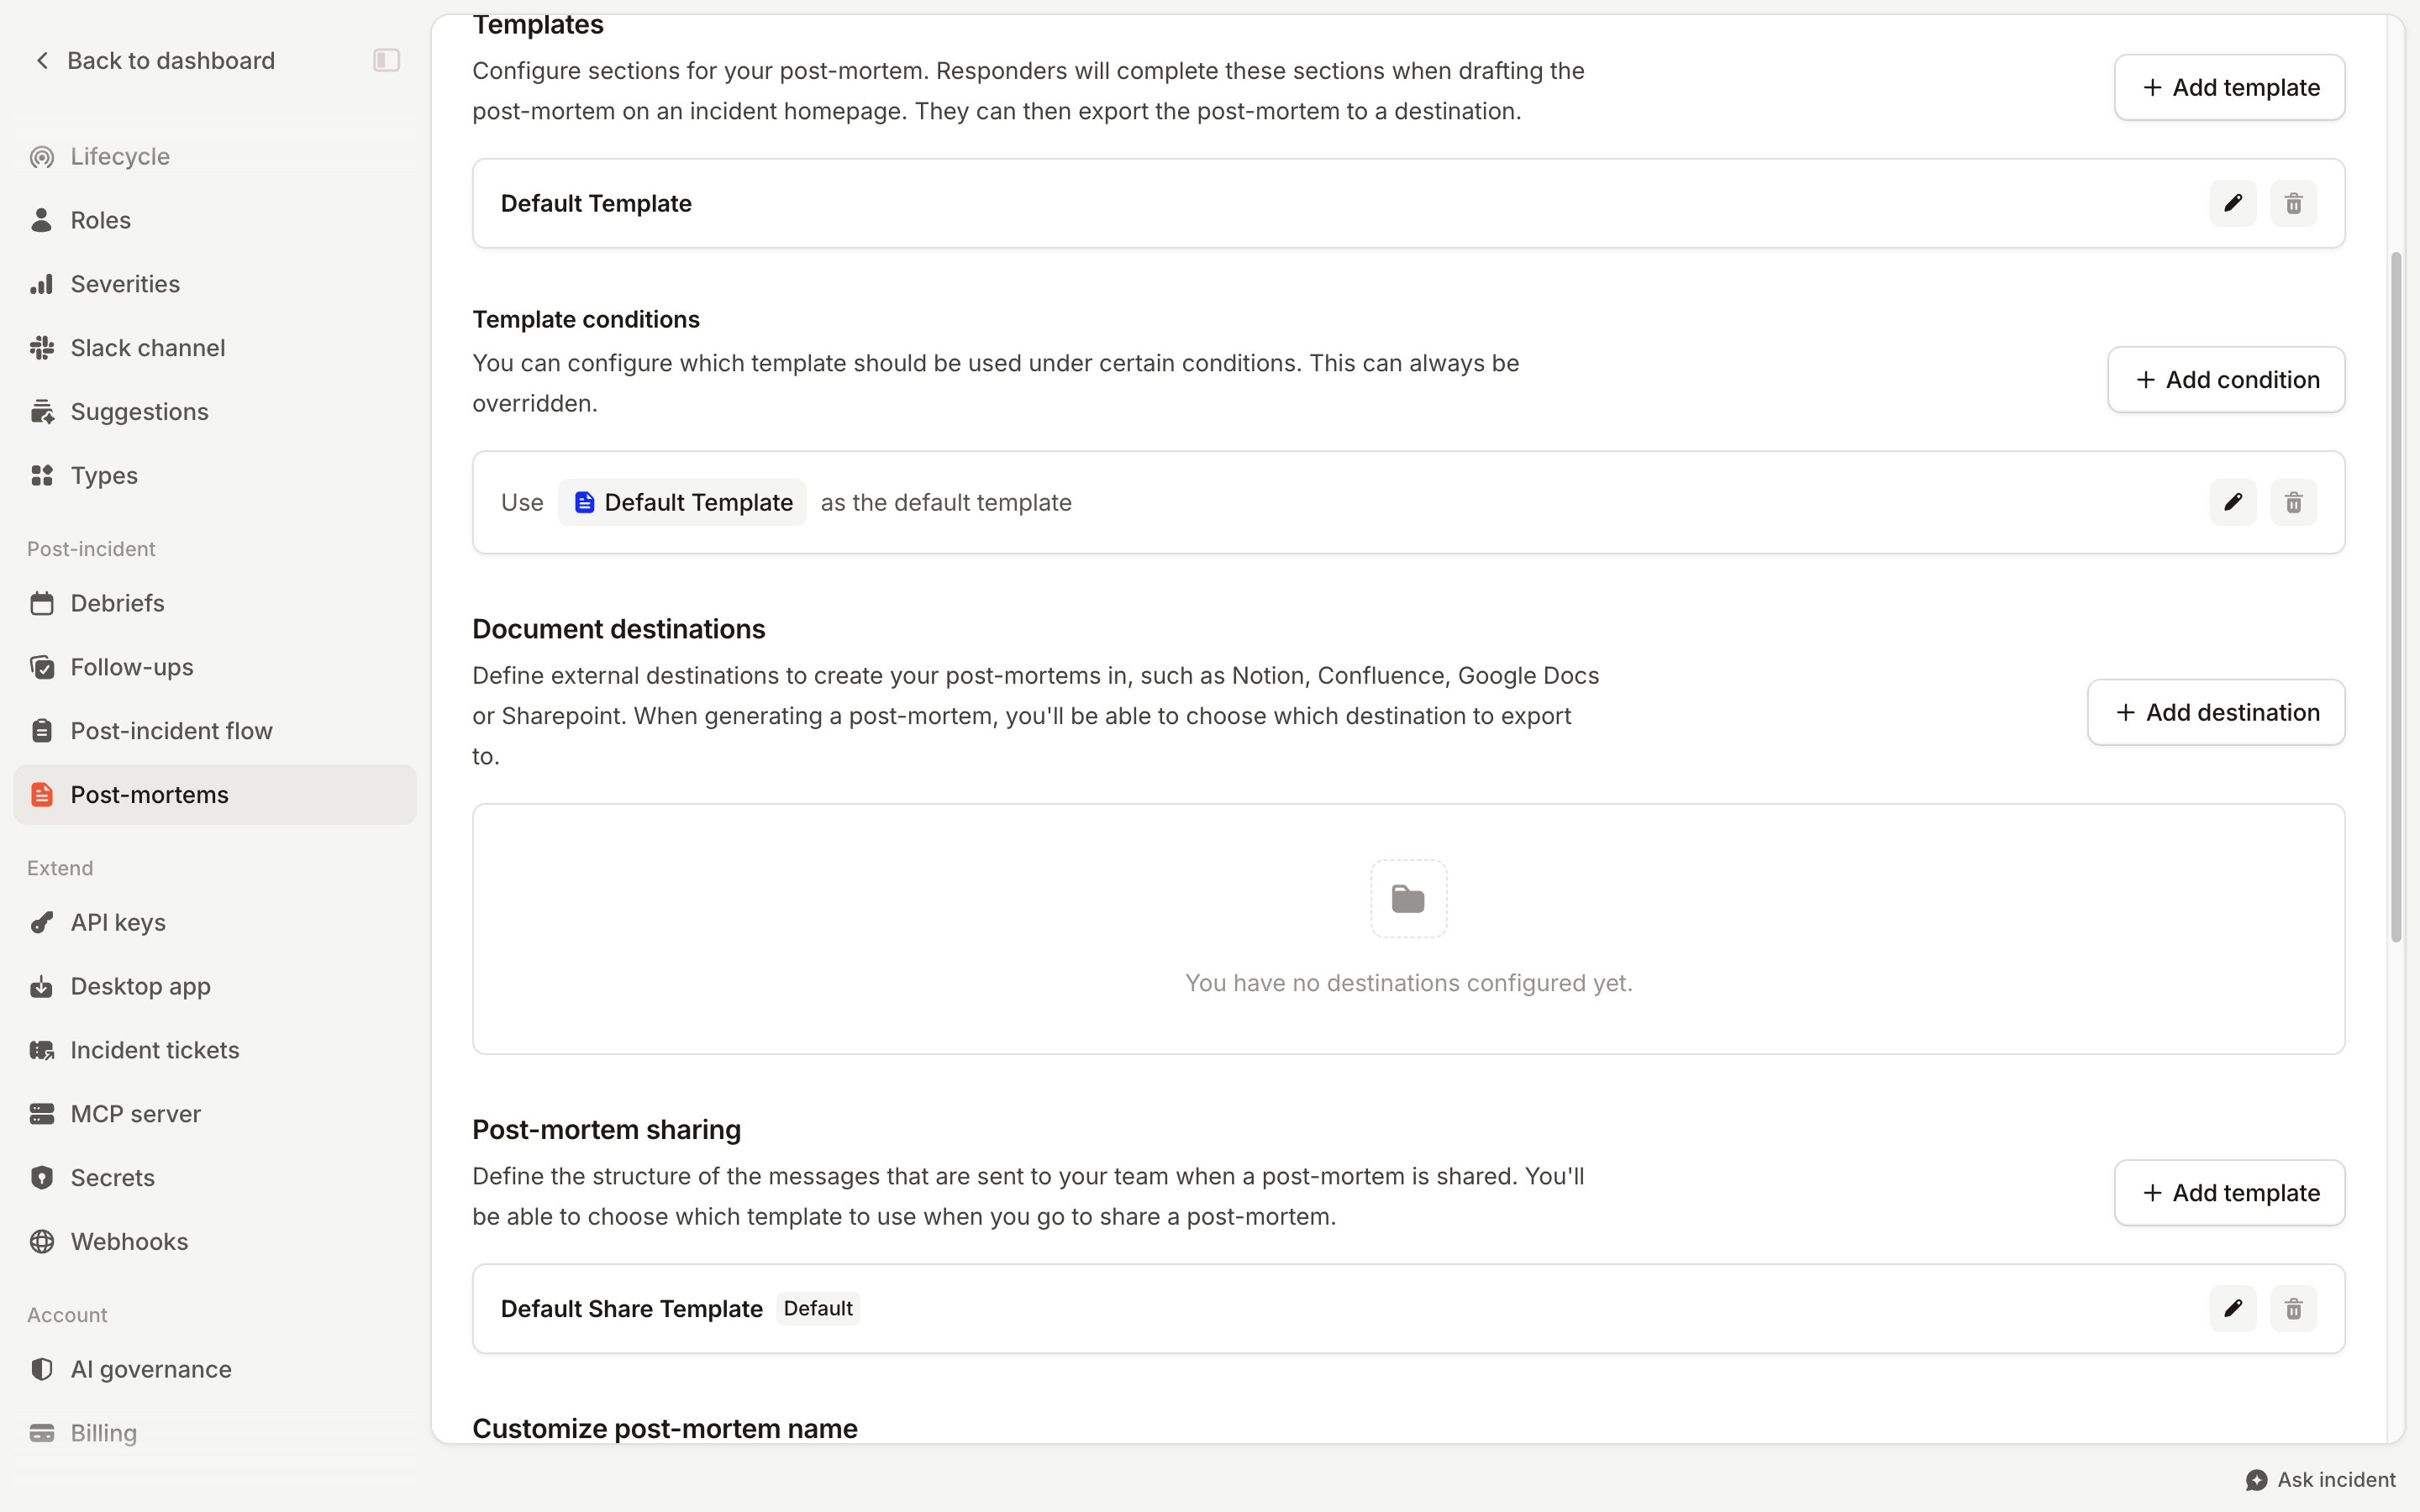
- You can then configure the default destination for your post-mortems - we’ll then create post-mortems as children of the page you select. This will be the default destination for your post-mortems.
Creating custom post-mortem destinations for different teams or services
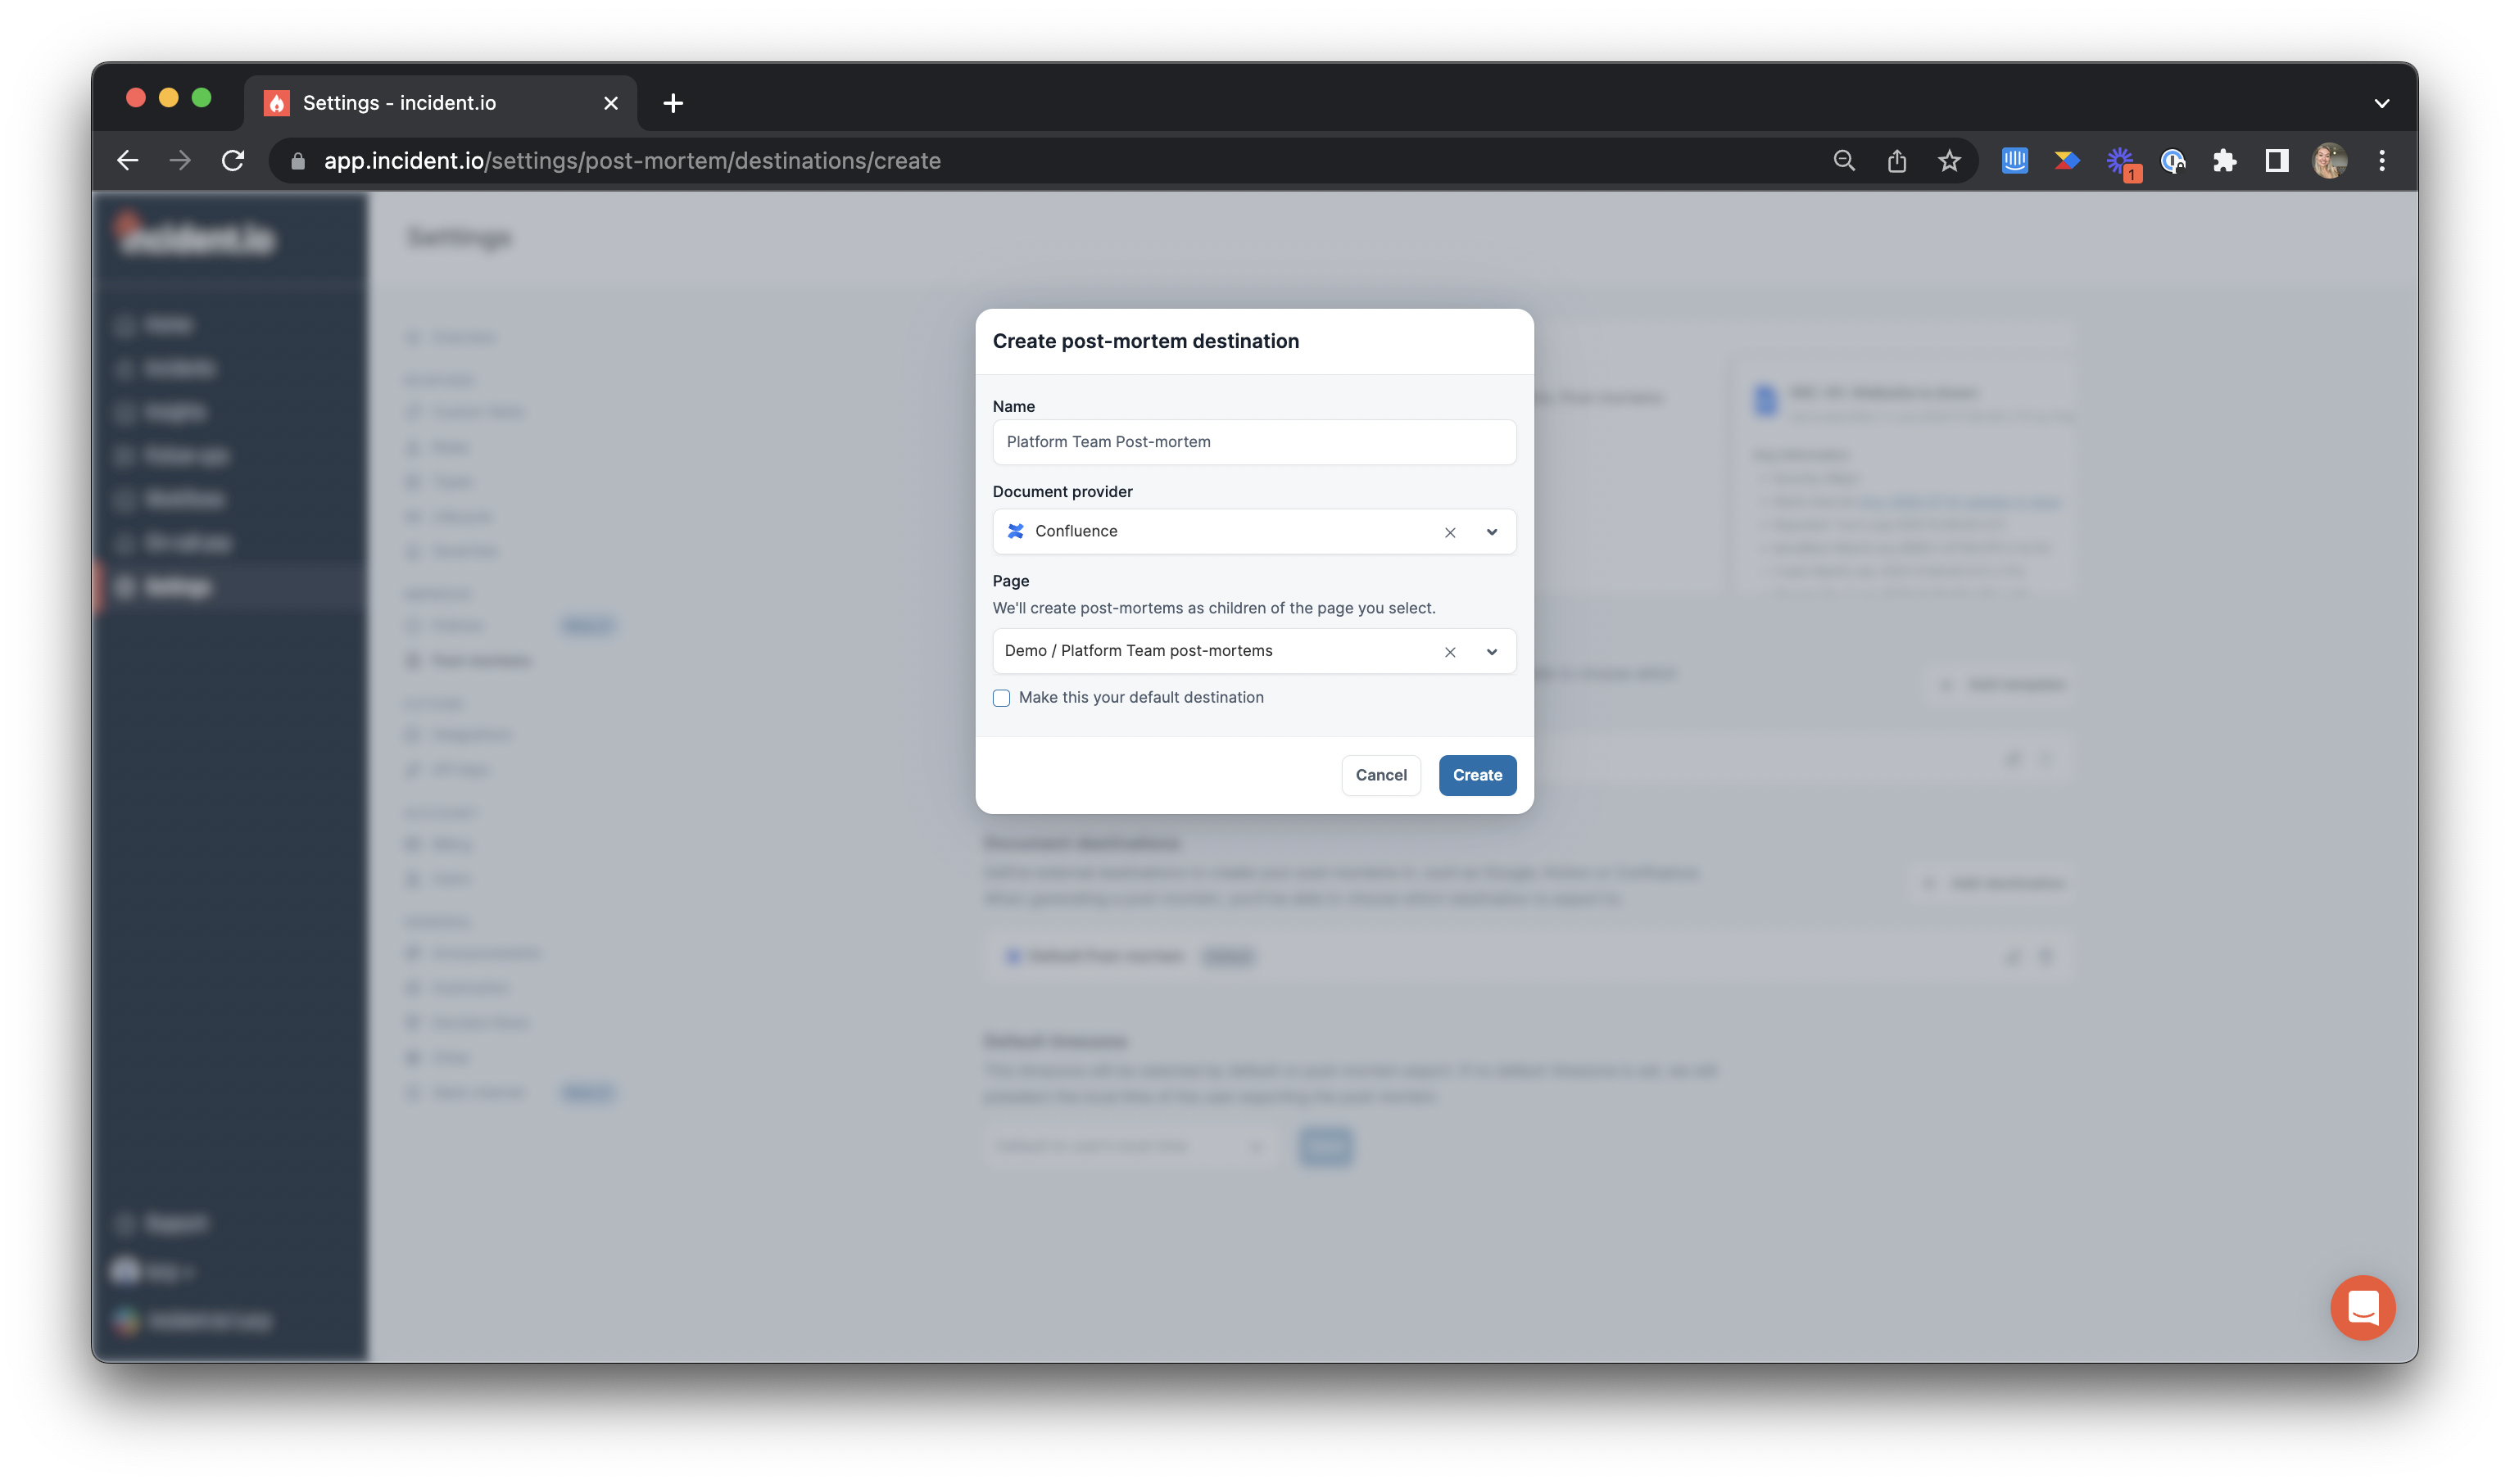
You can create different post-mortem destinations for different teams or services by adding further destinations.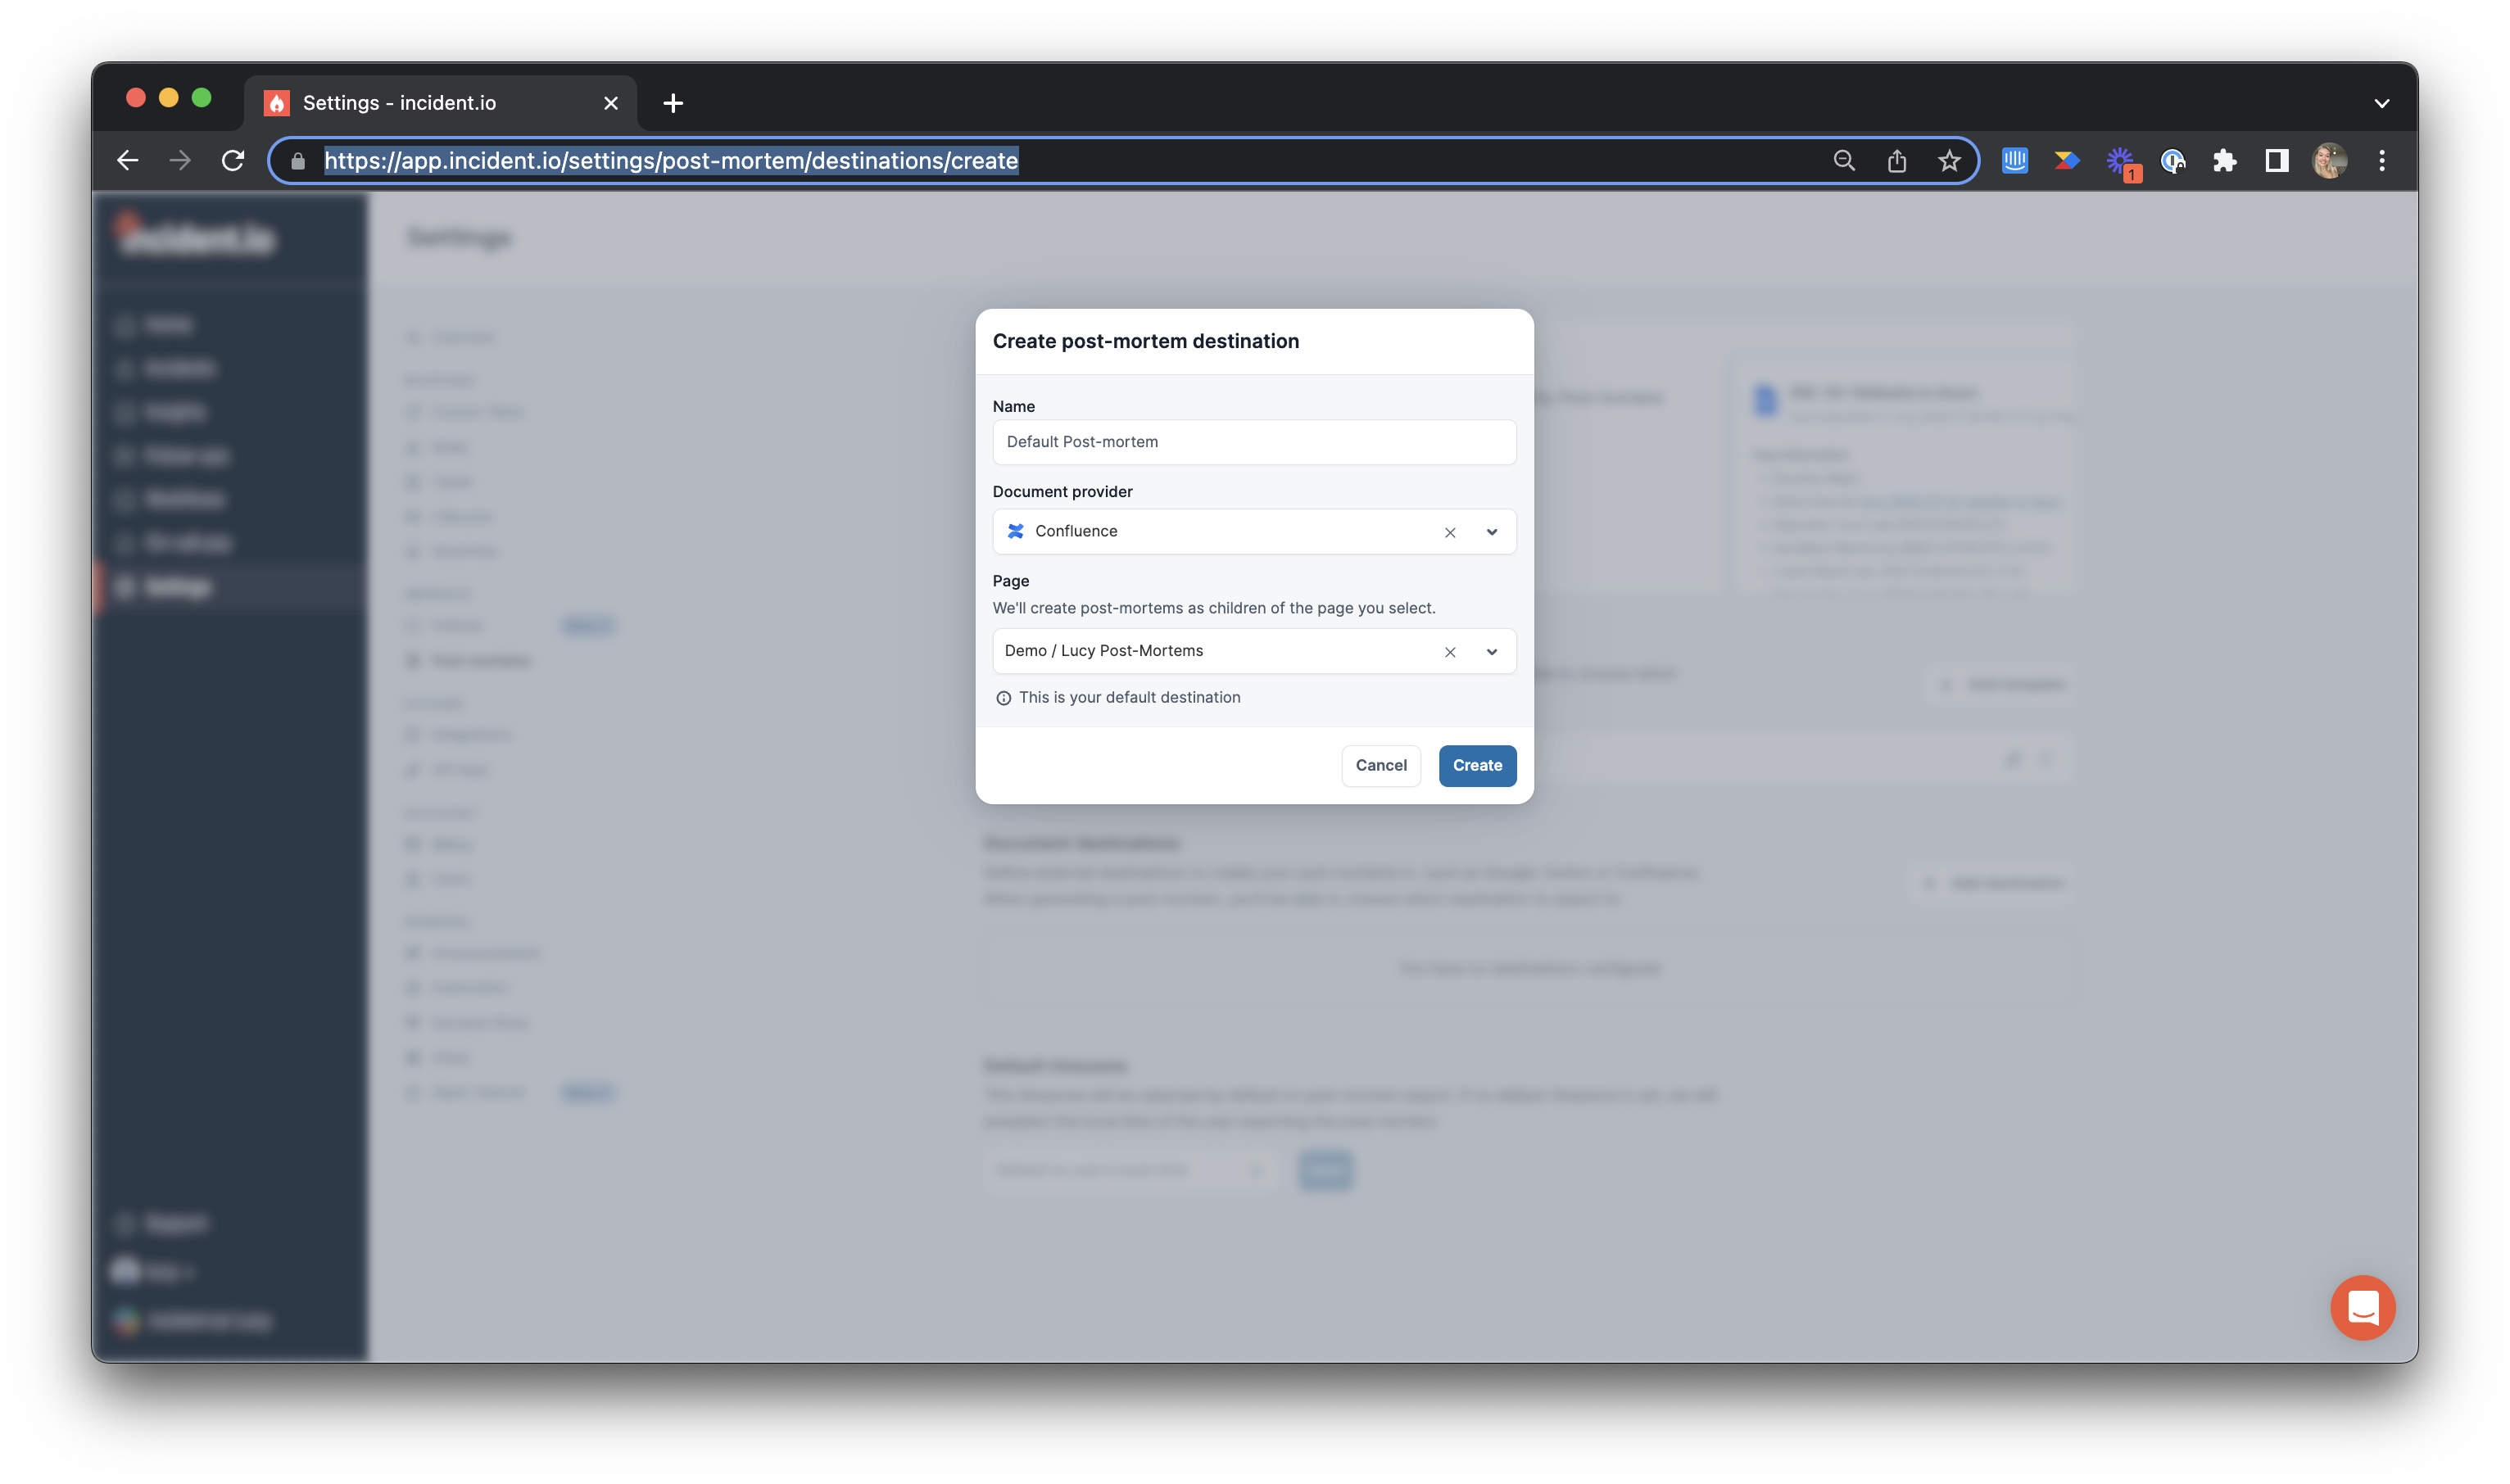
FAQs
I've installed the Jira integration but I'm now having trouble installing the Confluence one
I've installed the Jira integration but I'm now having trouble installing the Confluence one
The trick is that you need to hit Get it now twice:
- Visit our Atlassian Marketplace listing.
- Click Get it now to install our app into your Confluence site.
- Select the Confluence site and hit Review.
- You should see the Review and install section with permissions required, where you’ll need to hit Get it now again.
- You should see the incident.io app on this page. Click the row to expand it, then click Get it now once more.
- Select the Confluence site and hit Review again to reach another set of permissions, where you’ll need to click Get it now a third time.
- A pop-up in the bottom-left corner shows progress. Once you see incident.io completed successfully, hit Manage apps.
- Click Take me there to land on the Connected Apps section, then search for incident.io and hit View app details for the Confluence one. You might see two similar results including the Jira one, but focus on the Confluence one.
- On the redirected page, click the three dots next to Uninstall and choose Get started.
- You’ll be taken to a page with a Link an incident.io organization button. Click it to go to the incident.io dashboard.
- Verify the incident.io organization you’d like to connect is correctly selected, then hit Connect.