Instructions
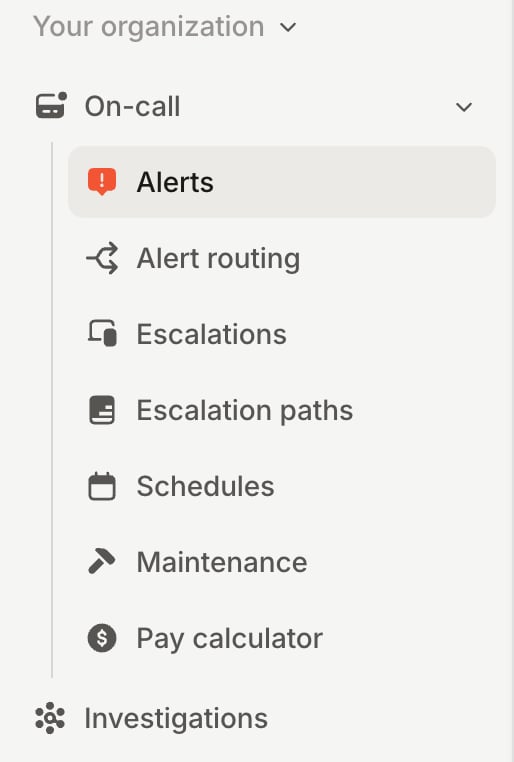
- Head over to the Alerts section in your incident.io dashboard
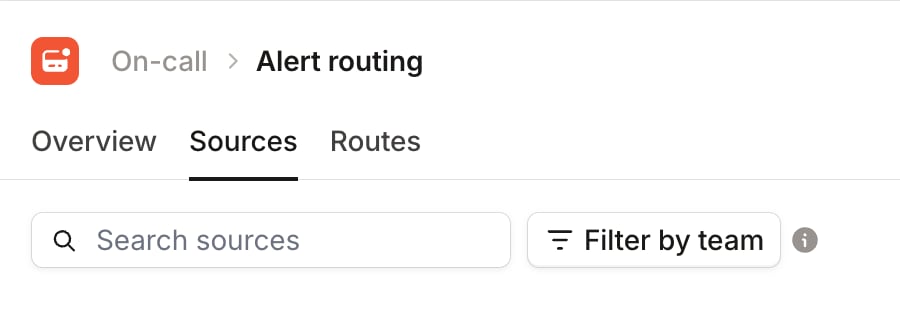
- Select the sources tab at the top of the page
- Press the Create source button

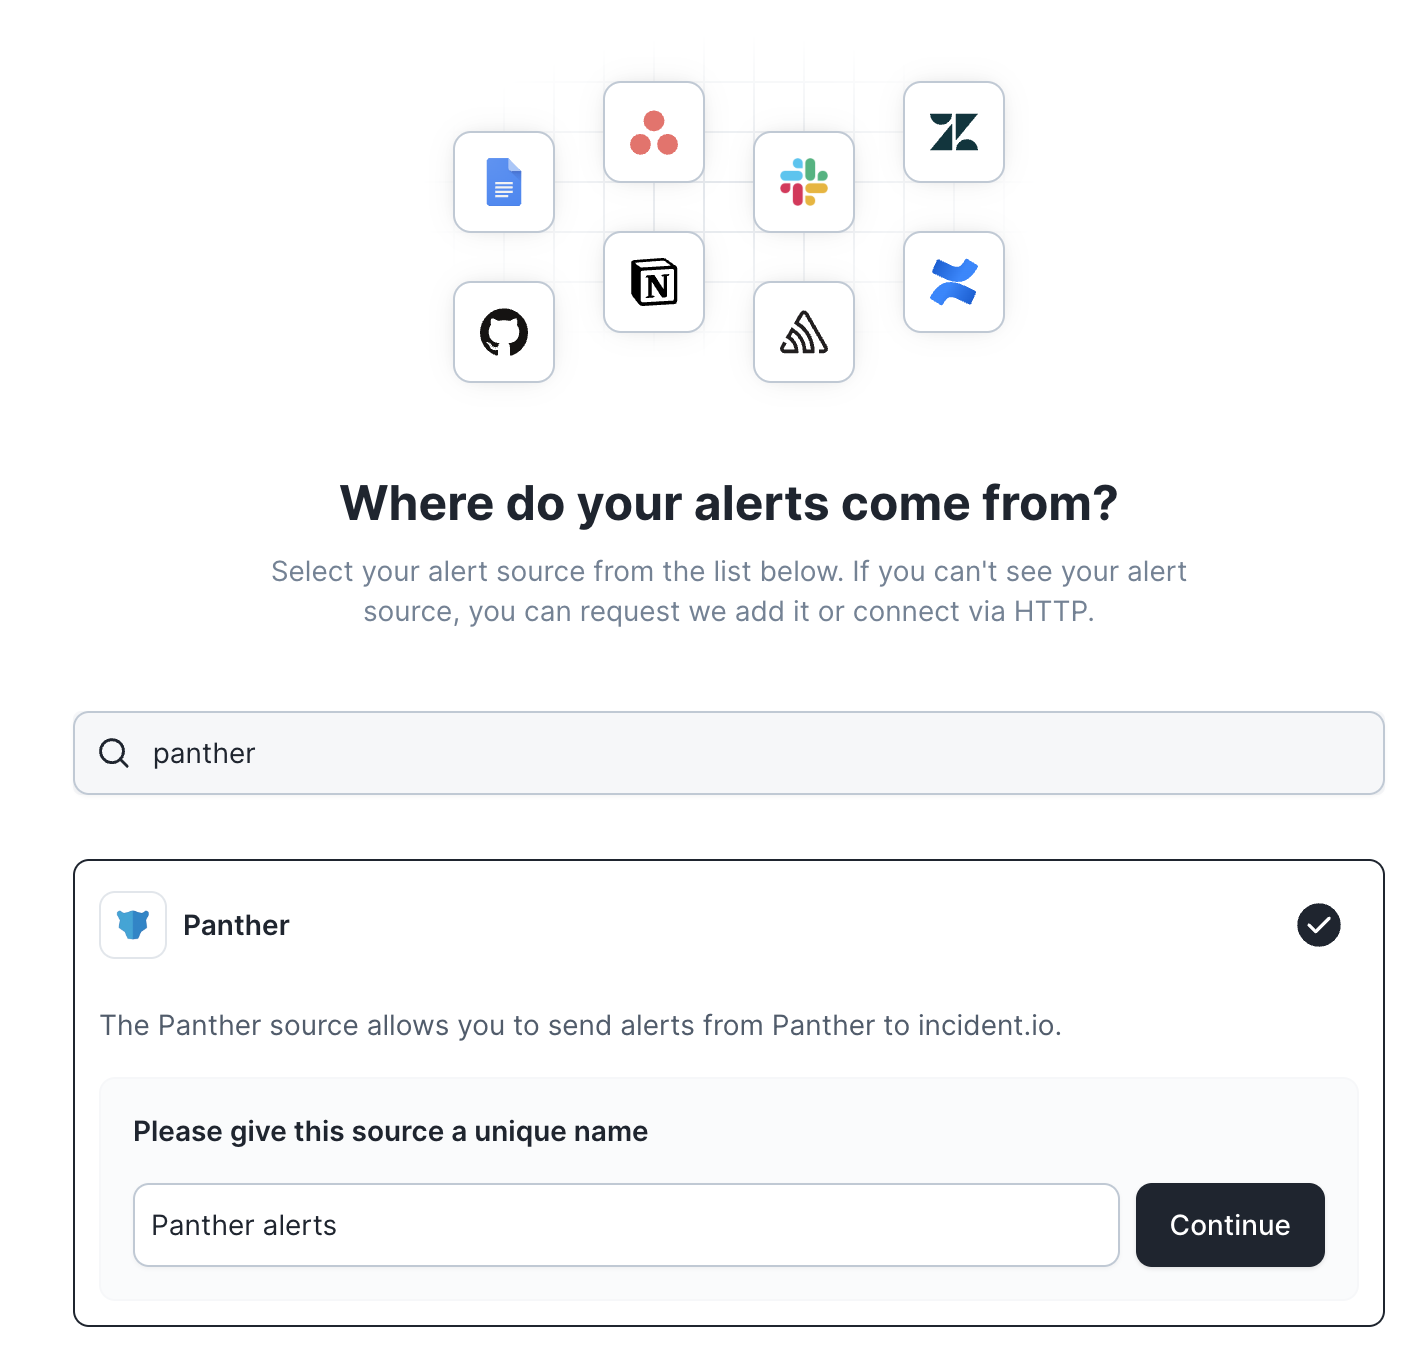
- Search for ‘Panther’ and click continue to create the alert source
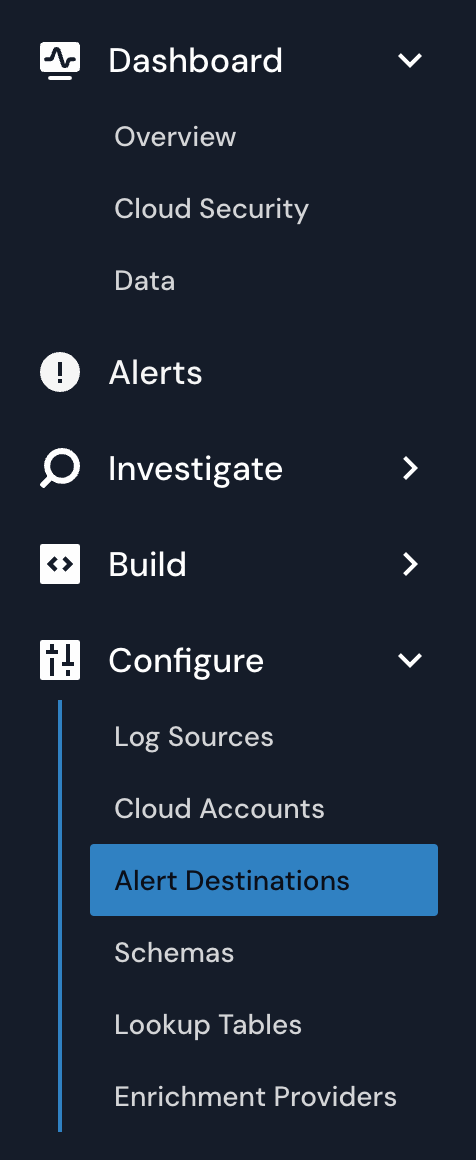
- Switch over to your Panther dashboard, and select ‘Alert Destinations’ under the ‘Configure’ section
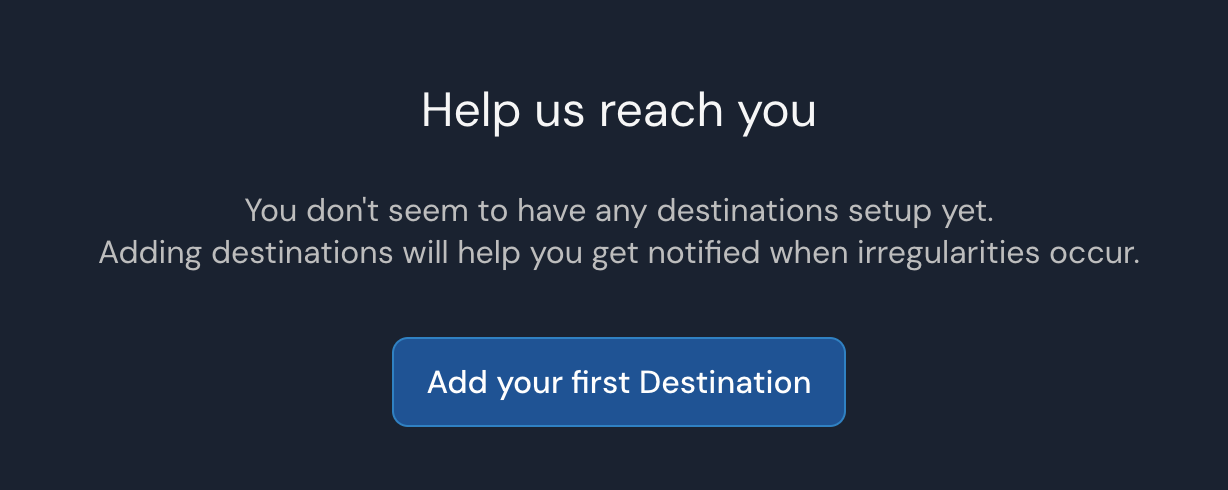
- If you already have another alert destination set up, click the ‘Create New’ button in the top right hand corner. Otherwise, click ‘Add your first Destination’.

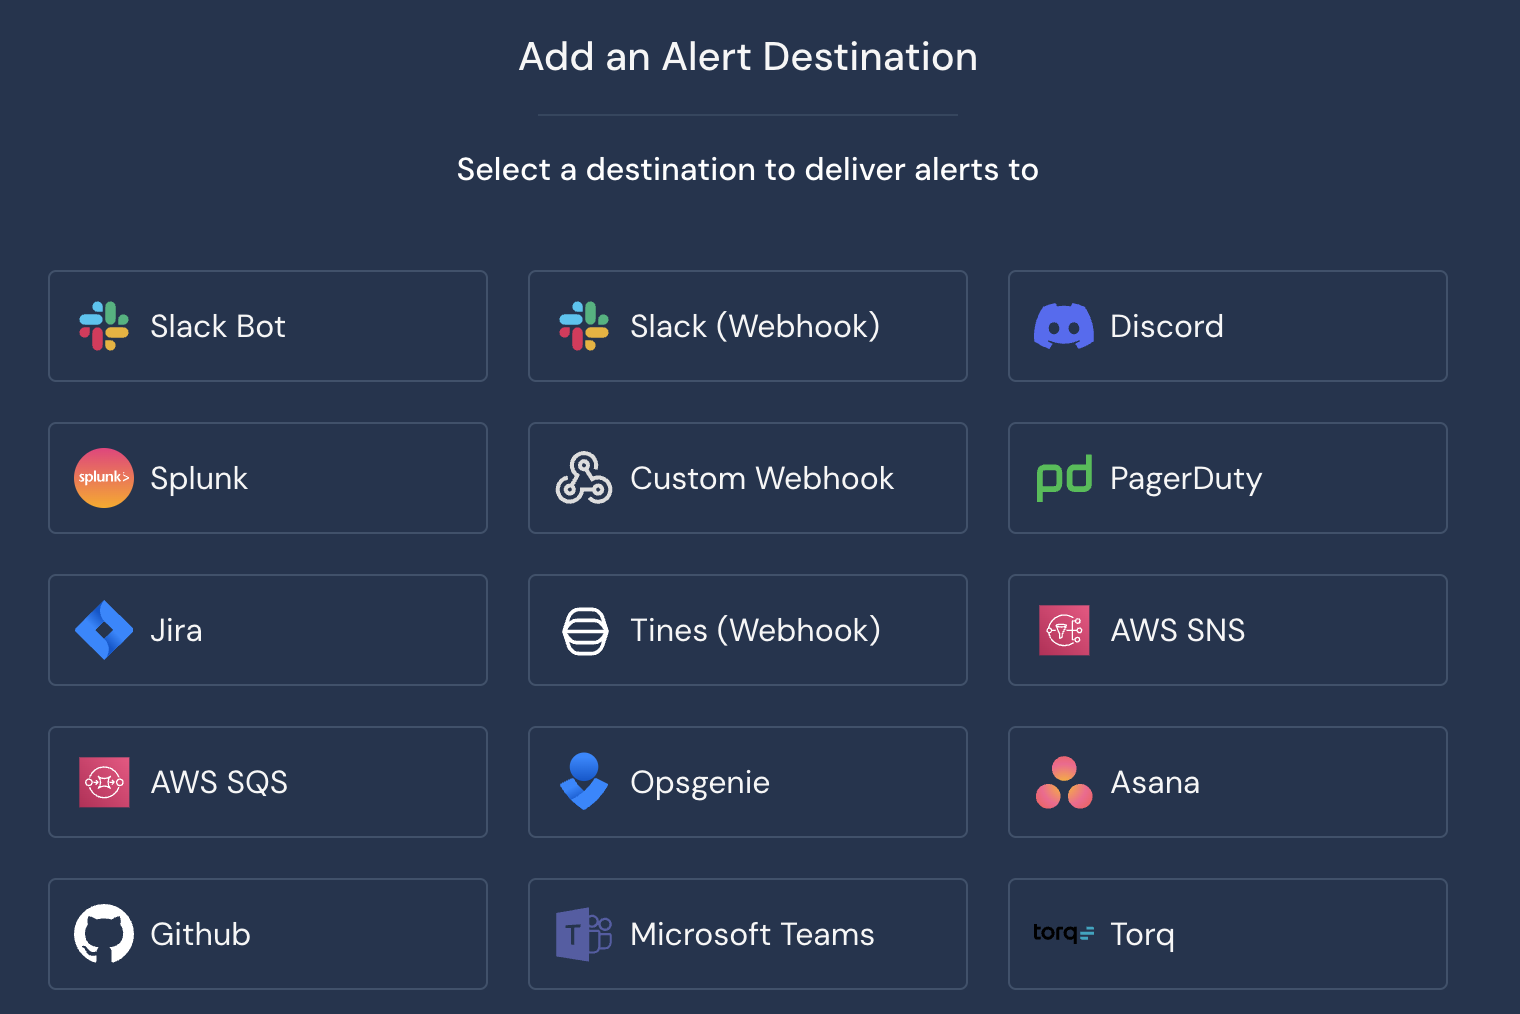
- Choose ‘Custom Webhook’ from the list of destinations
- Copy the Webhook URL provided to you after you created a Panther alert source in the incident.io dashboard, and make sure to add a custom HTTP header for ‘Authorization’. The value for this header is provided to you in the incident.io dashboard, alongside the Webhook URL.
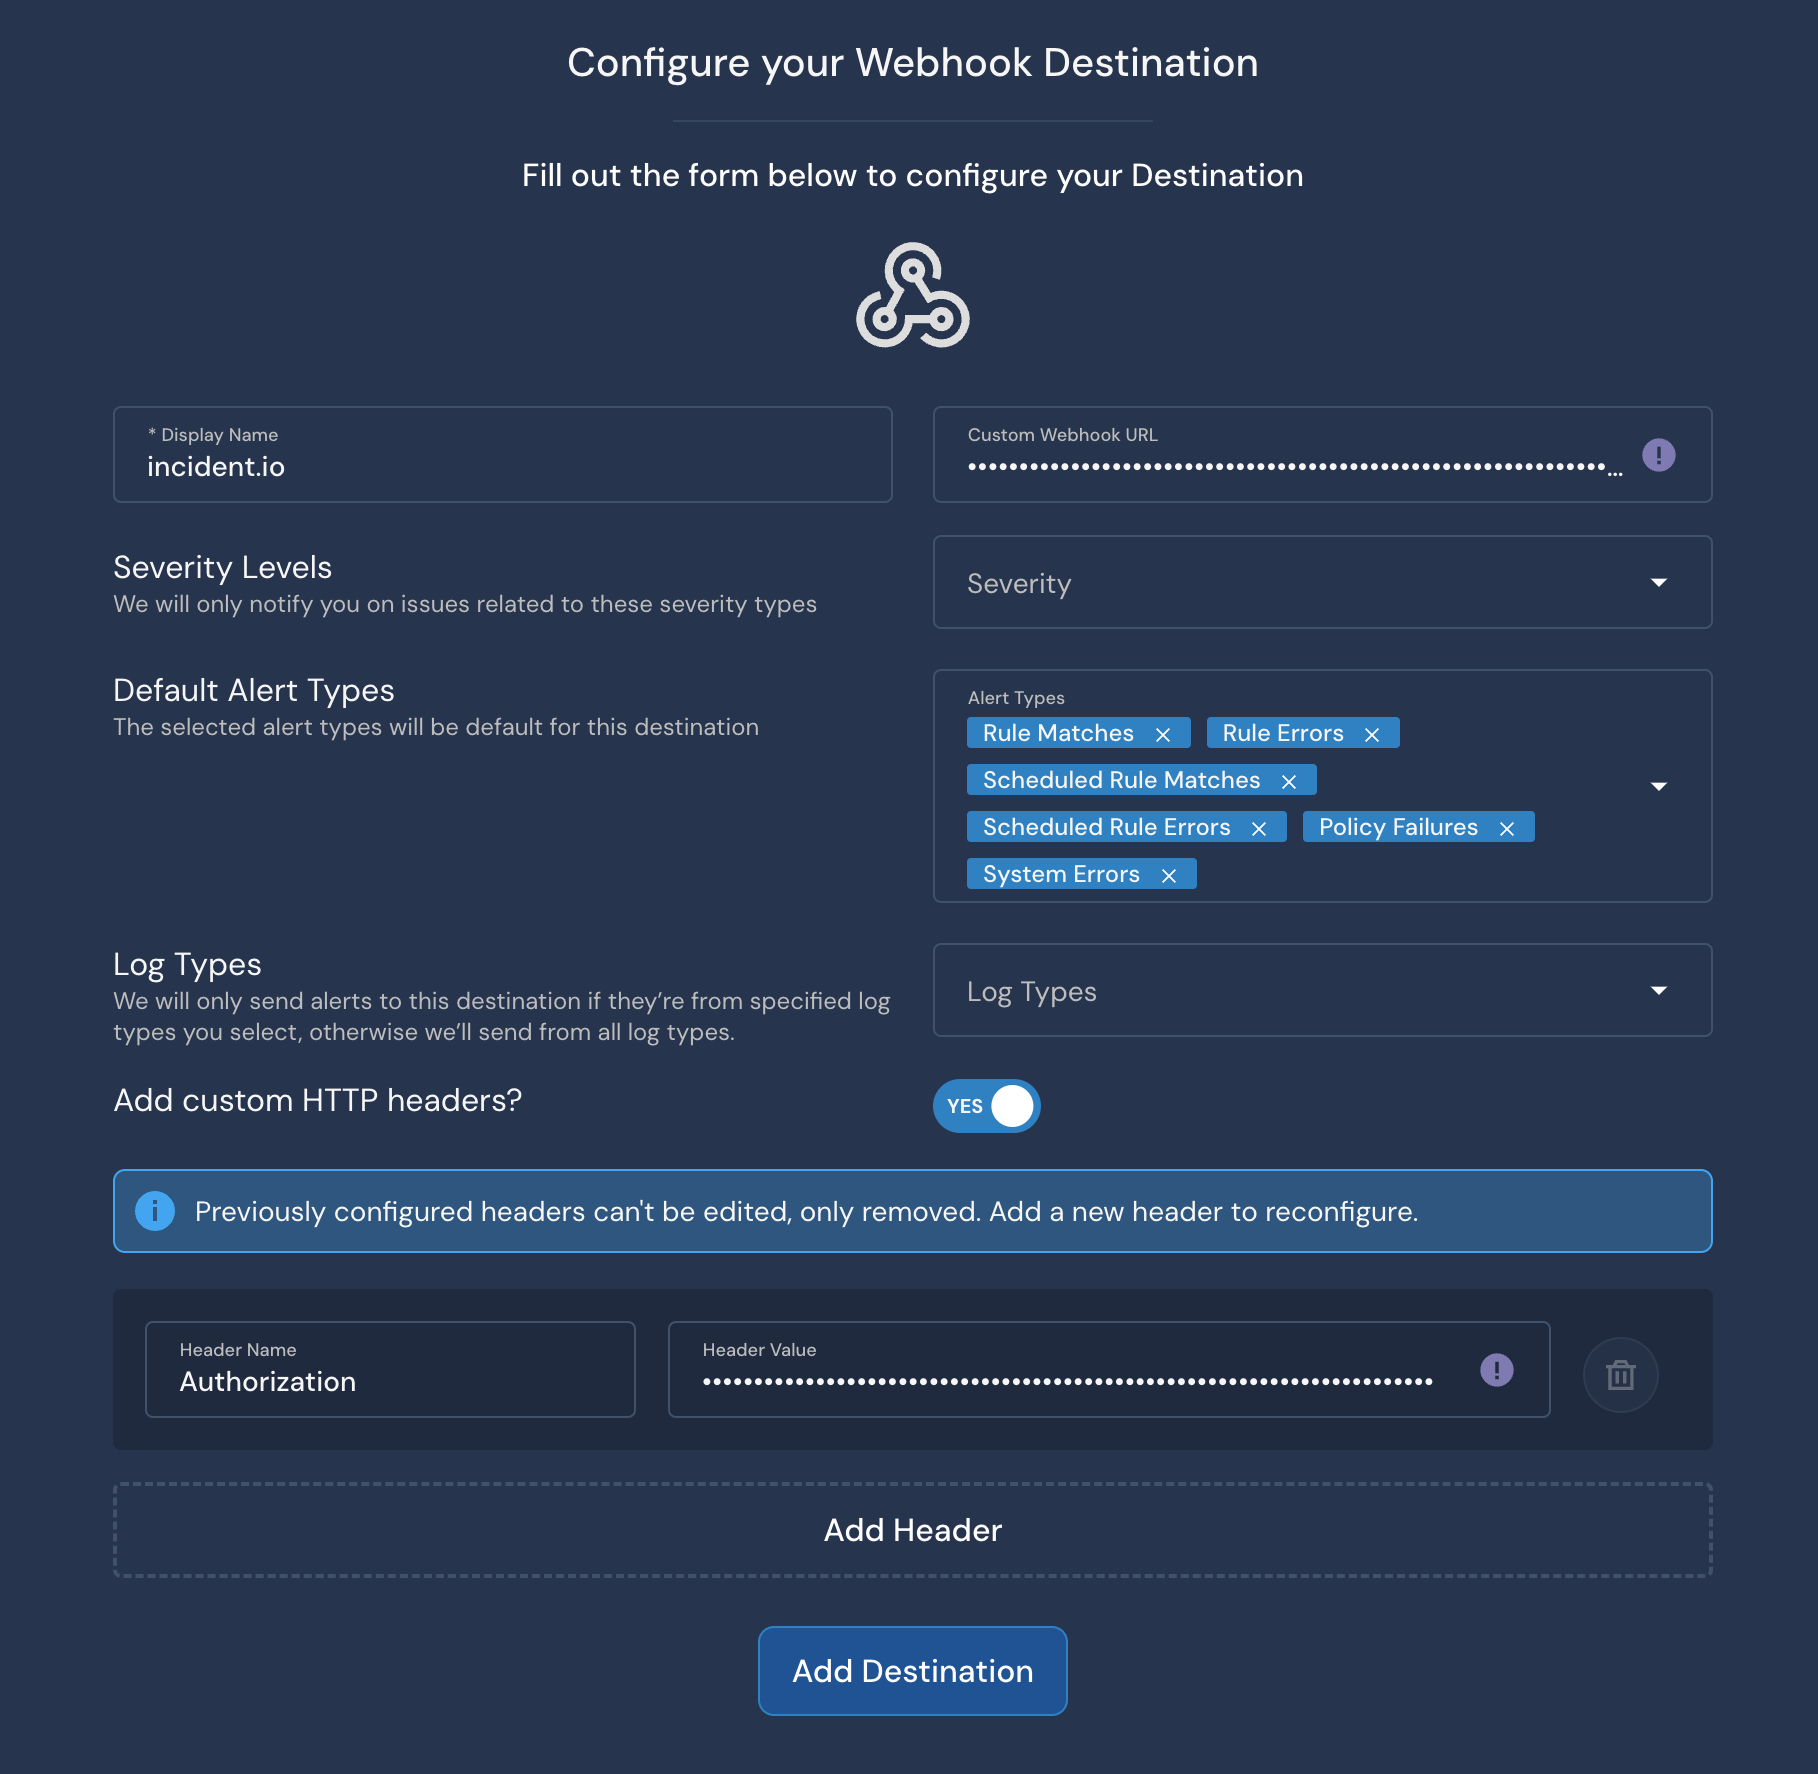
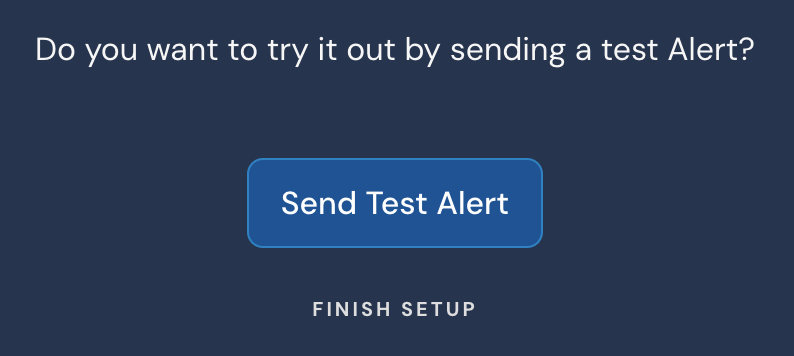
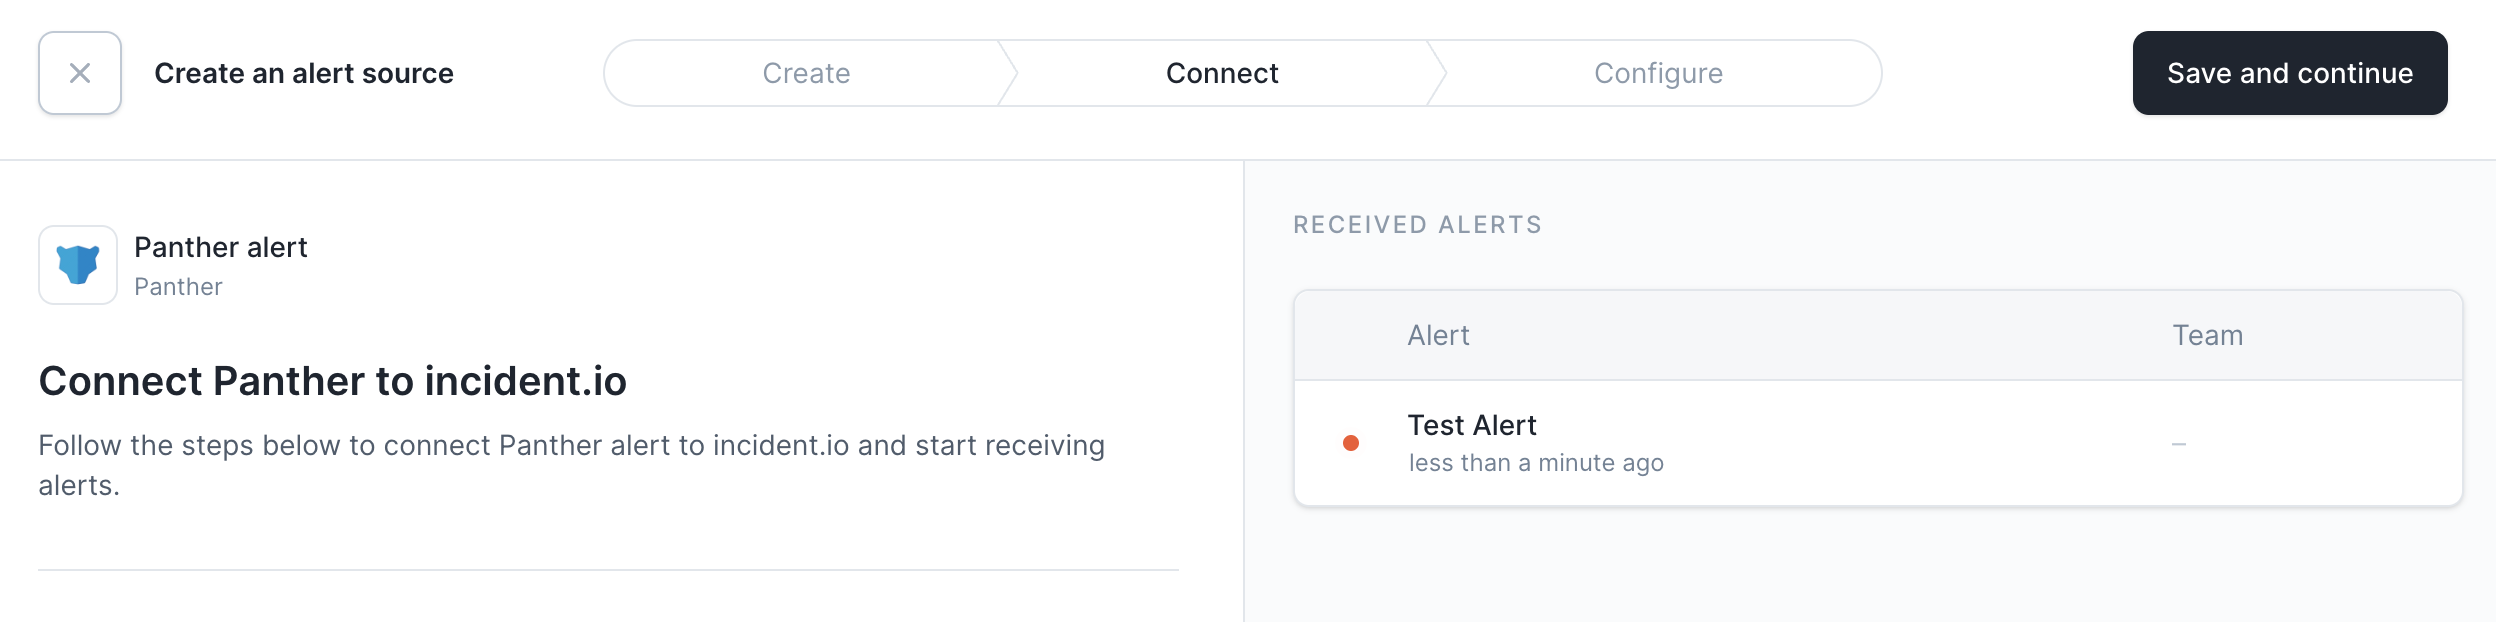
- Click ‘Add Destination’ and then ‘Send Test Alert’ to test your integration. You should be able to see a test alert in your incident.io dashboard!