Instructions
- Head over to the Alerts section in your incident.io dashboard
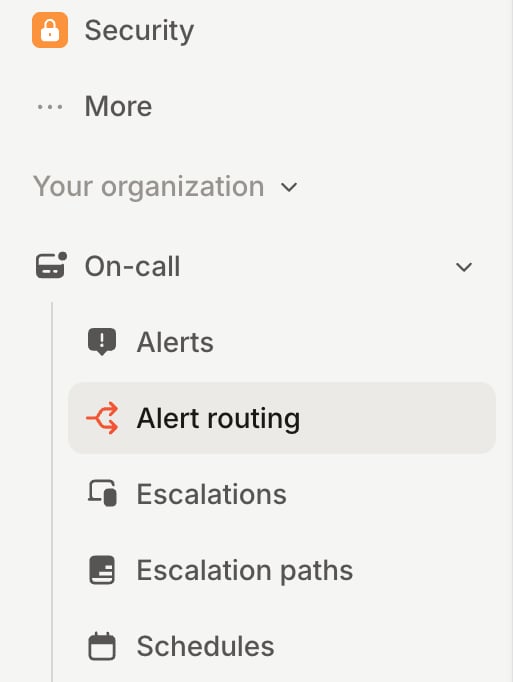
- Select the Sources tab under On-call → Alert routing
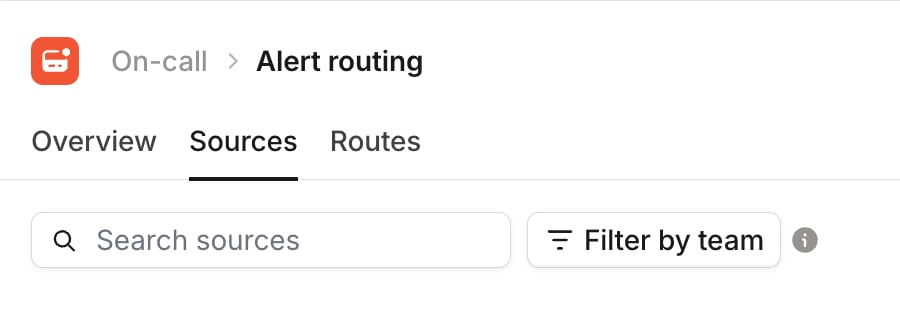
- Press the Create source button

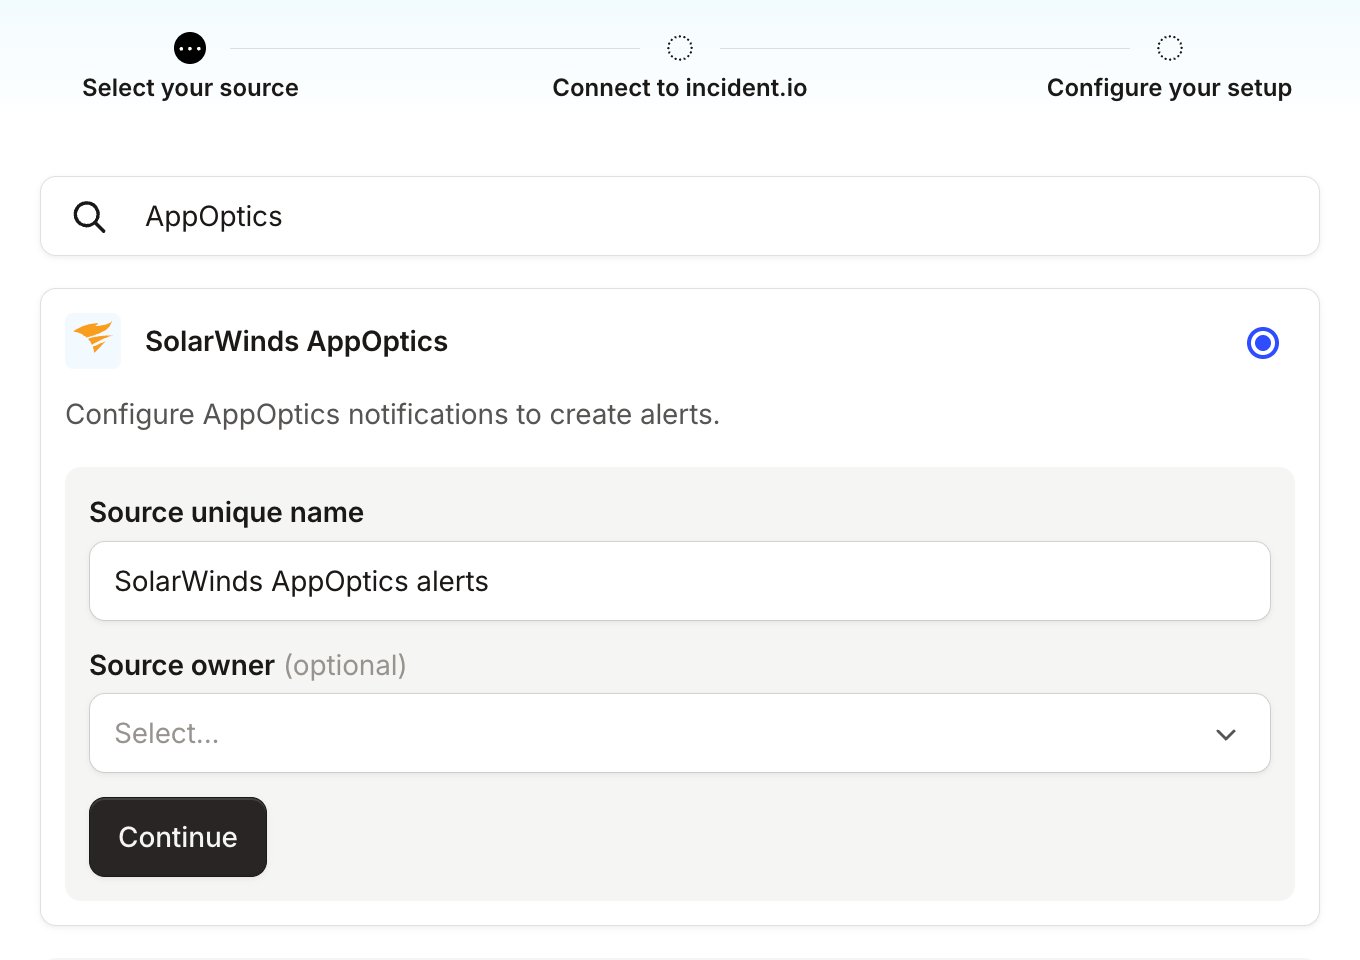
- Search for SolarWinds AppOptics and click continue to work through the Select your source, Connect to incident.io and Configure your setup steps
- Head over to the AppOptics dashboard, and navigate to Settings → Metric Settings → Notification Services
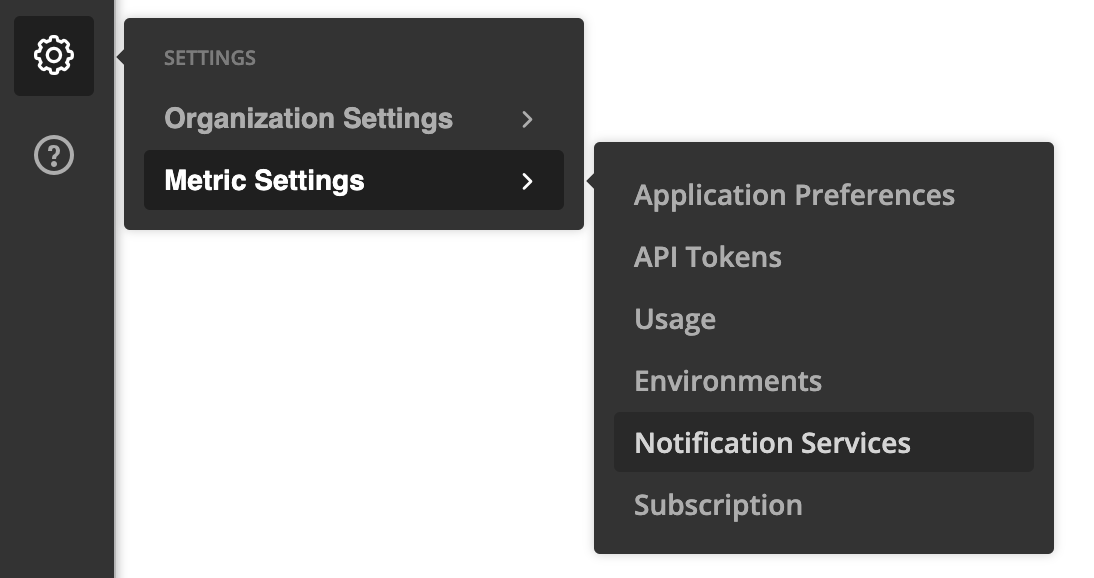
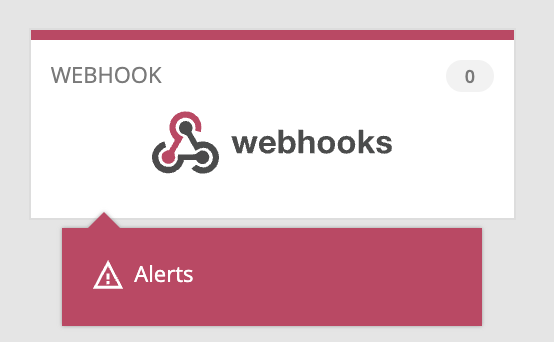
- Click on Webhooks to add a configuration
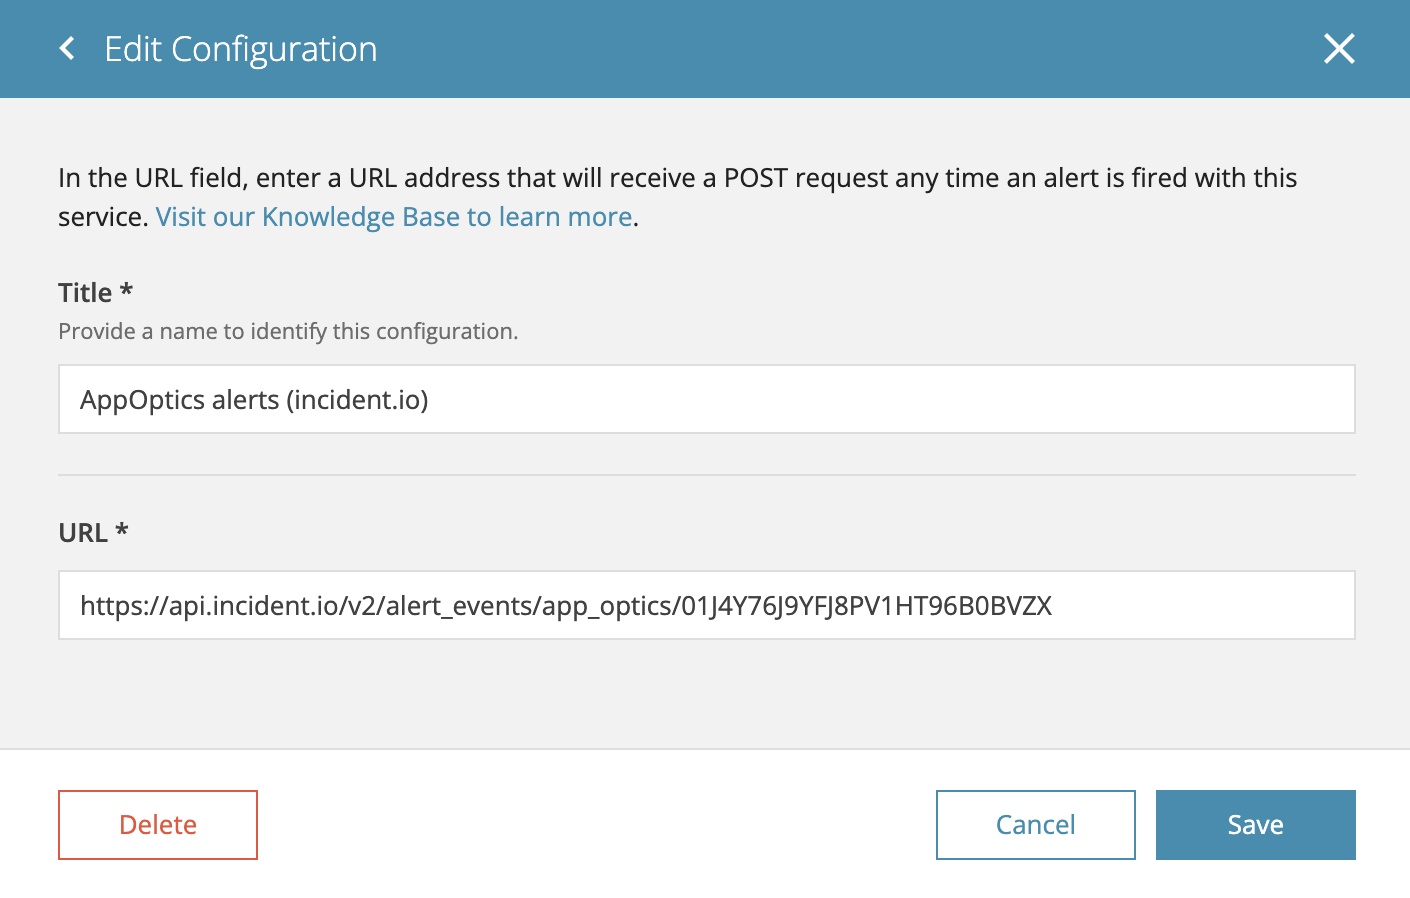
- Enter a name for your webhook, and the URL provided from your incident.io dashboard, and click Add.
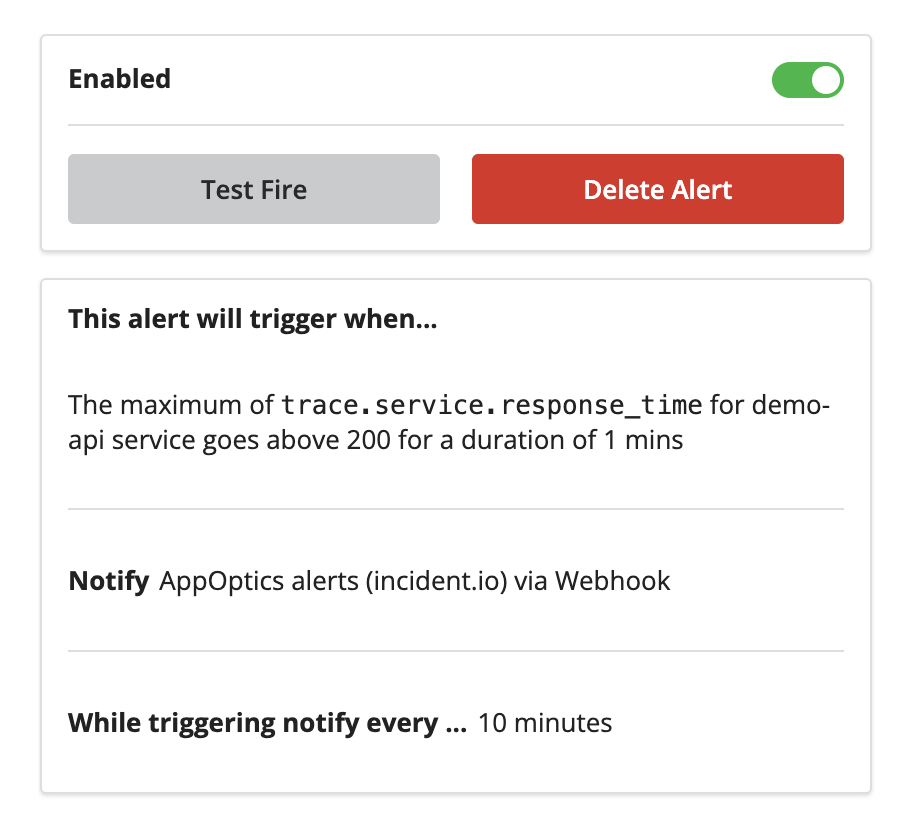
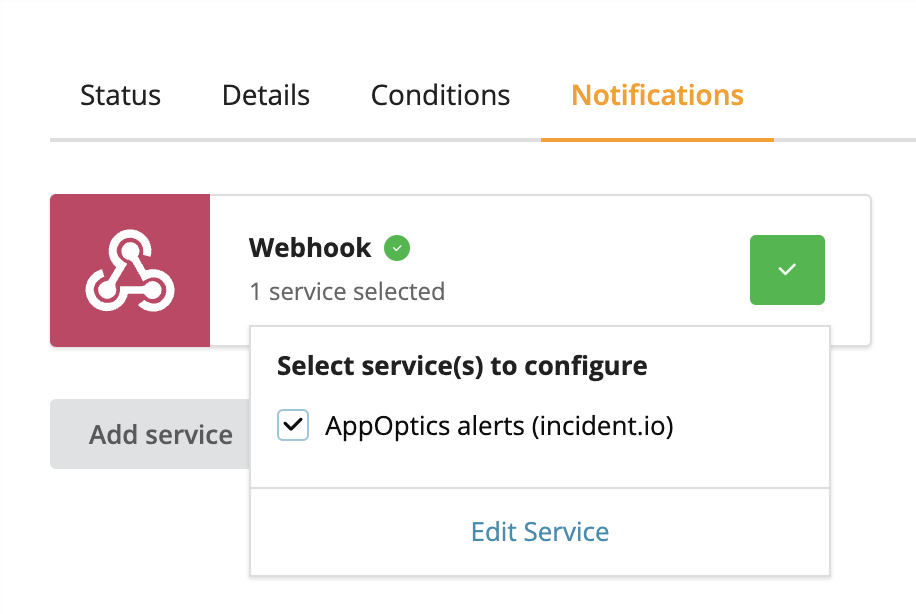
- Now, you can configure your alerts to be sent to incident.io, by navigating to the Notifications tab on any alert you want to connect, and enabling the notification service you just created.
- Finally, you can test the connection by clicking Test Fire on the right hand side of the page.