

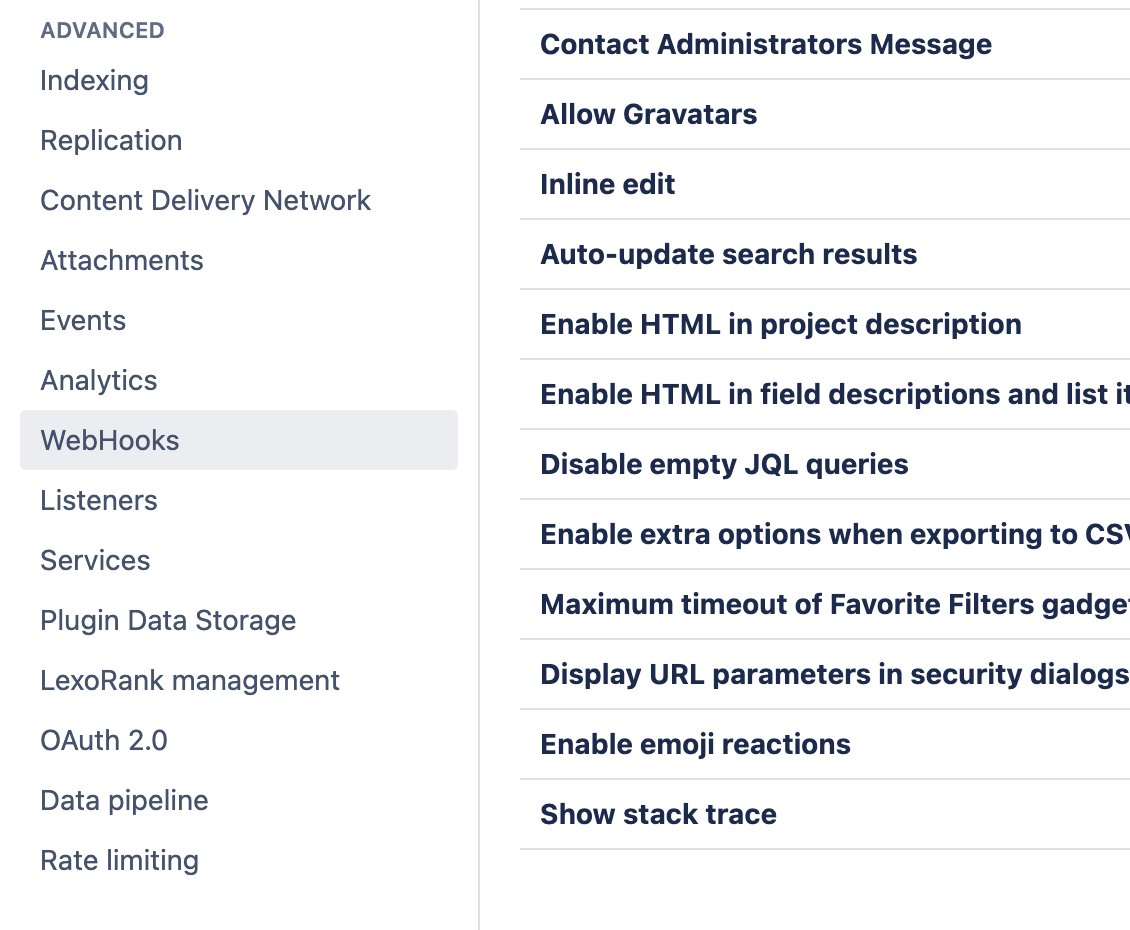
1. Navigate to System → WebHooks
In Jira, use the cog menu in the top-right to enter System settings.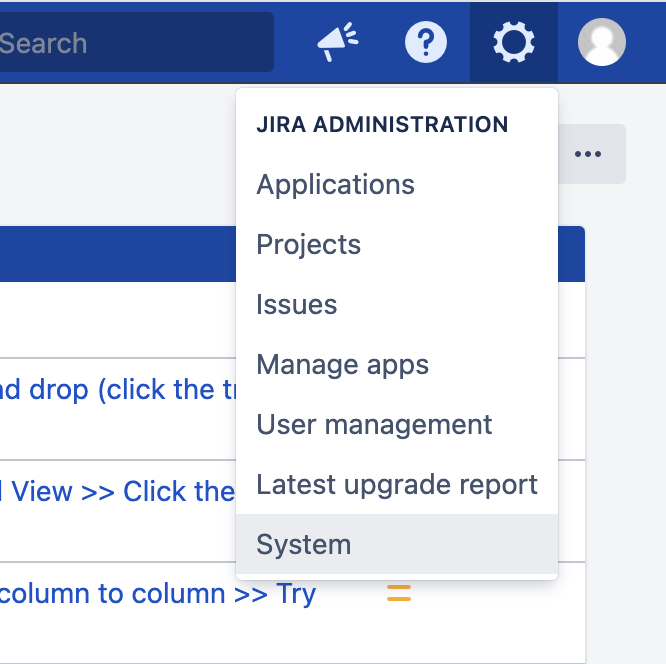
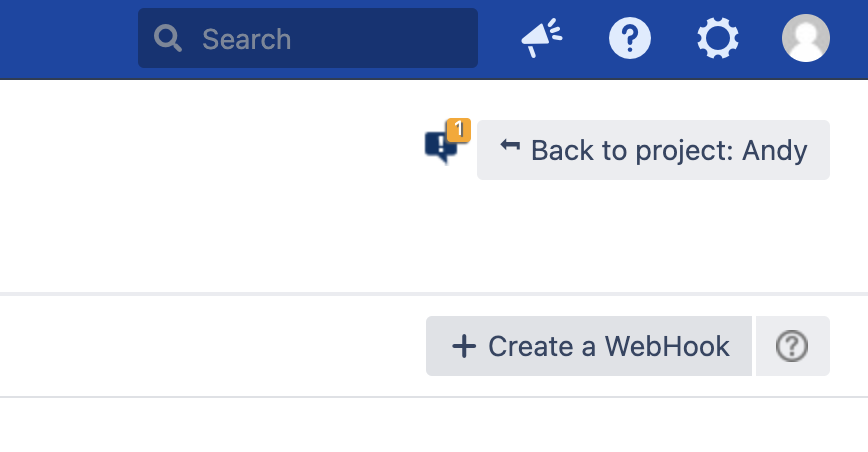
2. Configure the destination
Name : ‘incident.io’ Status : Enabled URL : Check Settings → Integrations → Jira Server to find your webhook URL Description : Leave blank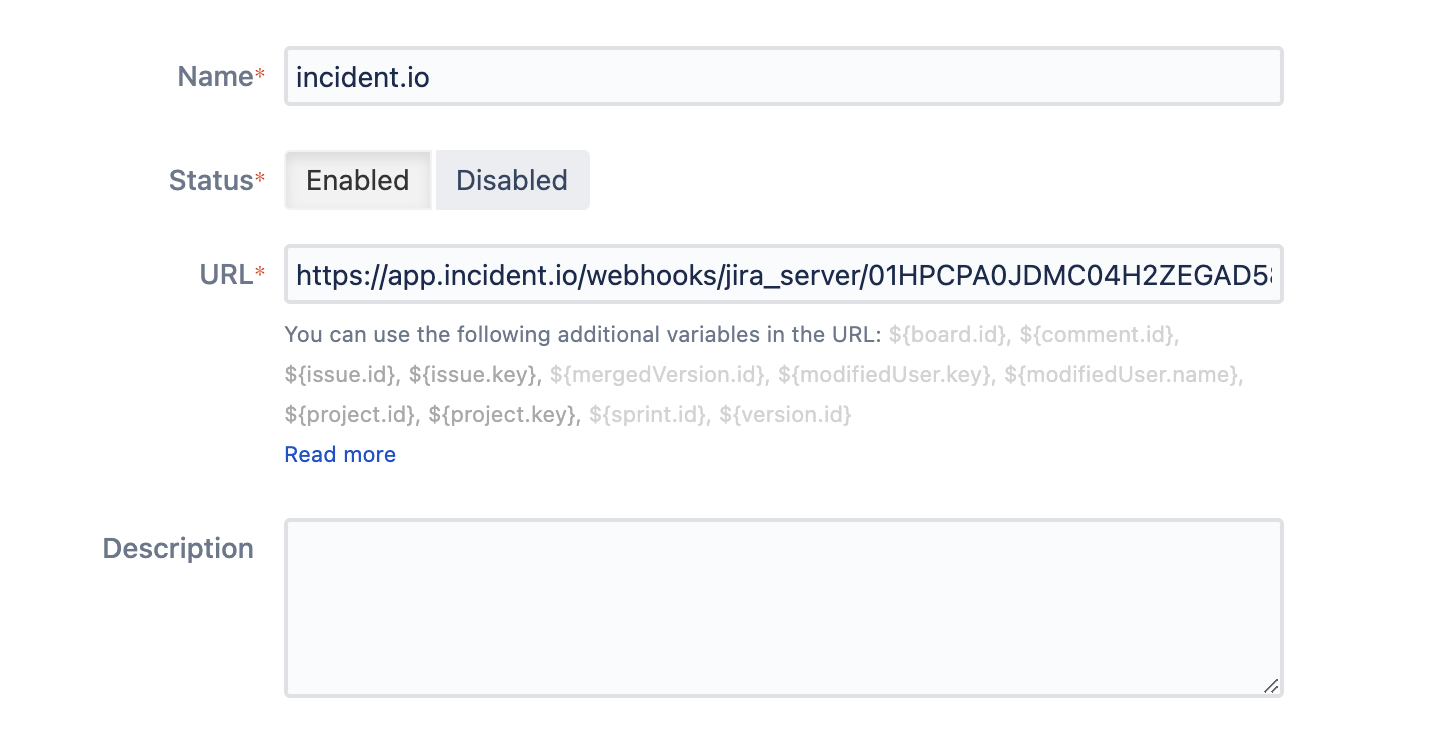
3. Add events
Under Issue related events, check issue created, issue updated, issue deleted, issue link created and issue link deleted. All other events can be left disabled.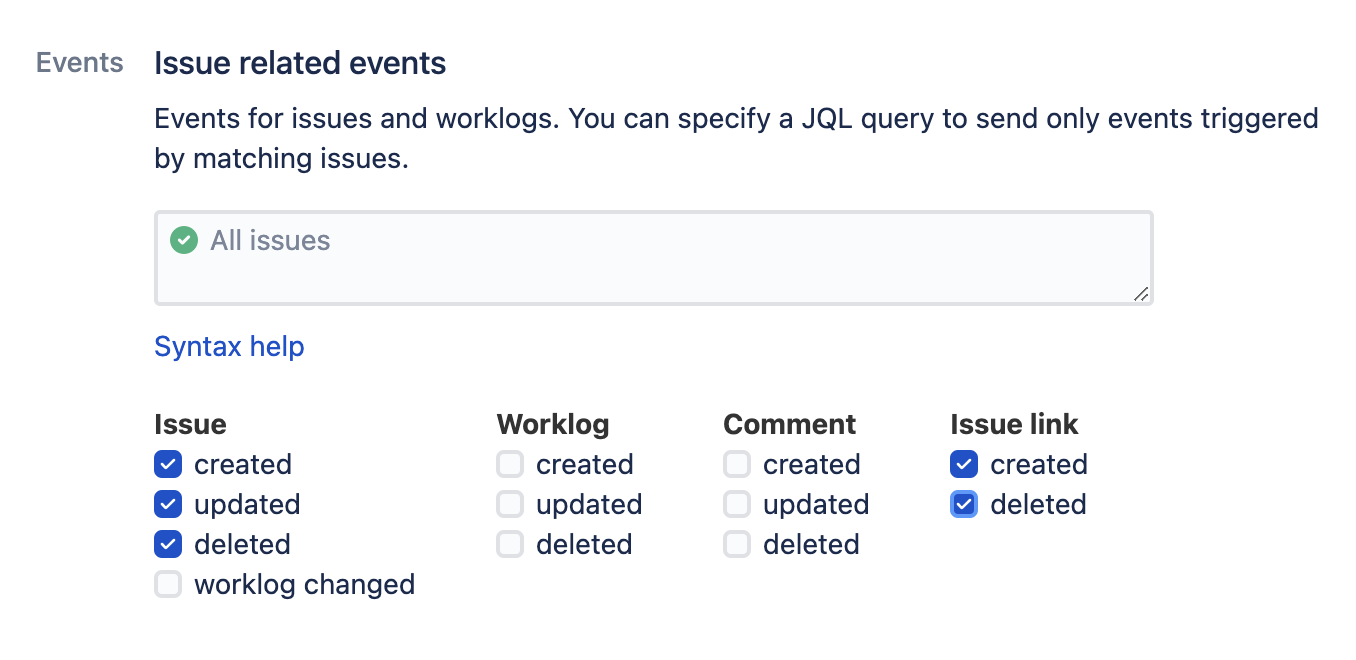
4. Create the webhook
At the bottom of the page, ensure Exclude body is not checked, and click Create.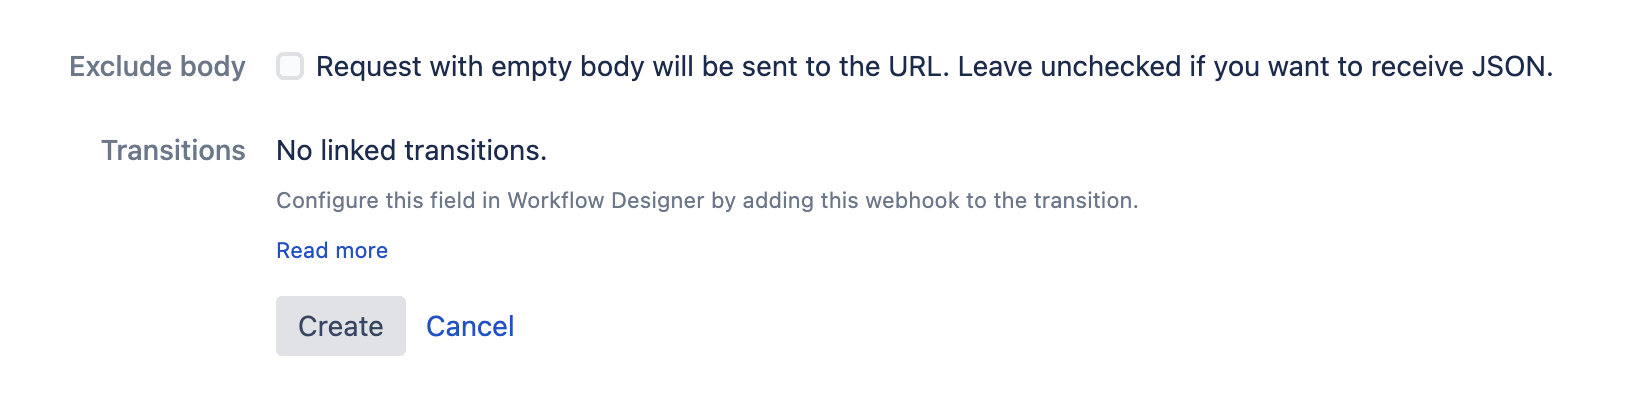
You’re all set up!
If your Jira Server is behind a firewall, you’ll need to ensure that the firewall allows outbound traffic toapp.incident.io. Please contact your customer success manager if we can help with this.