We have a ServiceNow integration to keep your incidents and their follow-ups in sync with incident.io. For teams running their operations in ServiceNow, we know how important it is to preserve the structured record-keeping you rely on. This integration closes the loop between fast-moving incident response in Slack or Microsoft Teams and the structured processes in ServiceNow, so you get the best of both worlds without duplicate effort. This document will explain how to connect ServiceNow to incident.io.

Connecting ServiceNow

incident.io connects to ServiceNow using an OAuth app and Web Service user account. Sync is bi-directional: updates made in ServiceNow flow back to incident.io, not just the other way. Installing our ServiceNow app makes that back-sync real-time, so we recommend it. If you’d rather not, grant the service account the admin role instead. If you’re setting up the ServiceNow alert source, make sure you install the ServiceNow app.
You will need a ServiceNow Admin to complete these steps.

1. Install the ServiceNow app

Install the incident.io app from the ServiceNow Store. To skip the ServiceNow app installation, grant the admin role in step 3 instead.

2. Create an OAuth App

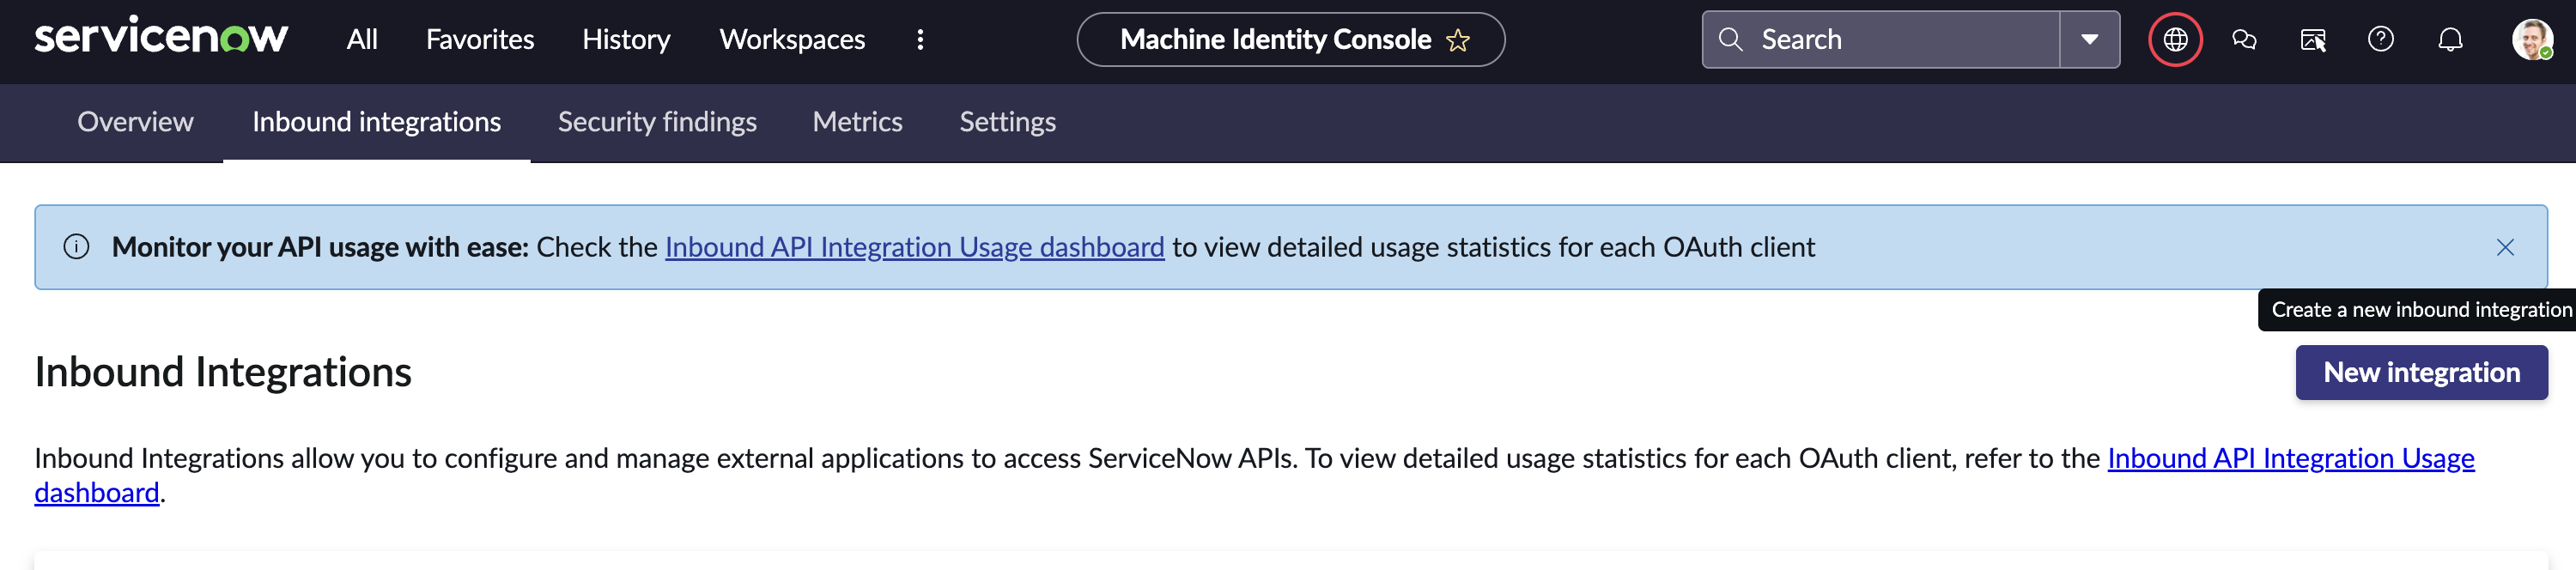
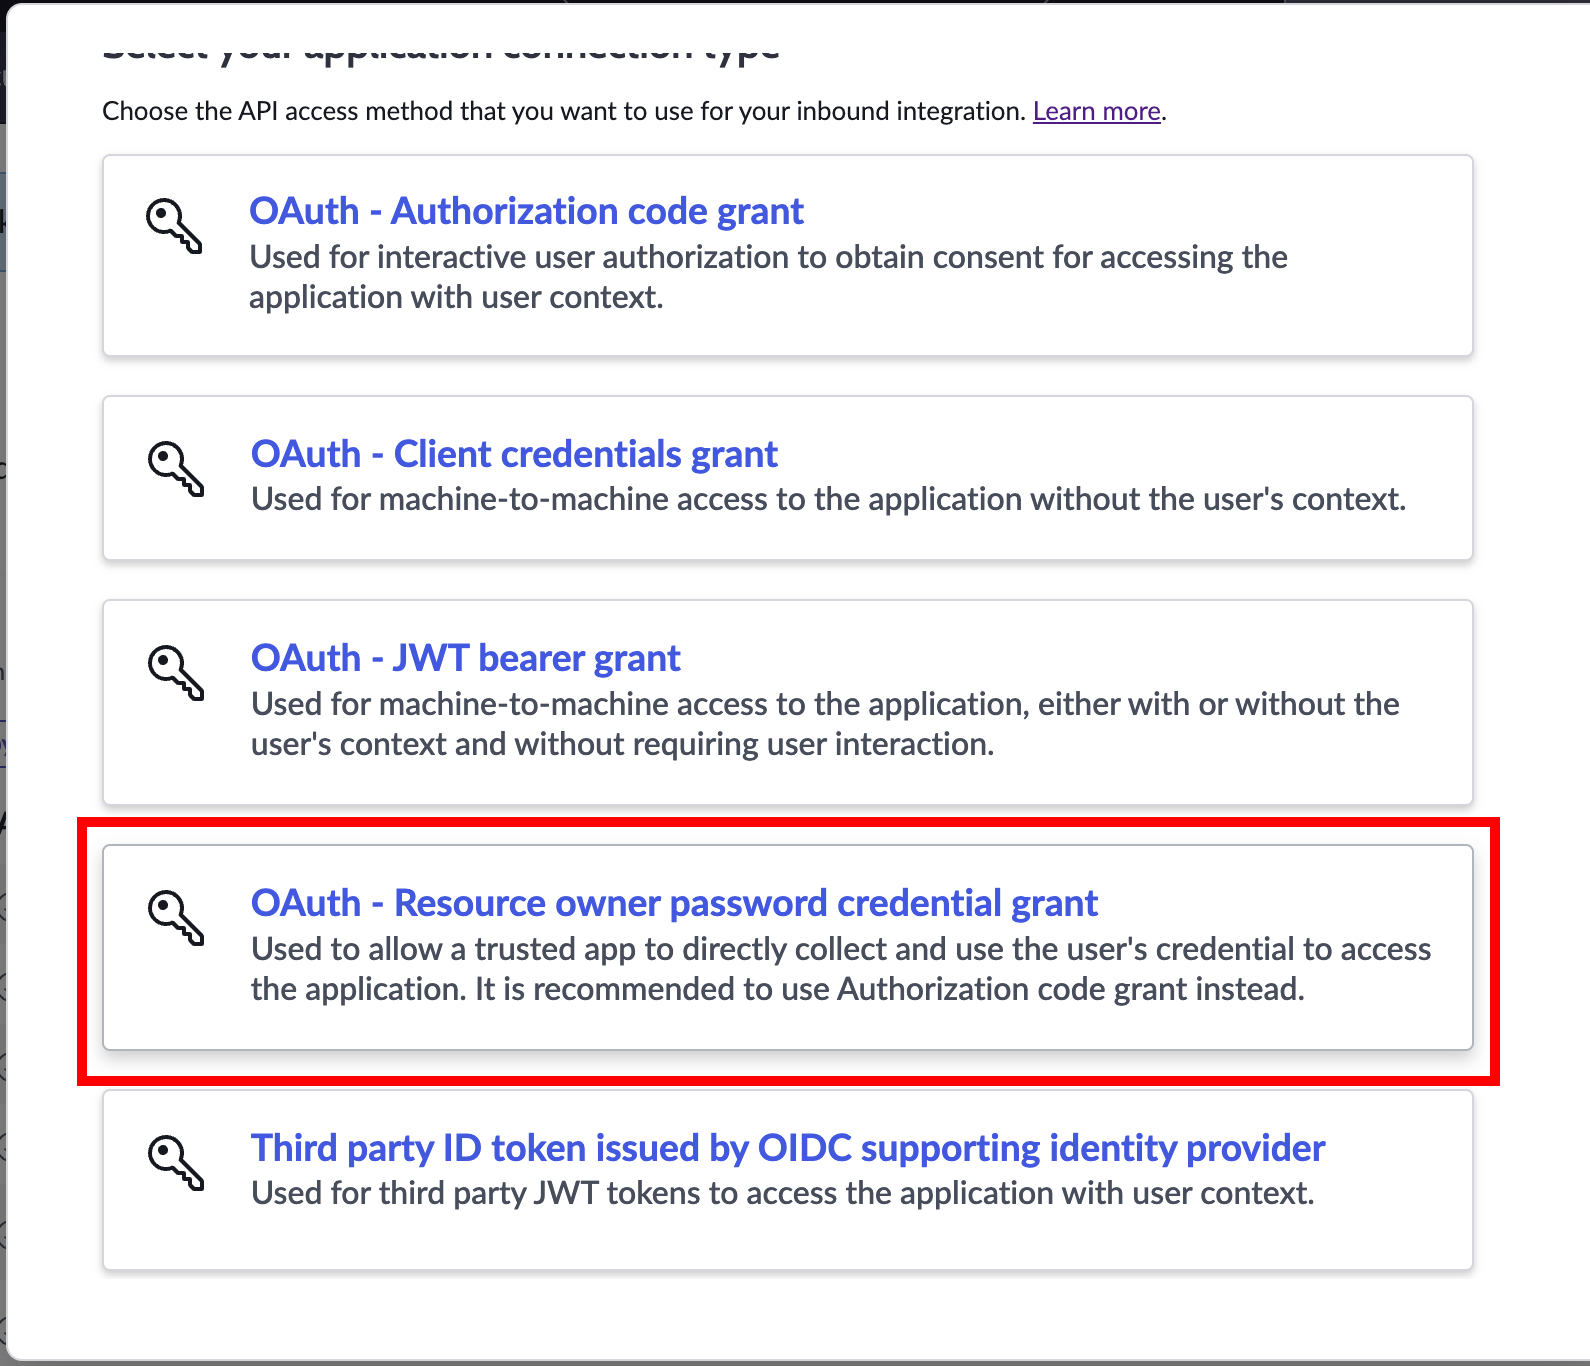
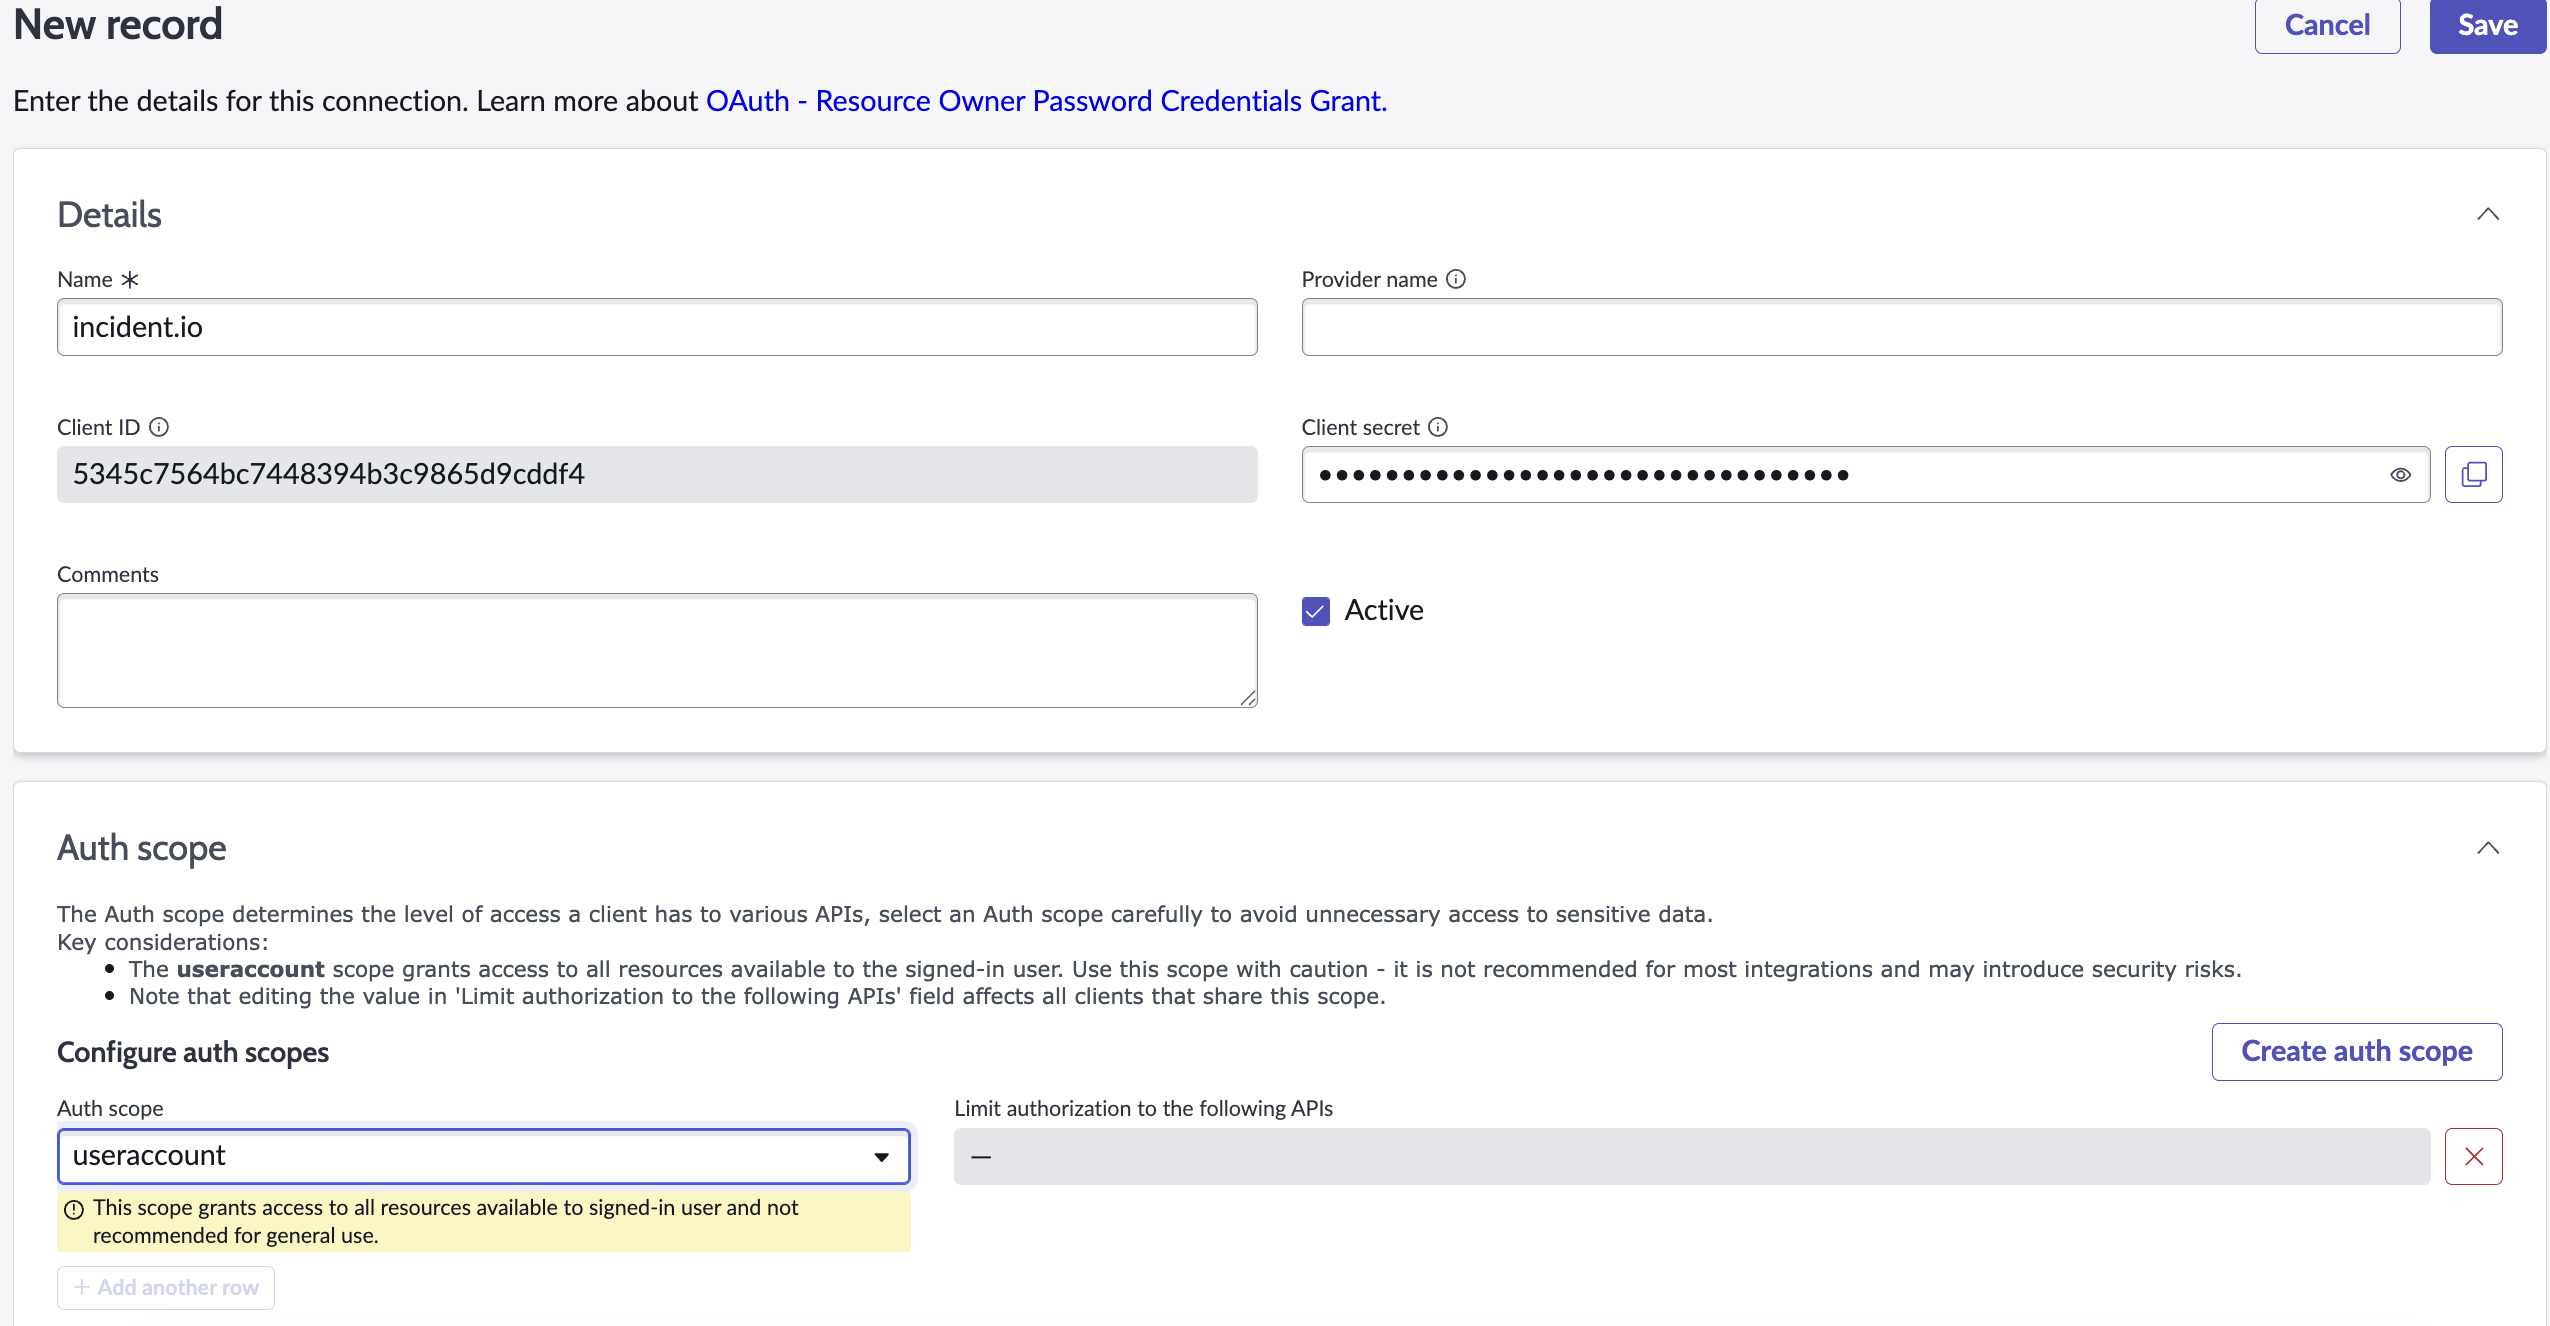
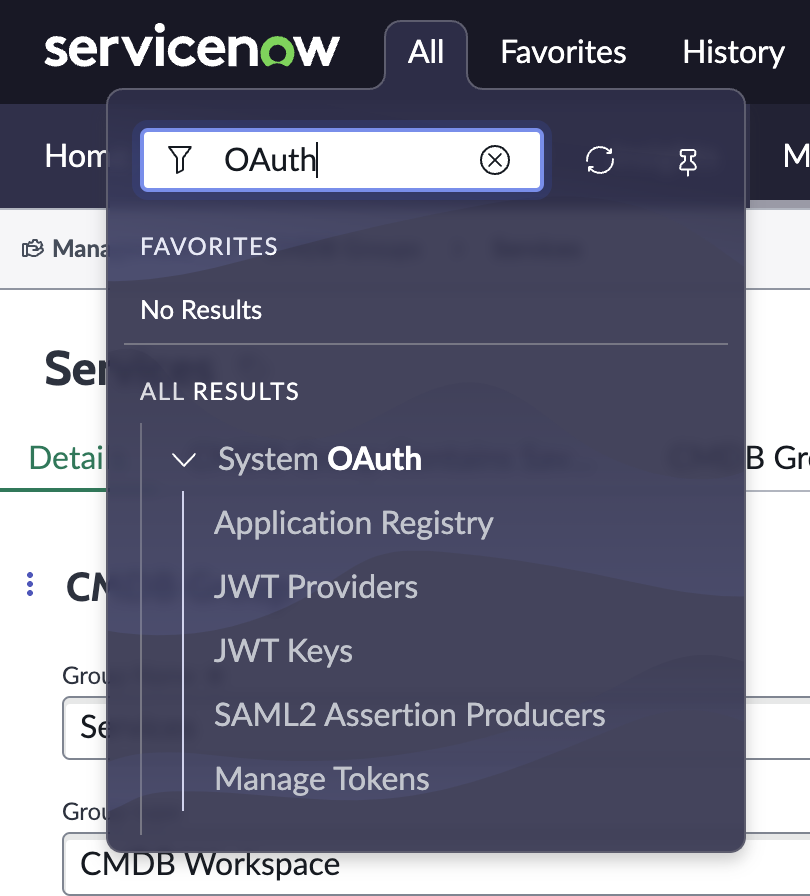
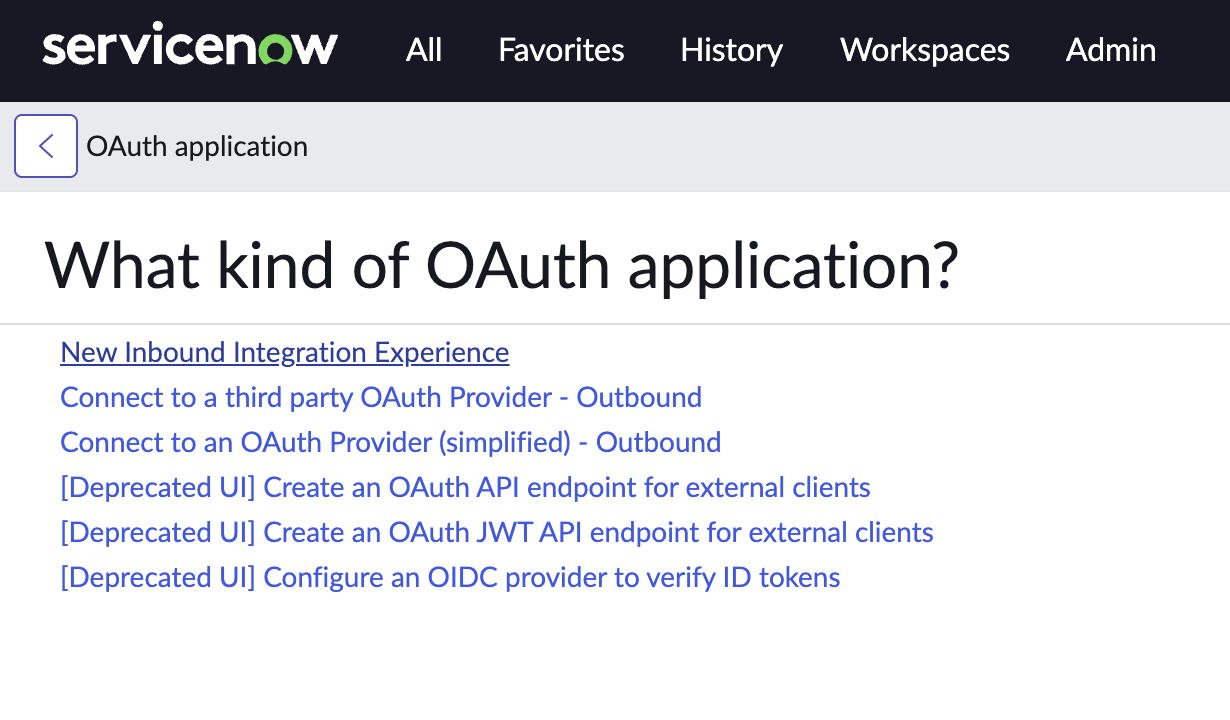
Log in to ServiceNow and search for OAuth in the filter navigation: ServiceNow filter navigation search for OAuth, showing Application Registry under System OAuth Select Application Registry, and click New. ServiceNow "What kind of OAuth application?" page with New Inbound Integration Experience at the top Select New Inbound Integration Experience. Inbound Integrations page in the Machine Identity Console, with the New integration button Click New Integration. Application connection type list, with OAuth - Resource owner password credential grant highlighted Click OAuth - Resource owner password credential grant. Enter ‘incident.io’ for the name, and add ‘useraccount’ to the Auth Scopes section. Leave other options as the defaults: New record form with Name set to incident.io and Auth scope set to useraccount Find the app you’ve just created in the list. Copy the Client ID and Client Secret values: we’ll need them later!
3. Create a Web Service Account

Any ServiceNow user account can be used so long as it has the relevant roles assigned. However, any actions taken by incident.io in ServiceNow will appear as being taken by this user account, so we strongly recommend creating a user for this purpose only.
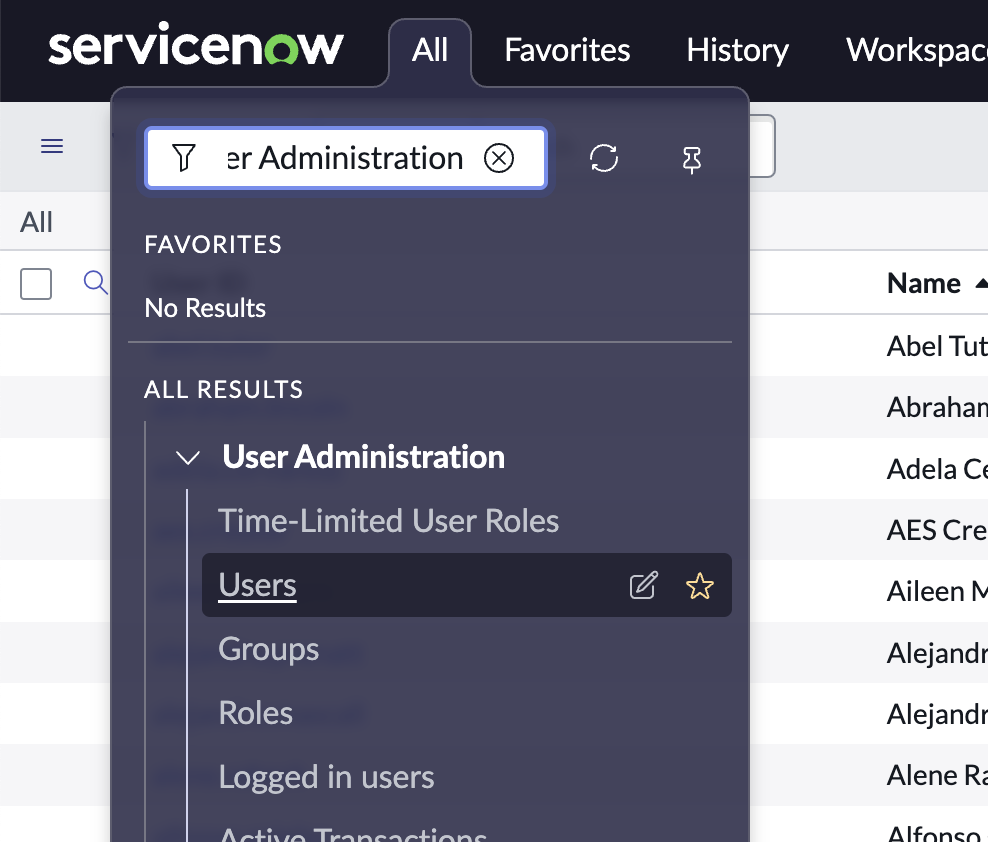
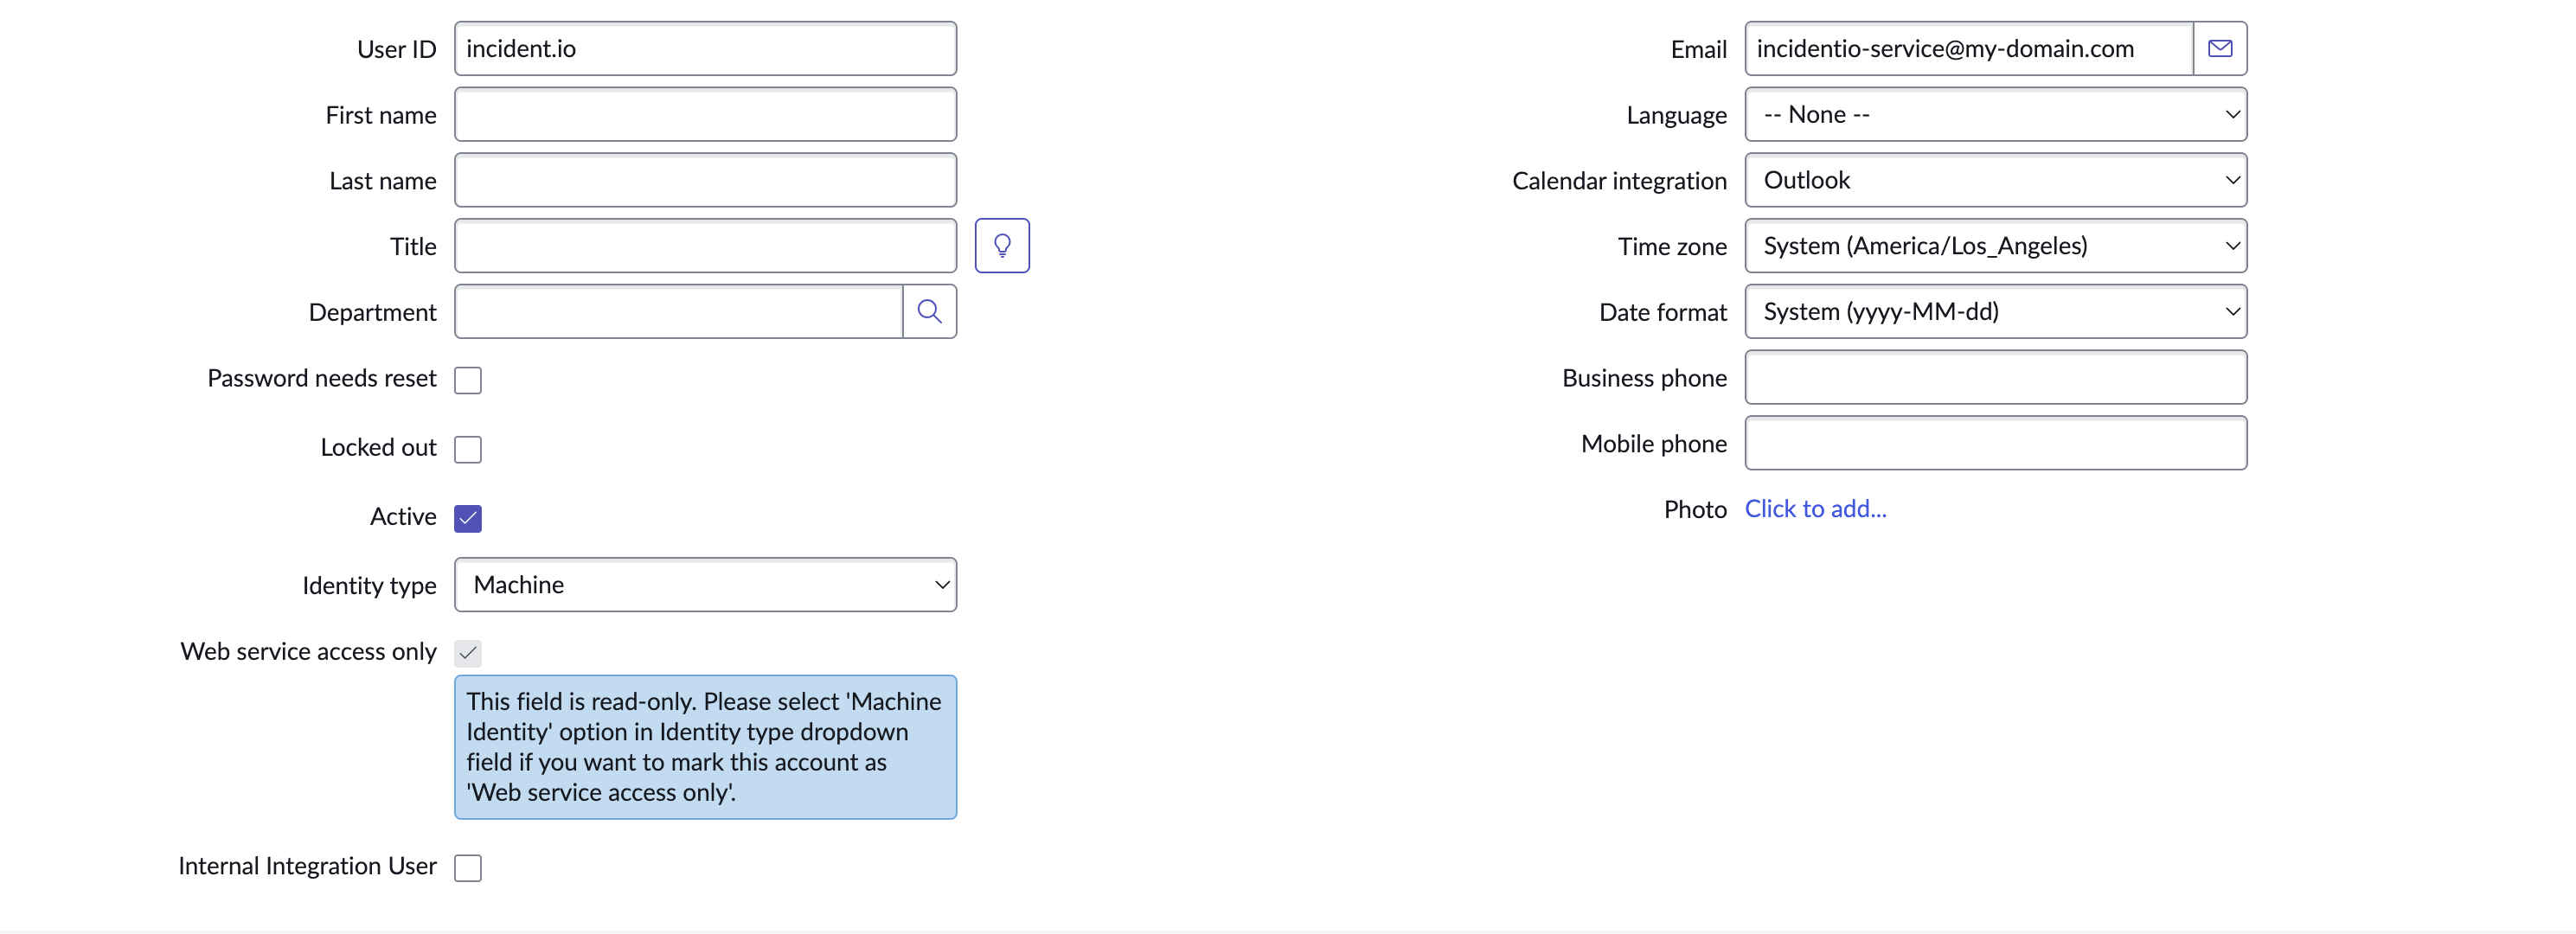
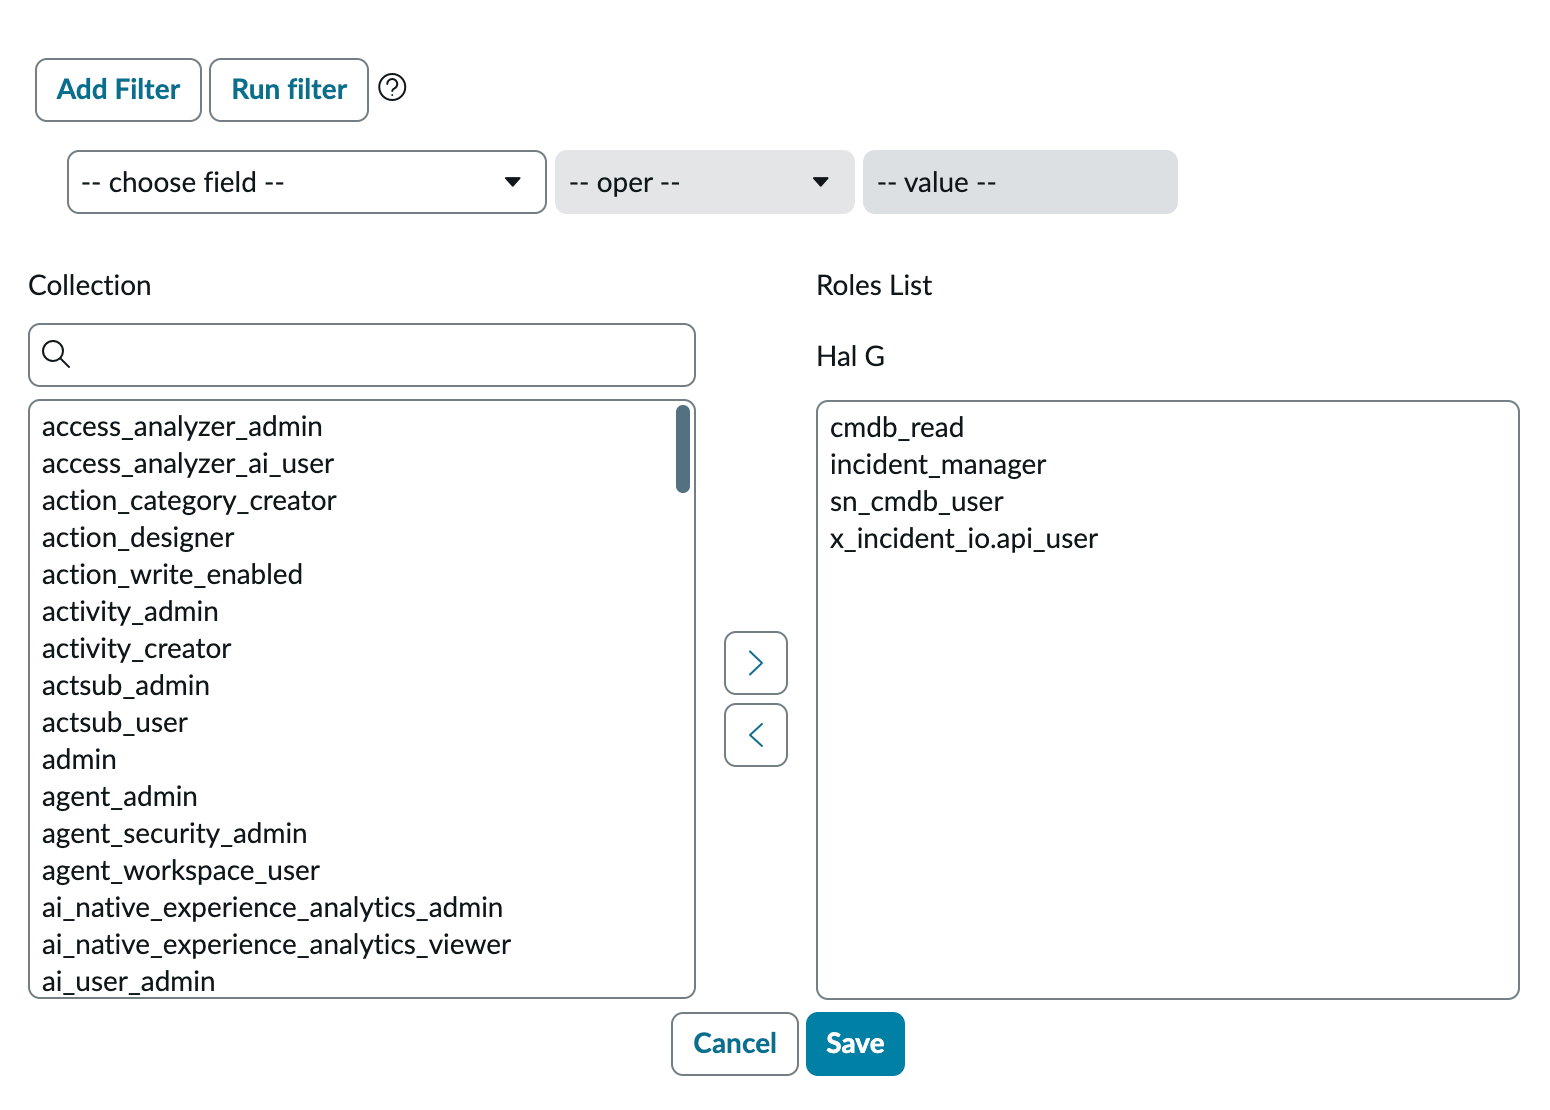
In ServiceNow, search for User Administration in the filter navigation: Filter navigation search for User Administration, with Users highlighted in the results Select Users, then click New in the top-right. Select a username and email, for example ‘incident.io’ and ‘incidentio-service@my-domain.com’: New user form with User ID incident.io, Active ticked, and Identity type set to Machine Make sure Password needs reset and Locked out are not selected, and Active is selected. Change the identity type to Machine. Click Submit, then navigate to the newly-created user. At the bottom, select the Roles tab, then Edit… Add the roles for the path you’re following. If you installed the app in step 1, add:
  • x_incident_io.api_user: shipped by the app. Grants incident.io the API access it needs for sync configuration and incident writes.
  • cmdb_read: allows us to read data from your Configuration Management Database.
  • sn_cmdb_user: allows us to read information about users and groups in your ServiceNow account.
  • incident_manager: allows us to sync incident data into ServiceNow incident records.
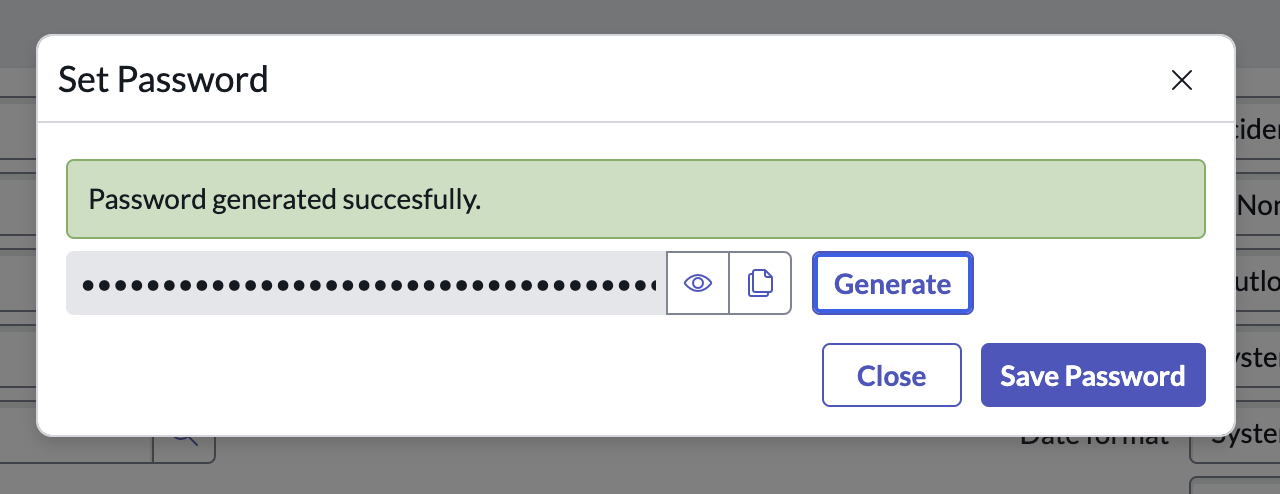
If you’re not installing the app, add the admin role instead, which gives incident.io full access to your ServiceNow instance. Roles List for the service user showing cmdb_read, incident_manager, sn_cmdb_user and x_incident_io.api_user Click Save to apply these changes and return to the user page. Click Set Password, then Generate, then Save Password. Set Password dialog confirming "Password generated succesfully", with Generate and Save Password Copy the newly-generated password, we’ll need it shortly! Make sure to update the record before going back to the dashboard.
4. Create ACLs

If you granted the admin role in step 3, you can skip this step, as admin already covers it.
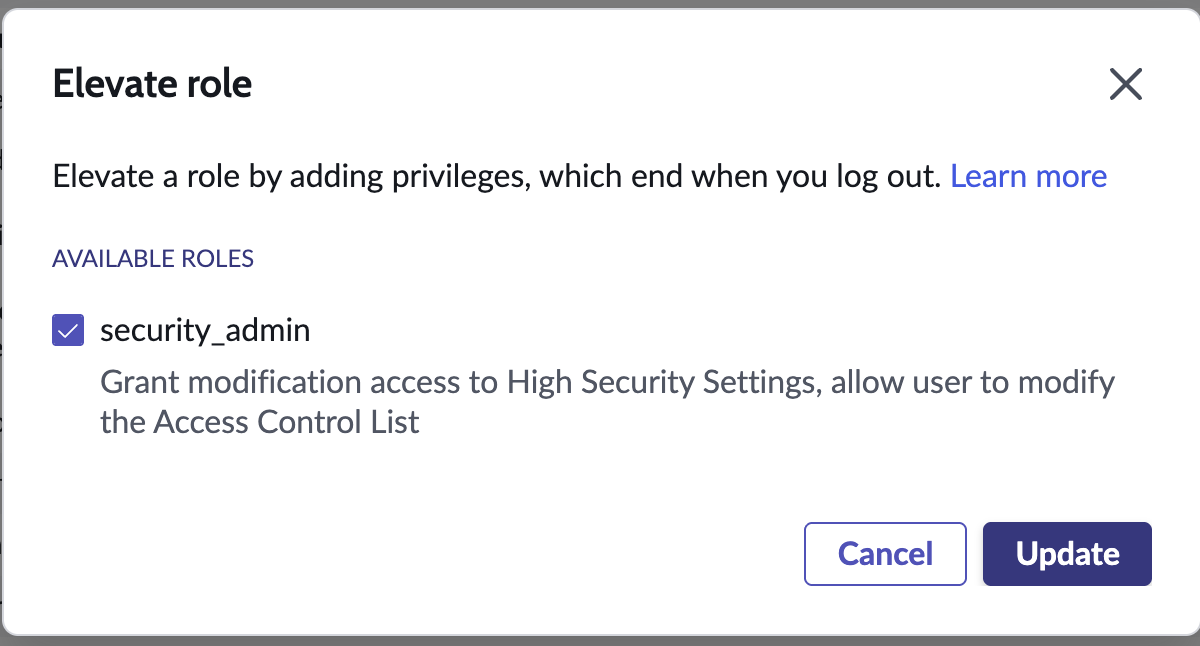
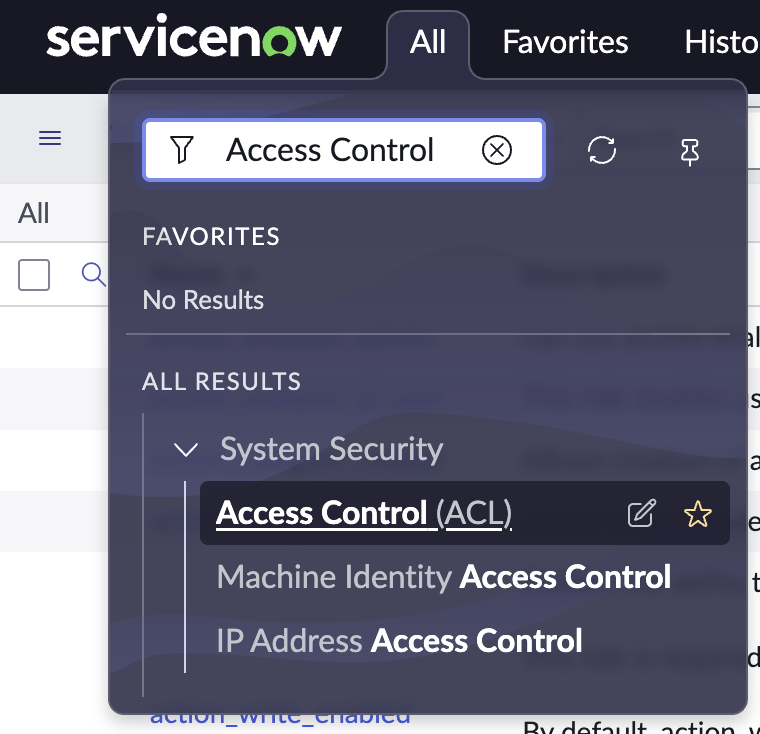
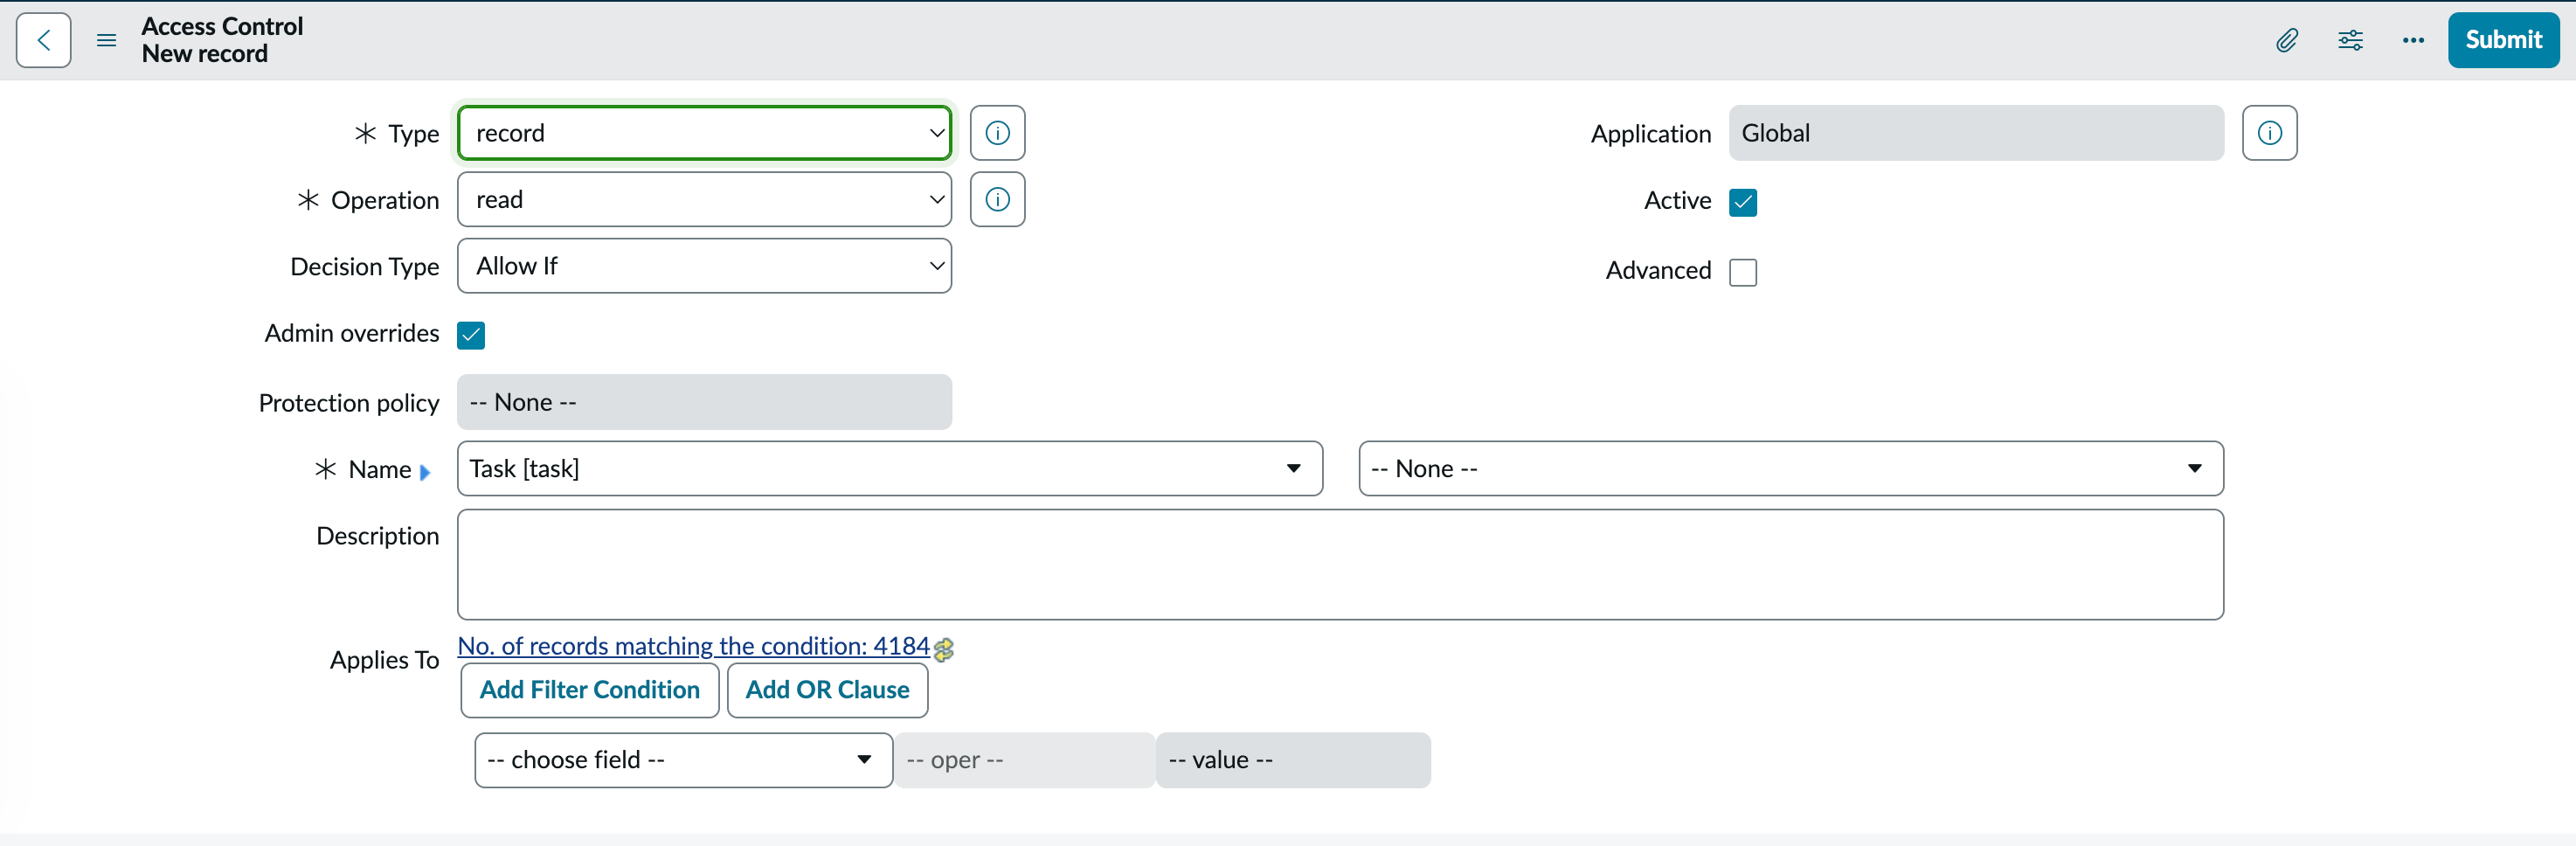
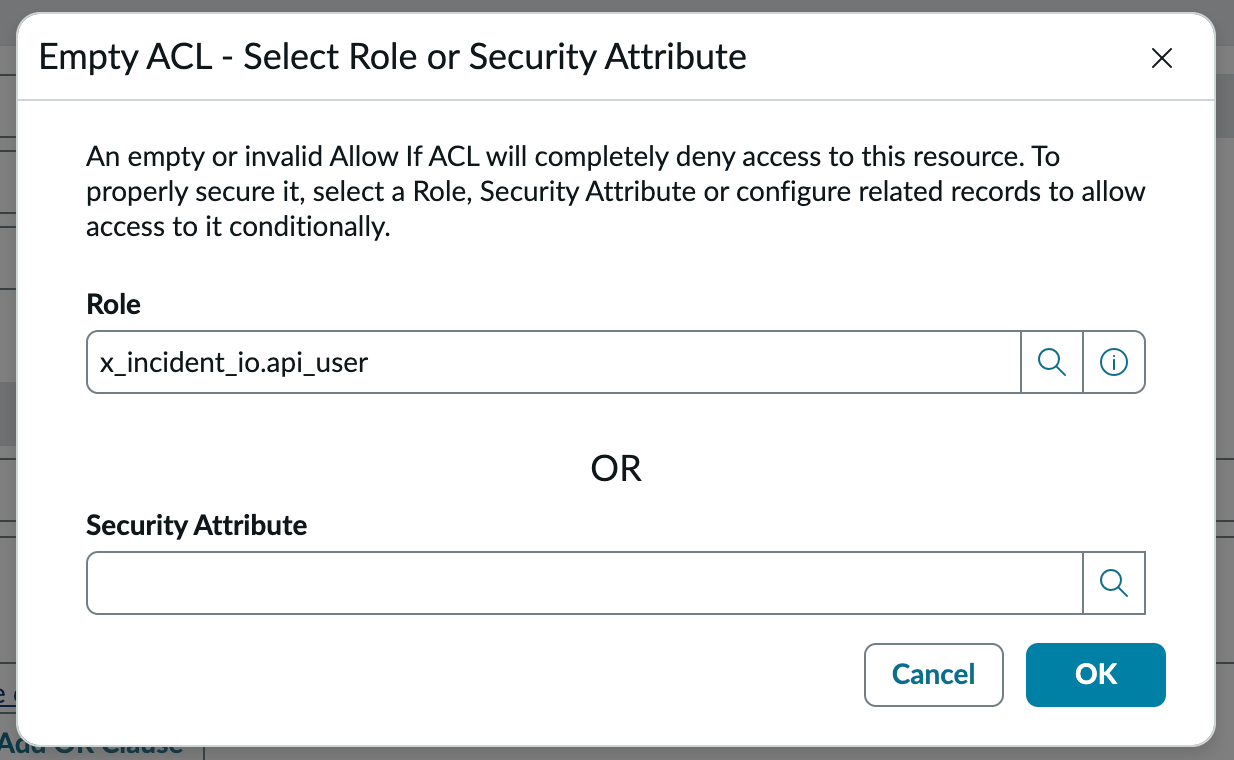
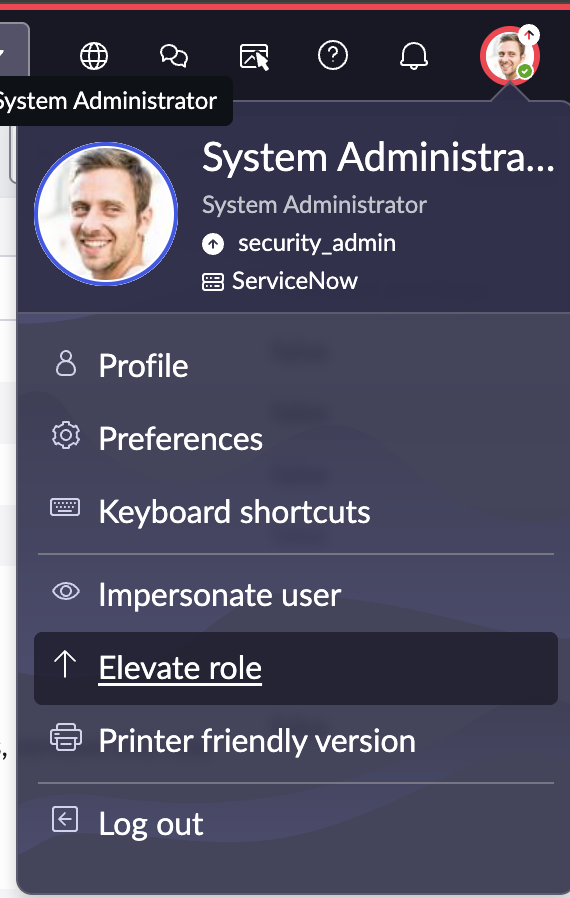
incident.io creates, reads, and updates follow-ups on the task table, so the service account needs create, read, and write access (the app doesn’t grant access to task itself). To add ACLs, you first need to elevate your user to Security Admin. Click your profile icon and select Elevate role. ServiceNow profile menu open with Elevate role highlighted Click security_admin and then Update. Elevate role dialog with security_admin ticked, and the Update button Search for Access Control and select Access Control (ACL) under System Security. Filter navigation search for Access Control, with Access Control (ACL) under System Security Select New. Access Controls list header with the New button in the top right Create an Access Control record with the following properties:
  • Type: record
  • Operation: read
  • Application: Global
  • Active: checked
  • Decision Type: Allow If
  • Admin overrides: checked
  • Name: select task in the first dropdown, and leave the second as -- None --.
Access Control new record form with Type record, Operation read, Application Global and Name set to Task Click Submit. When prompted to select a role, choose x_incident_io.api_user. Empty ACL role dialog with Role set to x_incident_io.api_user Click OK and then Update to save the ACL. Repeat for the create and write operations, so that you have three task ACLs assigned to x_incident_io.api_user.

5. Installing the integration

We’re now ready to install the ServiceNow integration in incident.io. Go to Settings → Integrations, and click on ServiceNow, then Connect. Connect ServiceNow drawer with fields for Subdomain, OAuth Client ID, OAuth Client Secret, Username and Password Use the following details:
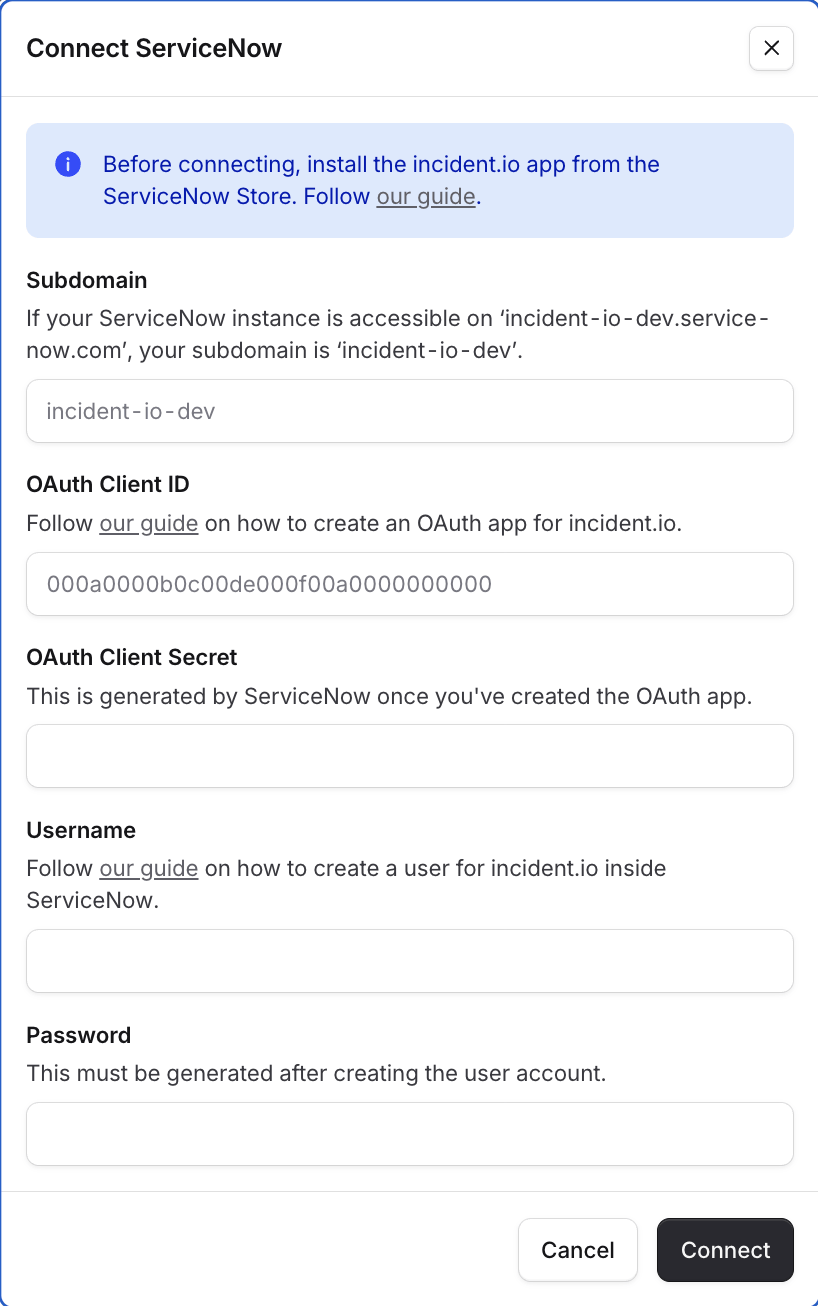
  • Your subdomain is the part of the URL where you log in to ServiceNow. For example, if your ServiceNow instance is accessed at hyper-payments.service-now.com, your subdomain is hyper-payments.
  • Your OAuth Client ID and OAuth Client Secret are the credentials you created in step 2.
  • Your Username and Password are the credentials for the service account you created in step 3.
  • Click Connect to verify your credentials and complete the connection
Next, set up incident tickets to create and maintain a ServiceNow incident record for each of your incidents.

Exporting follow-ups

Follow-ups are created on the task table, with the follow-up title as short_description, its description as description, and the linked incident’s ticket as parent. A new task starts in state 1 (Open). The follow-up owner is managed in incident.io, so assigning the ServiceNow task to someone doesn’t change it. ServiceNow states map back to follow-up statuses in incident.io:

FAQs

Most ServiceNow configurations calculate Priority from Impact and Urgency. ServiceNow rules can therefore overwrite a value written directly to Priority. In your incident ticket template, map the incident severity to both Impact and Urgency instead. ServiceNow will use those values to calculate the expected priority.